Chocolate Strawberry Cupcakes

Made these cupcakes for my mommy for her birthday. I surprised her and brought them to her in the morning so she could take them to work with her to share with her coworkers!

I started with fresh farm-stand strawberries. Pureed them…

20140504-085040.jpg

…then used the pureed strawberries in place of water in a box white cake mix. I also added a good amount of red food color because the batter was actually purple-ish after adding the strawberries and I wanted them to be bright and vibrant.

20140504-085053.jpg

I wanted to dunk my face in that bowl. My whole kitchen smelled amazing!

20140504-085102.jpg

They baked up beautifully!

20140504-085110.jpg

I topped these cupcakes with Nestle Perfectly Chocolate Chocolate Frosting.

It’s a very yummy frosting, but I personally think it was a little too rich and took away from the special flavor of these cupcakes. Next time I will try something else that’s more subtle.

20140504-085123.jpg

My mommy and all her coworkers loved them!

20140504-085201.jpg

2 Comments

Filed under Cakes

Chocolate White Chocolate Macadamia Nut Cookie Dough Truffles

What a mouthful!!

You’ll forgive the ridiculous name once you try these. I promise.

I’ve made Chocolate Chip Cookie Dough Truffles, Funfetti Cookie Dough Truffles, and M&M Cookie Dough Truffles.

These are a twist on the common white chocolate macadamia nut cookies… Which happen to be my husband’s favorite cookie of all time. His birthday was a couple weeks ago so I made these for him. They’re lumpy and not the prettiest, but OH SO GOOD.

20140404-192404.jpg

Chocolate White Chocolate Macadamia Nut Cookie Dough Truffles

Ingredients:
1 cup sugar
1 cup packed brown sugar
2 sticks butter (1 cup)
6 tbsp milk (or milk substitute)
2 tbsp vanilla
2 1/4 cup flour
1/2 cup cocoa
1/4 tsp baking soda
1 tsp salt
2 cups white chocolate chips
1 cup chopped macadamia nuts, divided
Candy coating (I used CandiQuik)

Directions:
1. Beat butter and sugars. Add vanilla and milk.
2. In a separate bowl, whisk together the flour, cocoa, salt, and baking soda. Slowly add to wet mixture.
3. Stir in chips and nuts by hand.
4. Let dough chill for at least 2 hours.
5. Scoop into small balls on a waxed lined baking sheet and place in freezer to harden up. I did this the night before.
6. Melt the candy coating and dip each ball, tapping off the excess with a fork. Quickly top with chopped nuts.
7. Store in the fridge.

20140404-192412.jpg

Even though I made these for my husband, I actually took most of them to work. We don’t need THAT much sweets around the house! There was a good portion of cookie dough left that hadn’t been dipped so I let him finish that off. 🙂

My coworkers LOVED these. One even proclaimed that if he could have any dessert ever in the world that he would choose these. Maybe it was because he was currently holding one, I don’t know… 🙂

I liked them because they weren’t overly chocolatey.. you know, because I don’t like chocolate all that much. But they were still chocolatey enough for the major chocolate lovers too!

3 Comments

Filed under Candy, Misc

Lacy Easter Egg Cookies

Made these for a friend’s mom for a get-together.

Even though they are pretty detailed, they didn’t take a ton of time to do. Filling the eggs with a solid color and only using one color to pipe with saves a TON of time.

20140417-082003.jpg

Each cookie is totally unique. I just made up the designs as I went, there was no template that I followed. Doing this also makes it more fun!

20140417-082009.jpg Once I was done making the cookies for the party, I had a few leftover that I played with. I really like how these “swoop” designs turned out too. And SO easy.

20140417-082020.jpg Hope everyone has a great Easter!

1 Comment

Filed under Cookies

More Gender Reveal Cupcakes

I got the amazing opportunity to create some gender reveal cupcakes for one of my best friends. I made these not too long ago for another mama, and so I wanted to change it up a bit this time.

This time, I was NOT allowed to know ahead of time. So I had to make both pink and blue, mark them in separate containers, and the mama-to-be mixed the right one in while no one was looking.

20140217-151151.jpg

I made white frosting for the tops. Then I “painted” pink and blue food color gel in stripes inside the piping bag…

20140217-151157.jpg

Then carefully filled the bags with the white frosting.

20140217-151202.jpg

When I piped swirls on the cupcakes, these pretty pink and blue streaks came through.

20140217-151238.jpg

LOVE this technique, I will definitely be doing it again!

20140217-151248.jpg

P.S. It was a GIRL! We can’t seem to locate the picture of the mama-to-be with the pink inside. 😦

Leave a comment

Filed under Cakes

4th Bloggy Birthday

fourth-bday_LJ

Today is my 4th bloggy birthday. I can’t even believe it’s been that long!

Unfortunately I have been too busy making other things to make a blog birthday treat, so nothing to share today. But lots of new stuff coming soon!

As always, thanks for following, thanks for reading, thanks for everything!

Facebook – facebook.com/cookiecarrie

Instagram – cookiecarrie

Twitter – cookiecarrie

Pinterest – icookiecarrie


1 Comment

Filed under Uncategorized

Spiderman Cookies

Syler is 3! (He used to be 2. Before that he was 1.)

He had a Spiderman birthday, complete with cookies!

20140221-214714.jpg

I used an Easter egg cutter, turned upside down. Outlined in black, then dotted the center for reference for my eyes. I just did them by hand, so each cookie is slightly different, but all of them look like Spidy!

20140221-214730.jpg

Filled them all in dark red…

20140221-214734.jpg

Then piped on the web design in black buttercream. I even made Syler a special “3” cookie.

20140221-214738.jpg

Syler’s sisters got their very own cookies for their ages too. I’ve made Layla cookies for her 3rd birthday and her 2nd birthday. This year I was having a baby and couldn’t make her 4th birthday cookies, or her sister Aurora’s 1st birthday cookies. I wanted to make it up to them a little bit!

Leave a comment

Filed under Cookies

Pot O’ Gold at the End of the Rainbow Cupcakes

I’ve made Rainbow Cupcakes before. (That post is almost 3 years old. If you want to see what a long way I’ve come in 3 years, peruse away. 😁 )

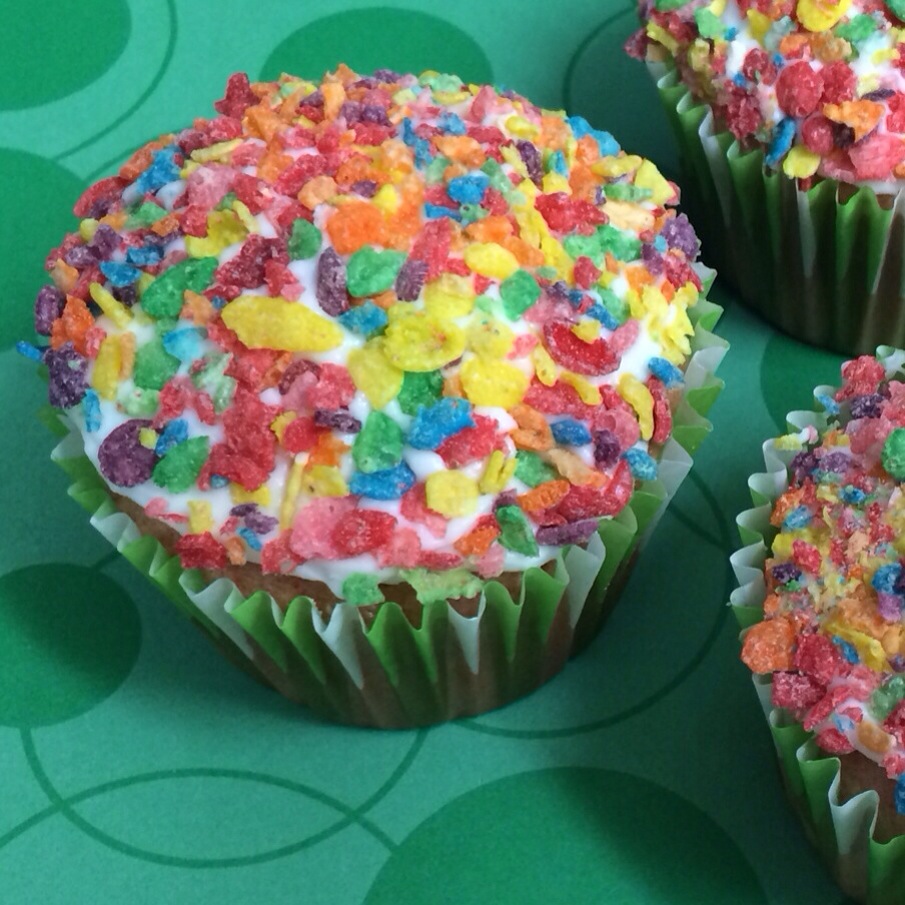
These rainbow cupcakes take it up a notch, because there’s something golden at the end of the rainbow….

Golden Oreos that is. 😜

These are simmmmmmmple.

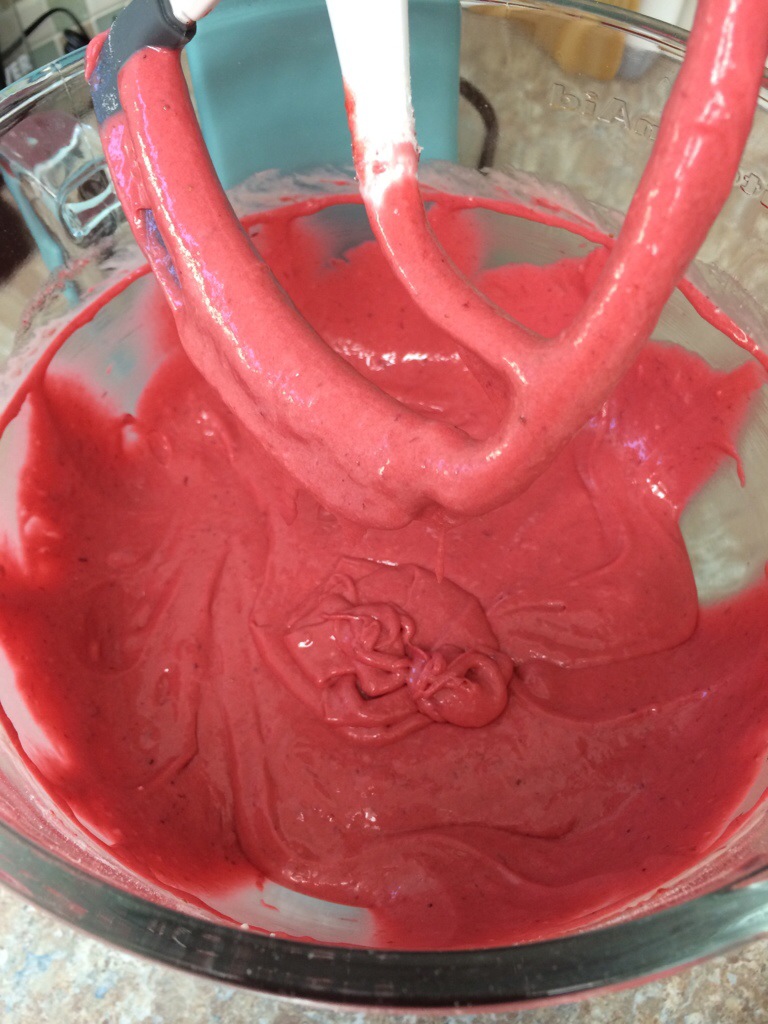
Make up some cake. White makes prettier rainbows, but yellow will work too. (I used yellow. Just had to add more coloring to get the shades I wanted.)

Divide the batter into 6 bowls. Or however many different colors you want. If you hate one particular color you can leave it out. I won’t judge.

Color each bowl a different color of the rainbow.

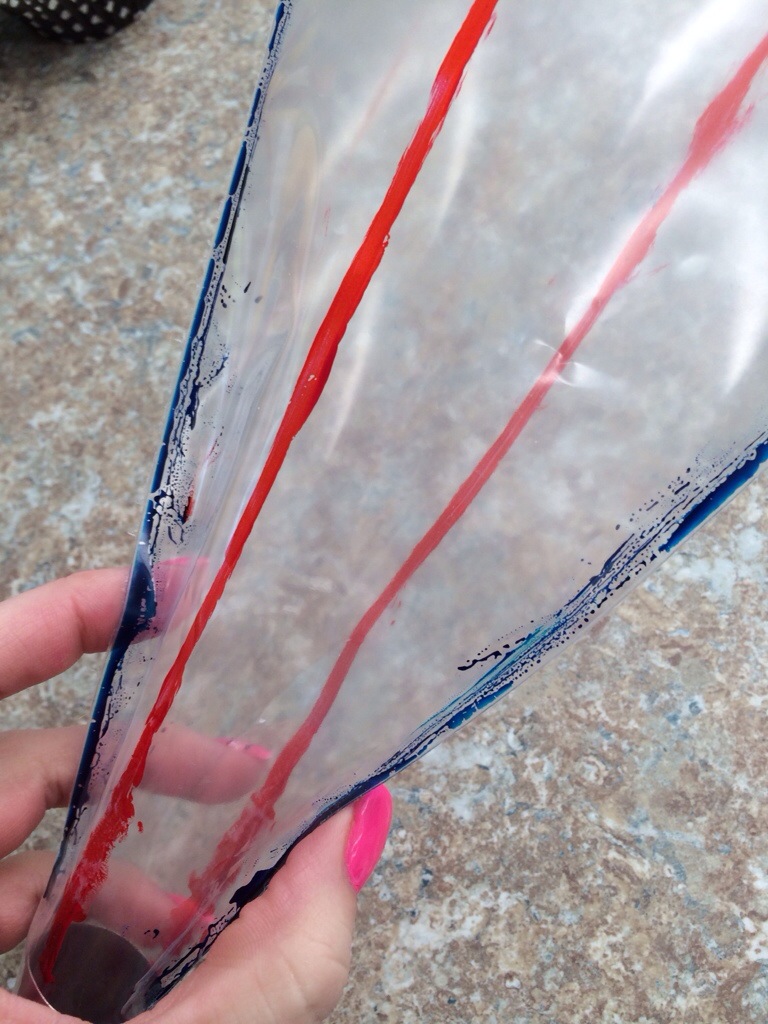
Scrape the batter into individual baggies. Freezer bags work better cuz they’re a little thicker, but regular baggies will be okay if that’s all you have.

Place a golden Oreo in the base of each cupcake liner.

20140316-223434.jpg

Cut a small corner off of each baggy. Starting with purple (or whichever color you want last), squeeze a small amount on top of each Oreo. Try to make as thin and as even/flat of a layer as possible. It helps to shake the pan a little side-to-side to get it evened out (though you only want to do that for the bottom layer). Thin is the key here though – we have 6 colors/layers to go and we don’t want to overfill the liners.

20140316-223444.jpg

Go to blue, or whichever color you want next, and add another thin, flat layer, cover most of the purple if you can. Start by going around the outside then fill in (see picture of me doing green above). This ensures that the outside out the cupcake shows all the colors no matter what.

Repeat with all the colors.

The finished product should be about 2/3 the way full.

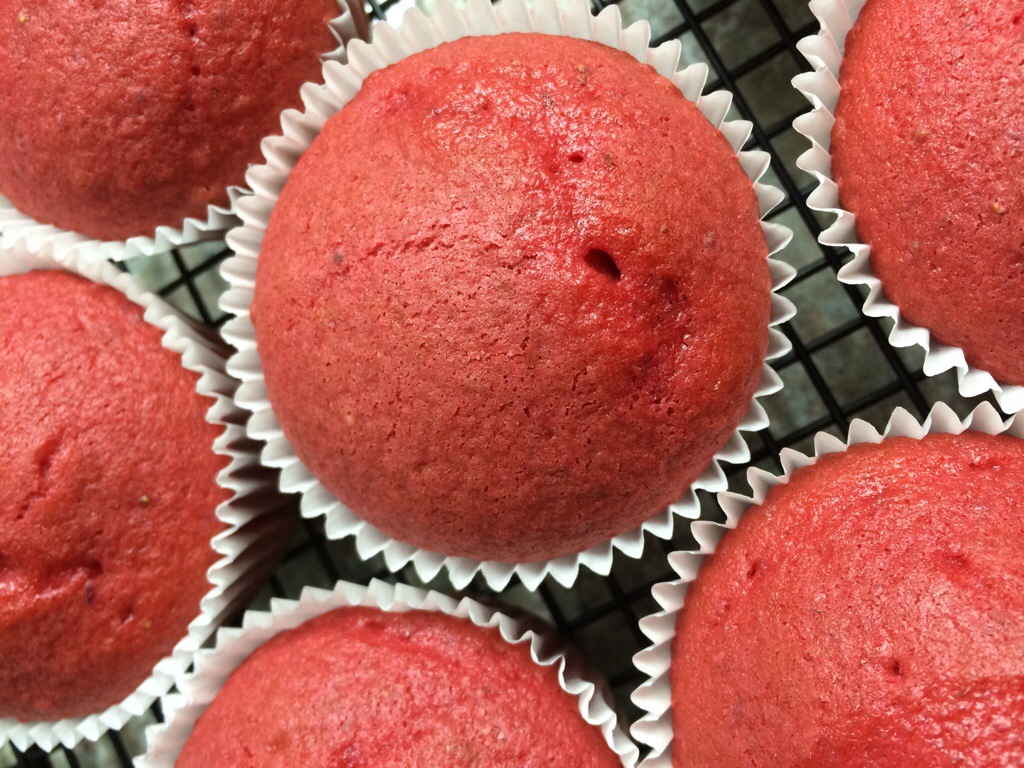
Now is the time to preheat the oven to 350*. Let the cupcakes sit out for 10 minutes before putting them in the oven. Seriously. It helps make the tops bake up more round and less nipple-like. You all know what I’m talking about.

Bake for 18-20 minutes, or until a toothpick inserted into a cupcake comes out clean.

I waited 10 minutes and mine still came out looking like nipples. *sigh*

20140316-223452.jpg

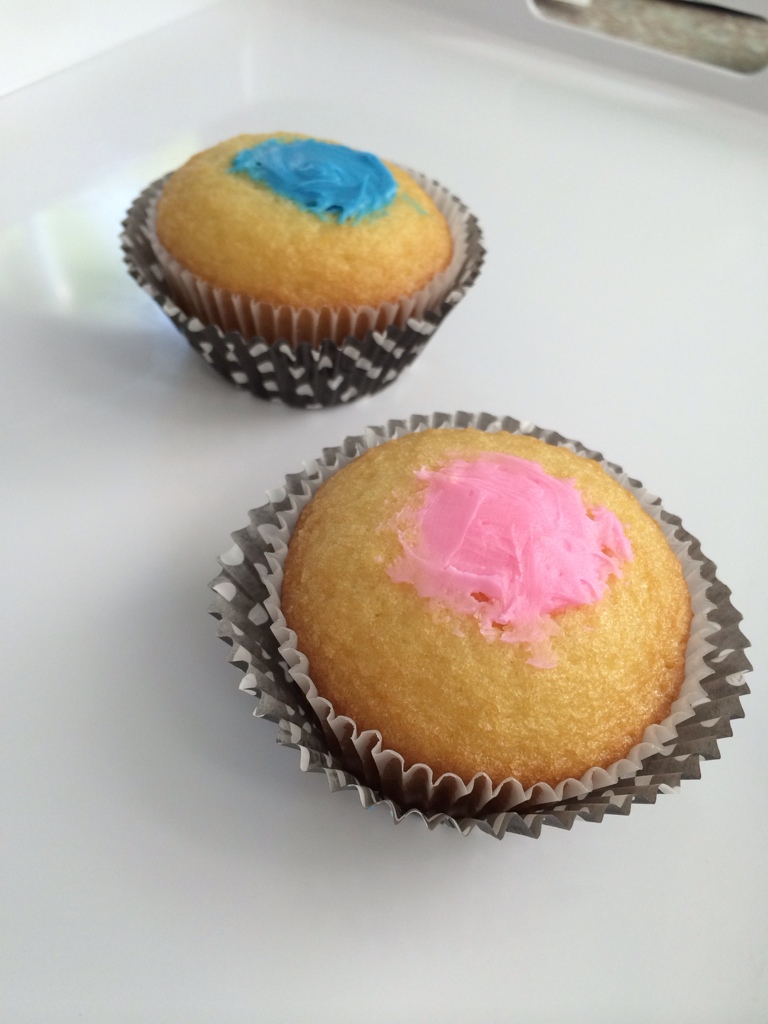
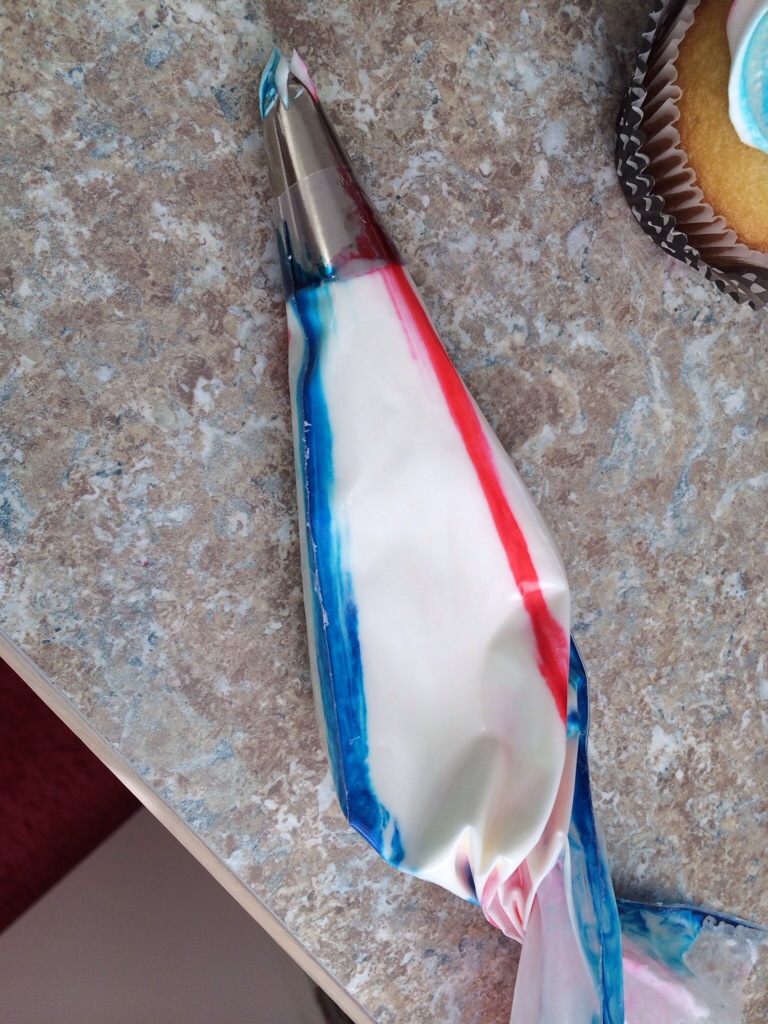
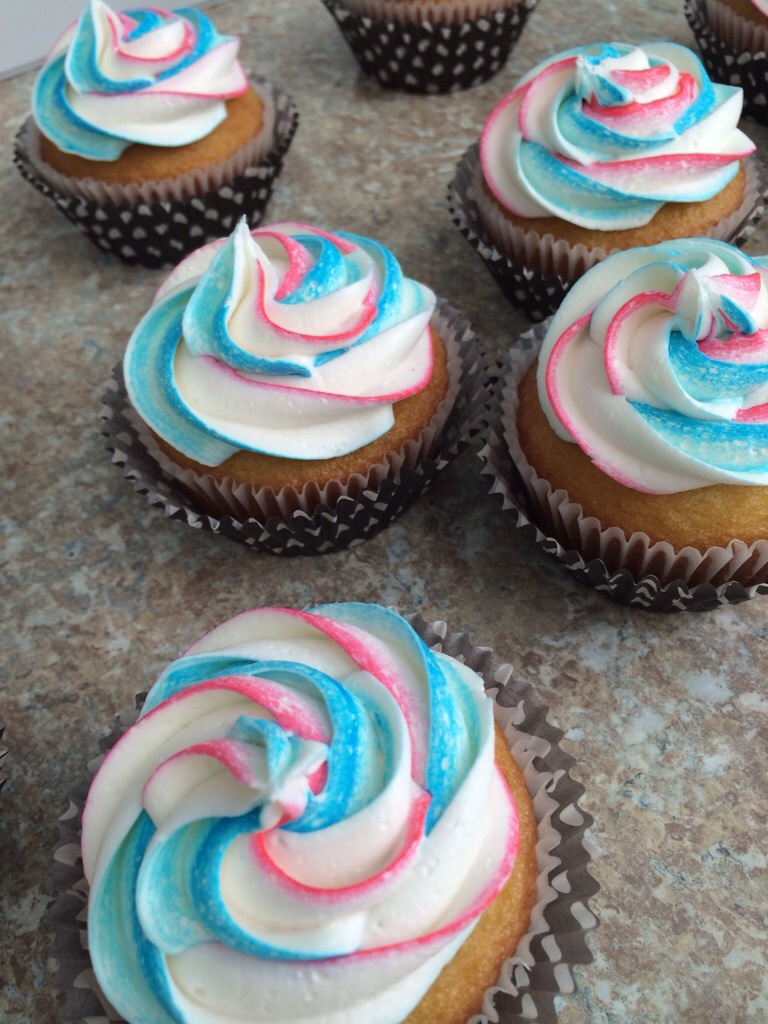
Top with white or green or whatever color frosting you want. White would be good if you’re going for ‘clouds.’ I did a pale green for St. Patty’s Day! Here is my Easy Buttercream Recipe that I used for mine.

(This is my favorite marshmallow frosting that would be good too, and more cloud like!)

20140316-223501.jpg

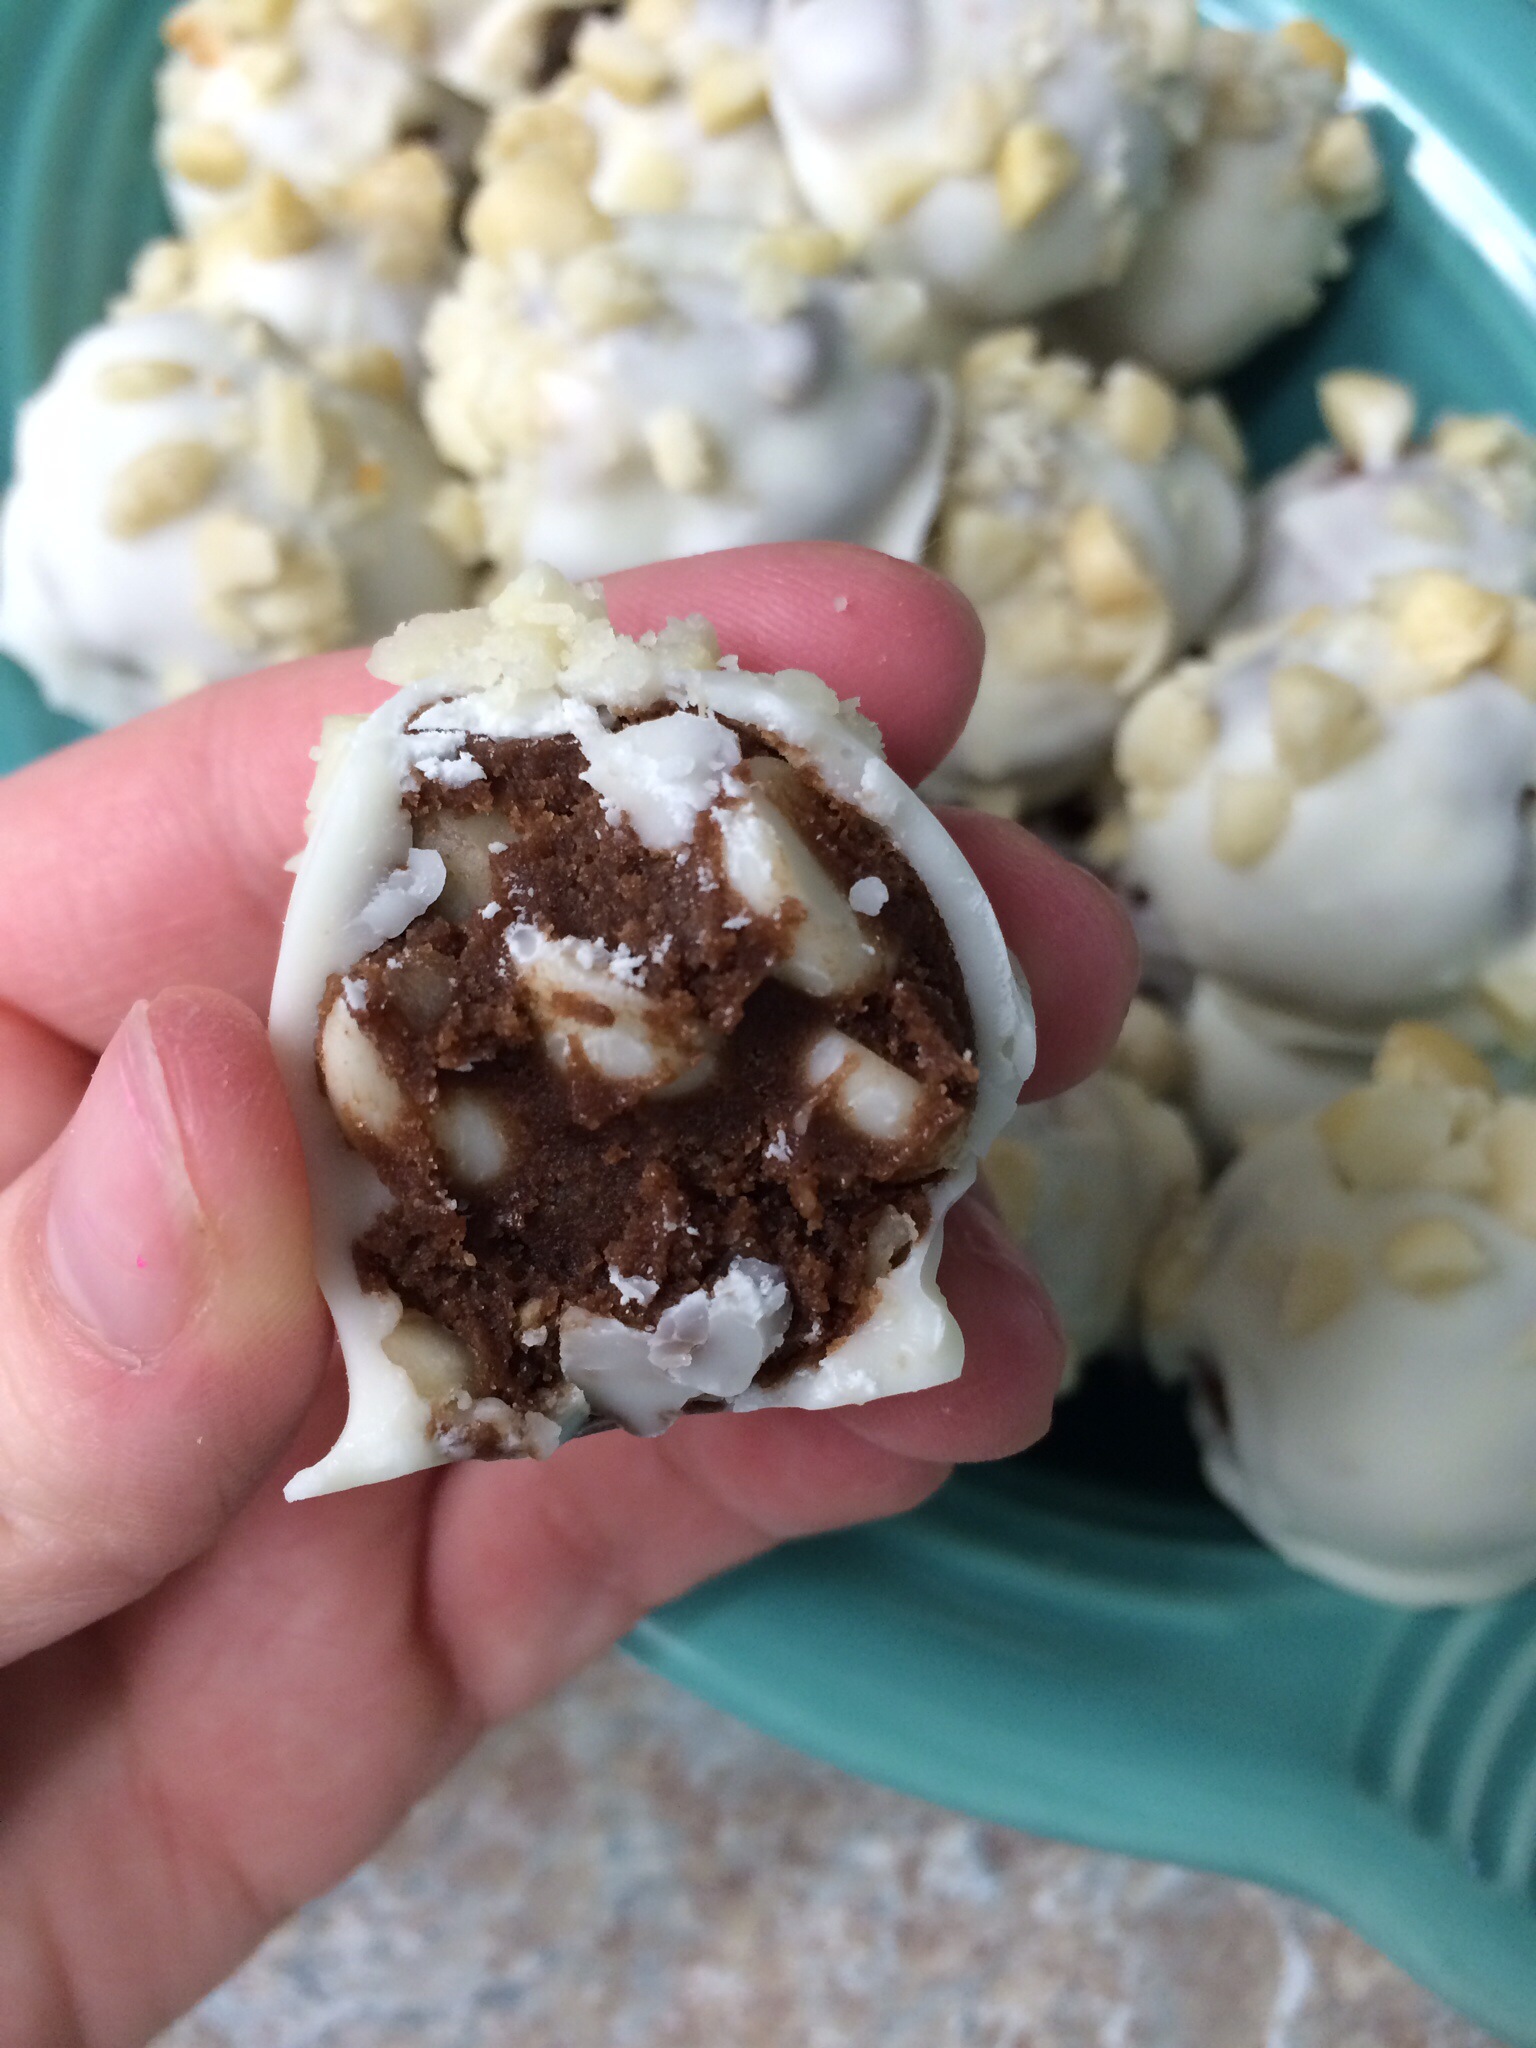
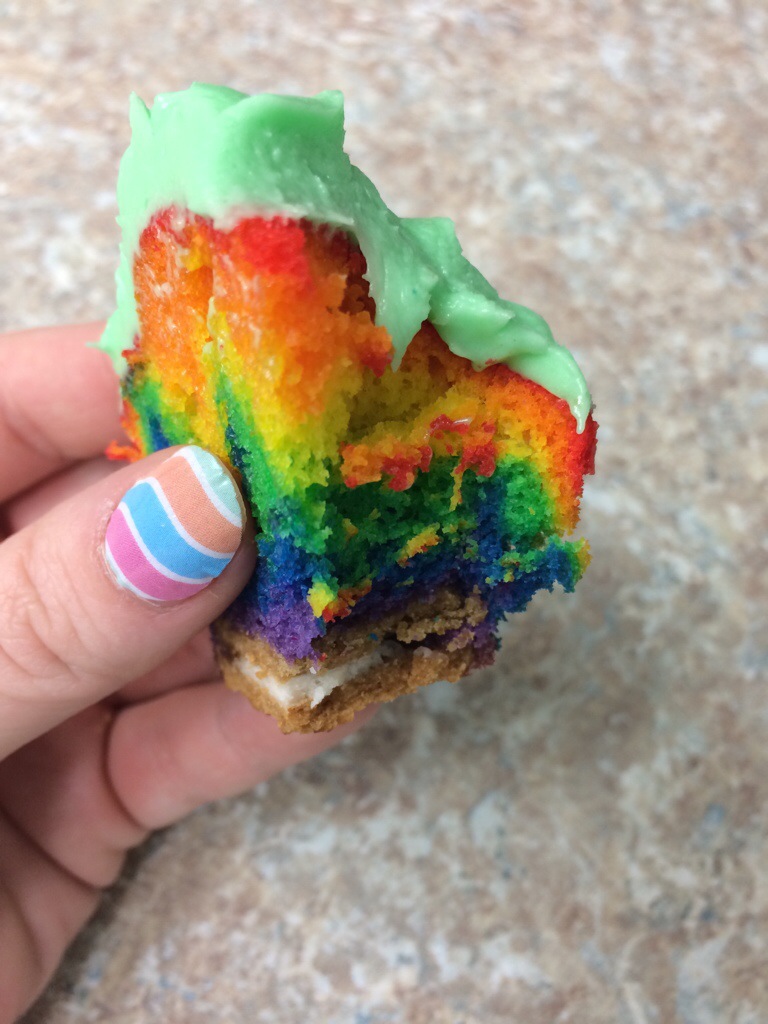
Pretty rainbow cupcake looking all innocent…. Then SURPRISE! Oreo. Bam.

20140316-223505.jpg

Not only do these look pretty, but that cookie on the bottom really gives them something special!

20140316-223518.jpg
#jamberrynails

I’m pretty obsessed with these if you can’t tell. Allllll the colorrrrssss!

20140316-223512.jpg

Leave a comment

Filed under Cakes

Fruity Pebble Cupcakes

These cupcakes are LOADED with fruity pebbles!

20140311-102905.jpg

I added 2 cups of crushed fruity pebbles to a box of white cake mix. (And by crushed I mean powder-ized.)

I spread a thin layer of my Easy Buttercream on top, then rolled the top in slightly crunched fruity pebbles.

20140311-102856.jpg

Pretty, rainbow-y, and perfect as a last-minute St. Patty’s Day treat!

2 Comments

Filed under Cakes

Easy Cookie Rainbow

I had a bit of leftover cookie dough after doing some decorated cookies, so I whipped these up for snacking purposes.

20140221-214546.jpg

I thought it would be an easy and cute little treat for St. Patty’s Day!

20140221-214551.jpg

Needless to say, they didn’t last long…

20140221-214557.jpg

2 Comments

Filed under Cookies

Wedding Monogram Cookies

I few weeks ago I got the opportunity to make some monogrammed cookies for a wedding. Simple, elegant, white on white.

Since I do all my piping by hand, I had to be extra careful with these to make sure the monograms were centered and all the same.

I practiced on one cookie over and over (wiping off in between) until I had my spacing right. Then I put little dots where all the key parts of the center W needed to go…

20140217-151346.jpg

Then piped on the W, followed by the outer letters.

20140217-151354.jpg

The cookies were going to sit next to the cake, so no individual wrapping was needed. This is fine, except I was worried about them getting smashed too much before wedding time. Then I was told they had to travel hundreds of miles away… Eek! Last minute I found these perfect boxes and some bubble wrap and packaged them all up safely. Worked out perfectly!

20140217-151401.jpg

20140217-151408.jpg

4 Comments

Filed under Cookies