Tag Archives: rainbow

Rainbow Cookies

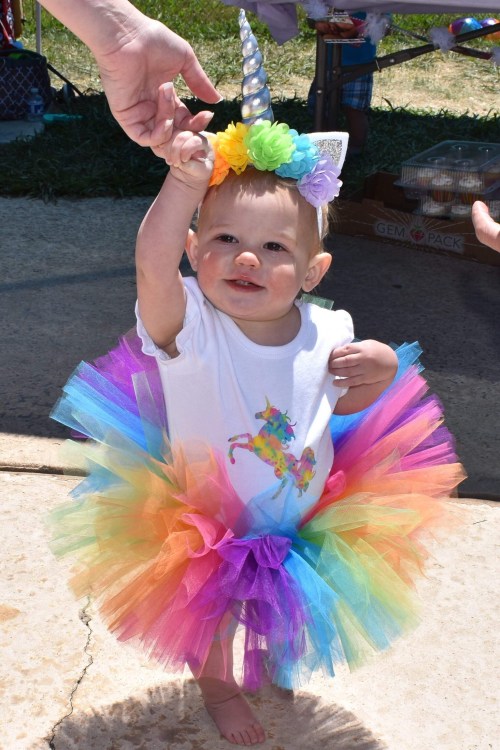
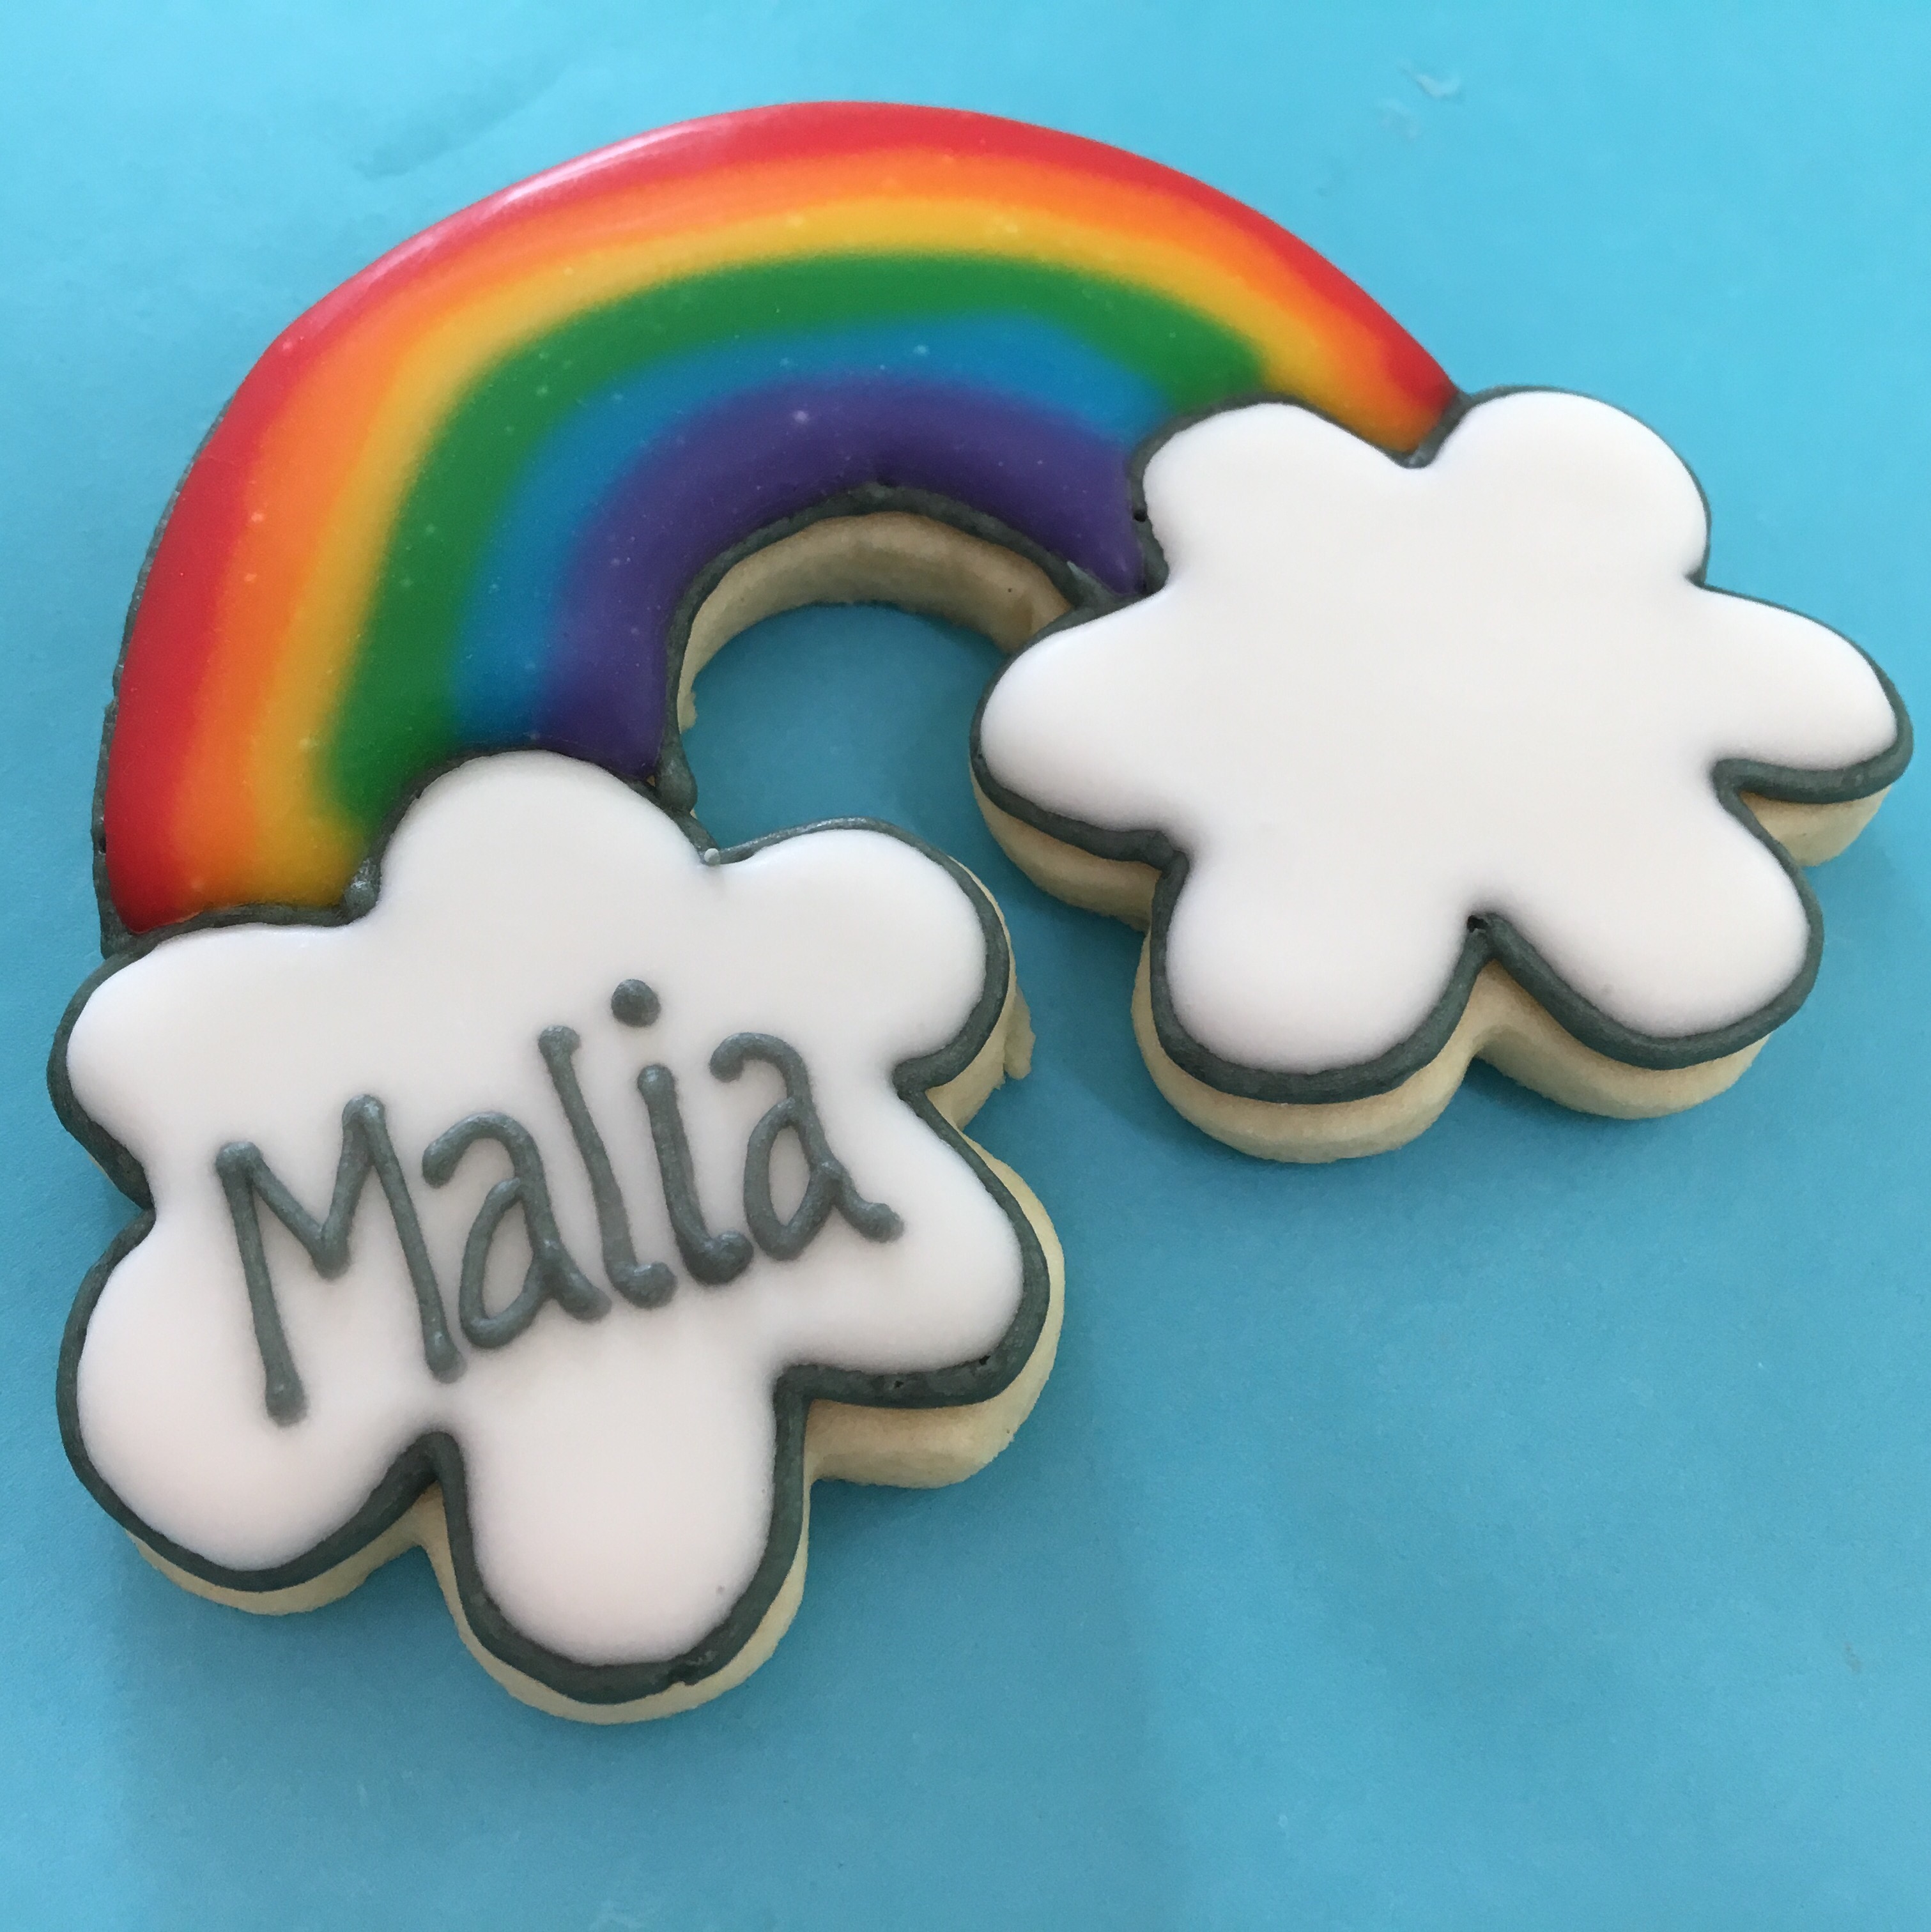
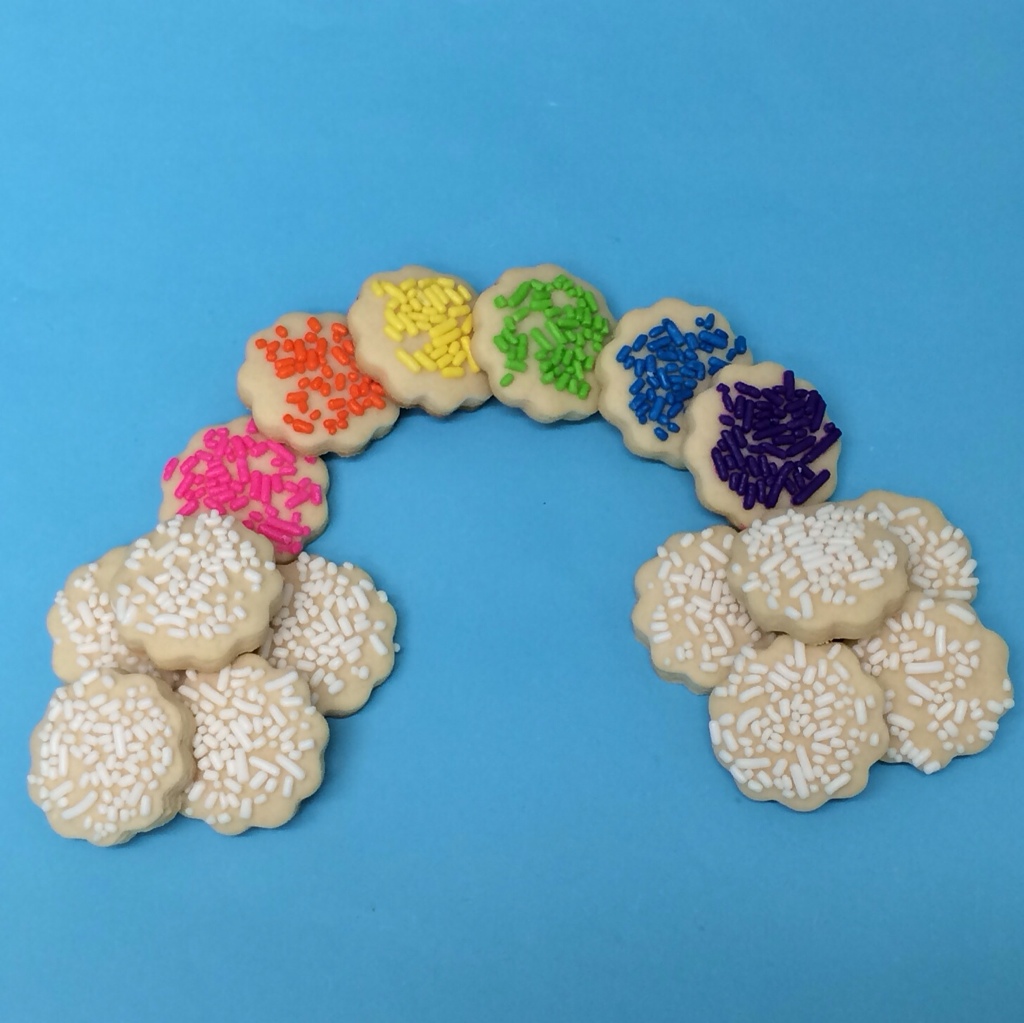
I made these fun rainbow cookies for my little lady’s Unicorn First Birthday Party.

I was busy planning 2 birthday parties at the same time and needed to save myself from getting too overeager and stressed. I decided to make some simple cookies that would still have that WOW factor.

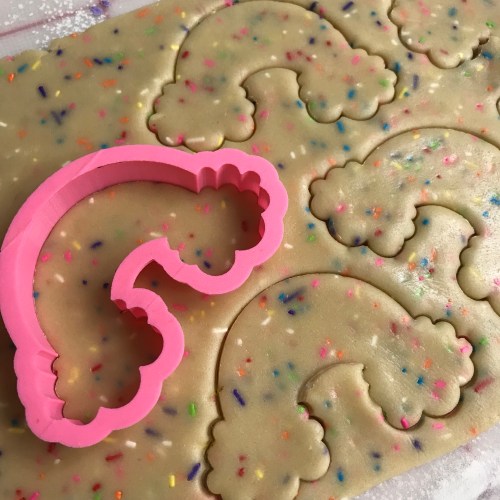
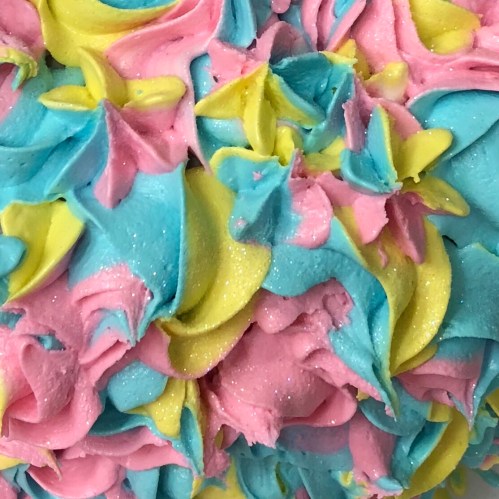
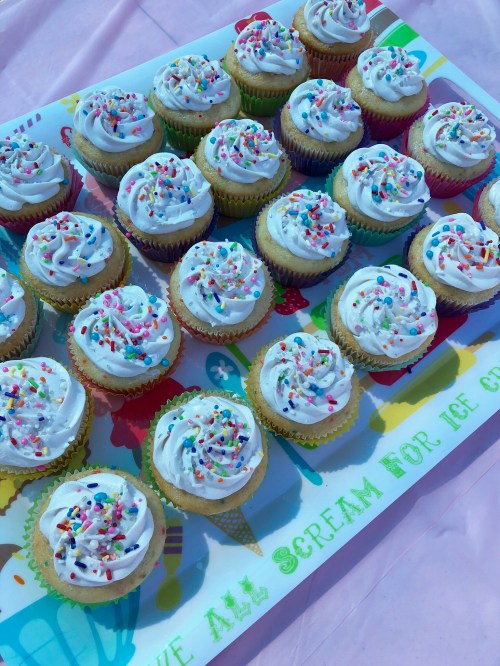
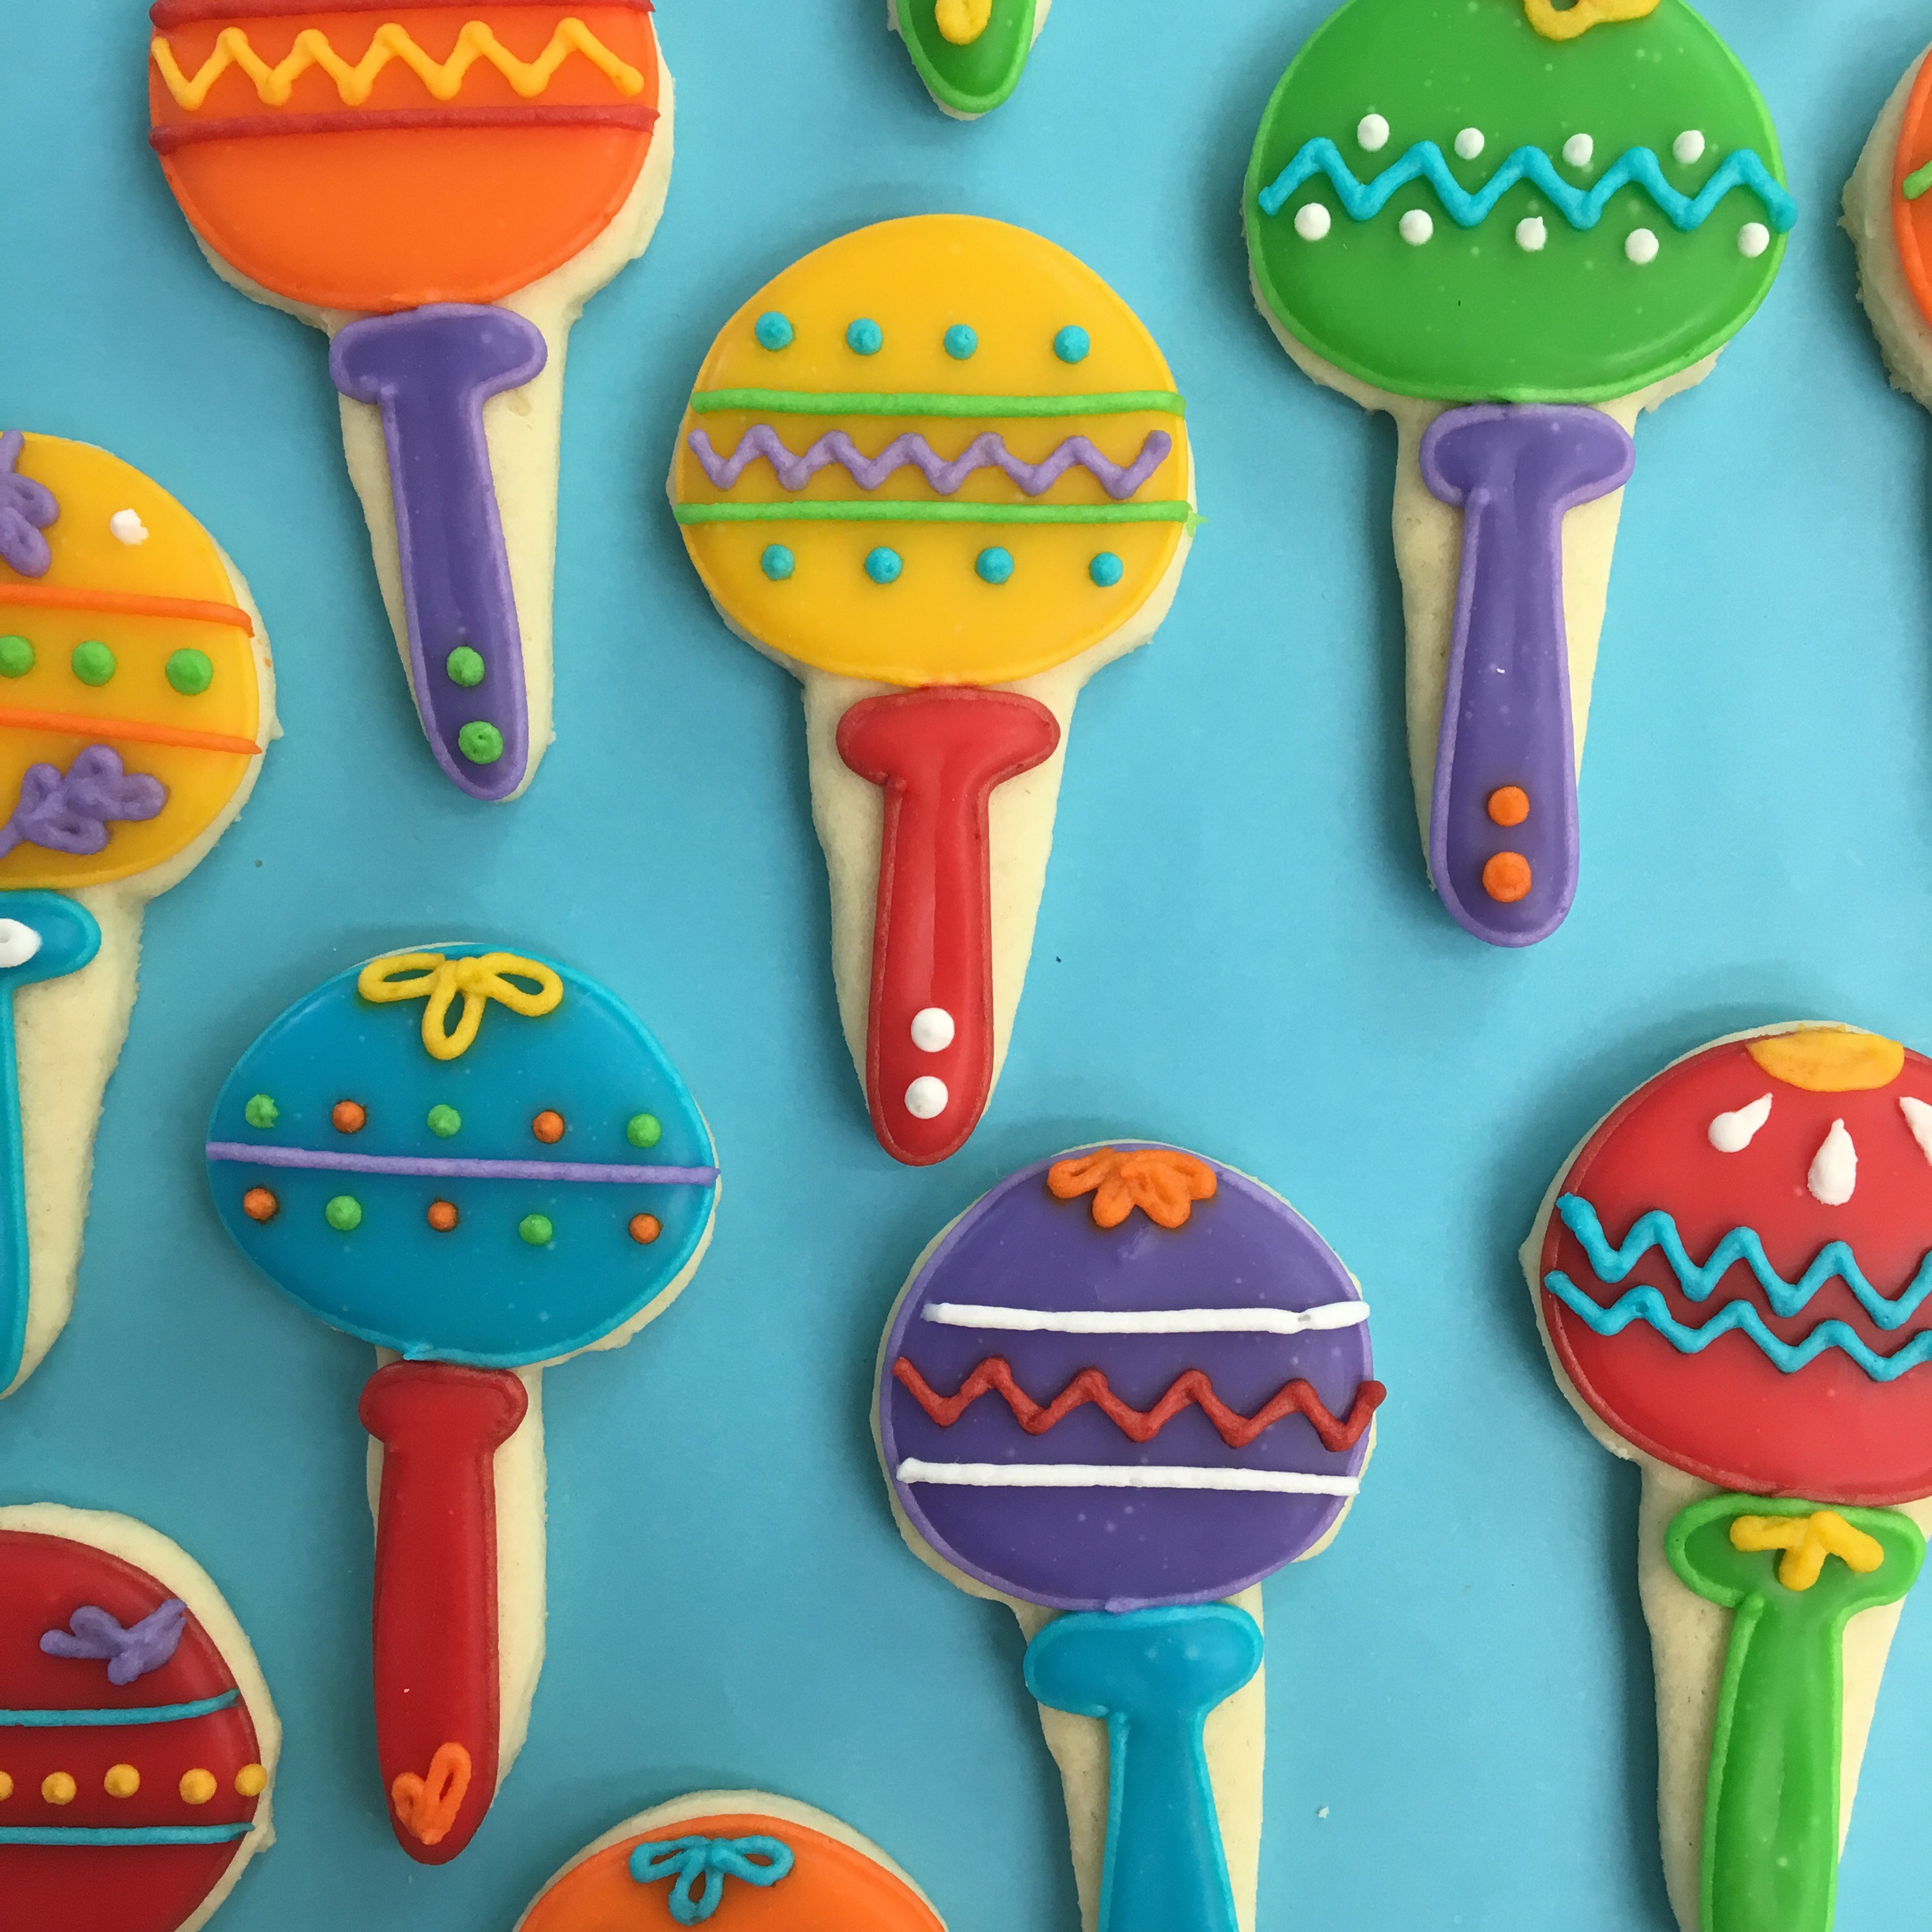
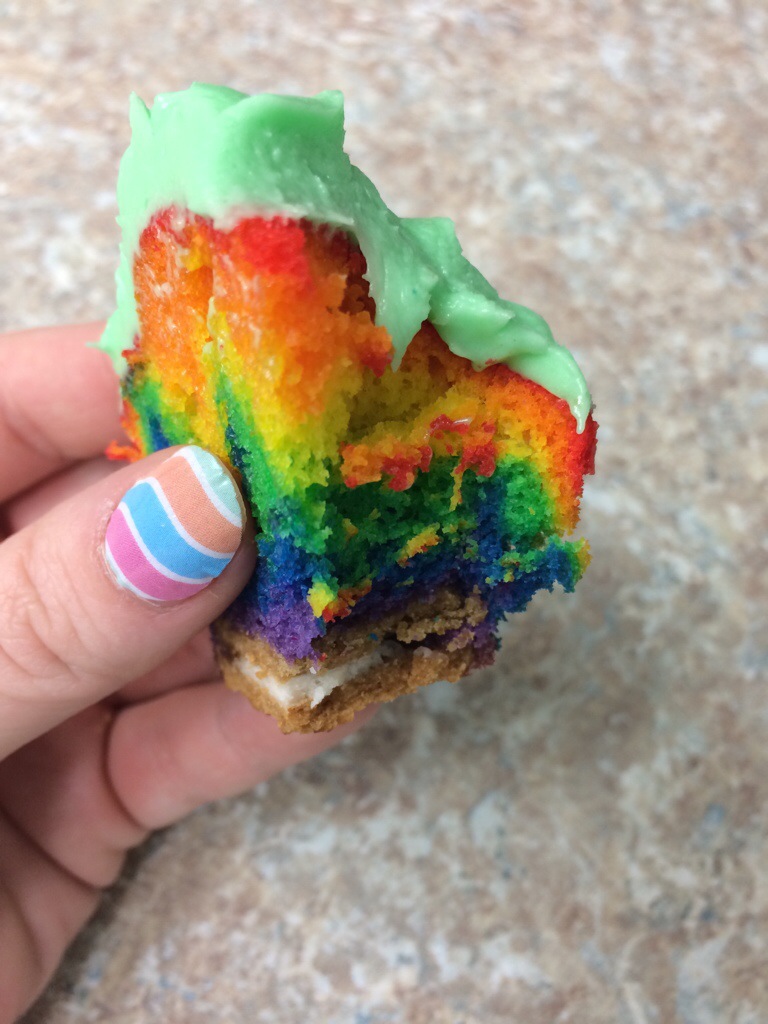
I baked them with sprinkles because nothing says rainbow and unicorn like sprinkles!

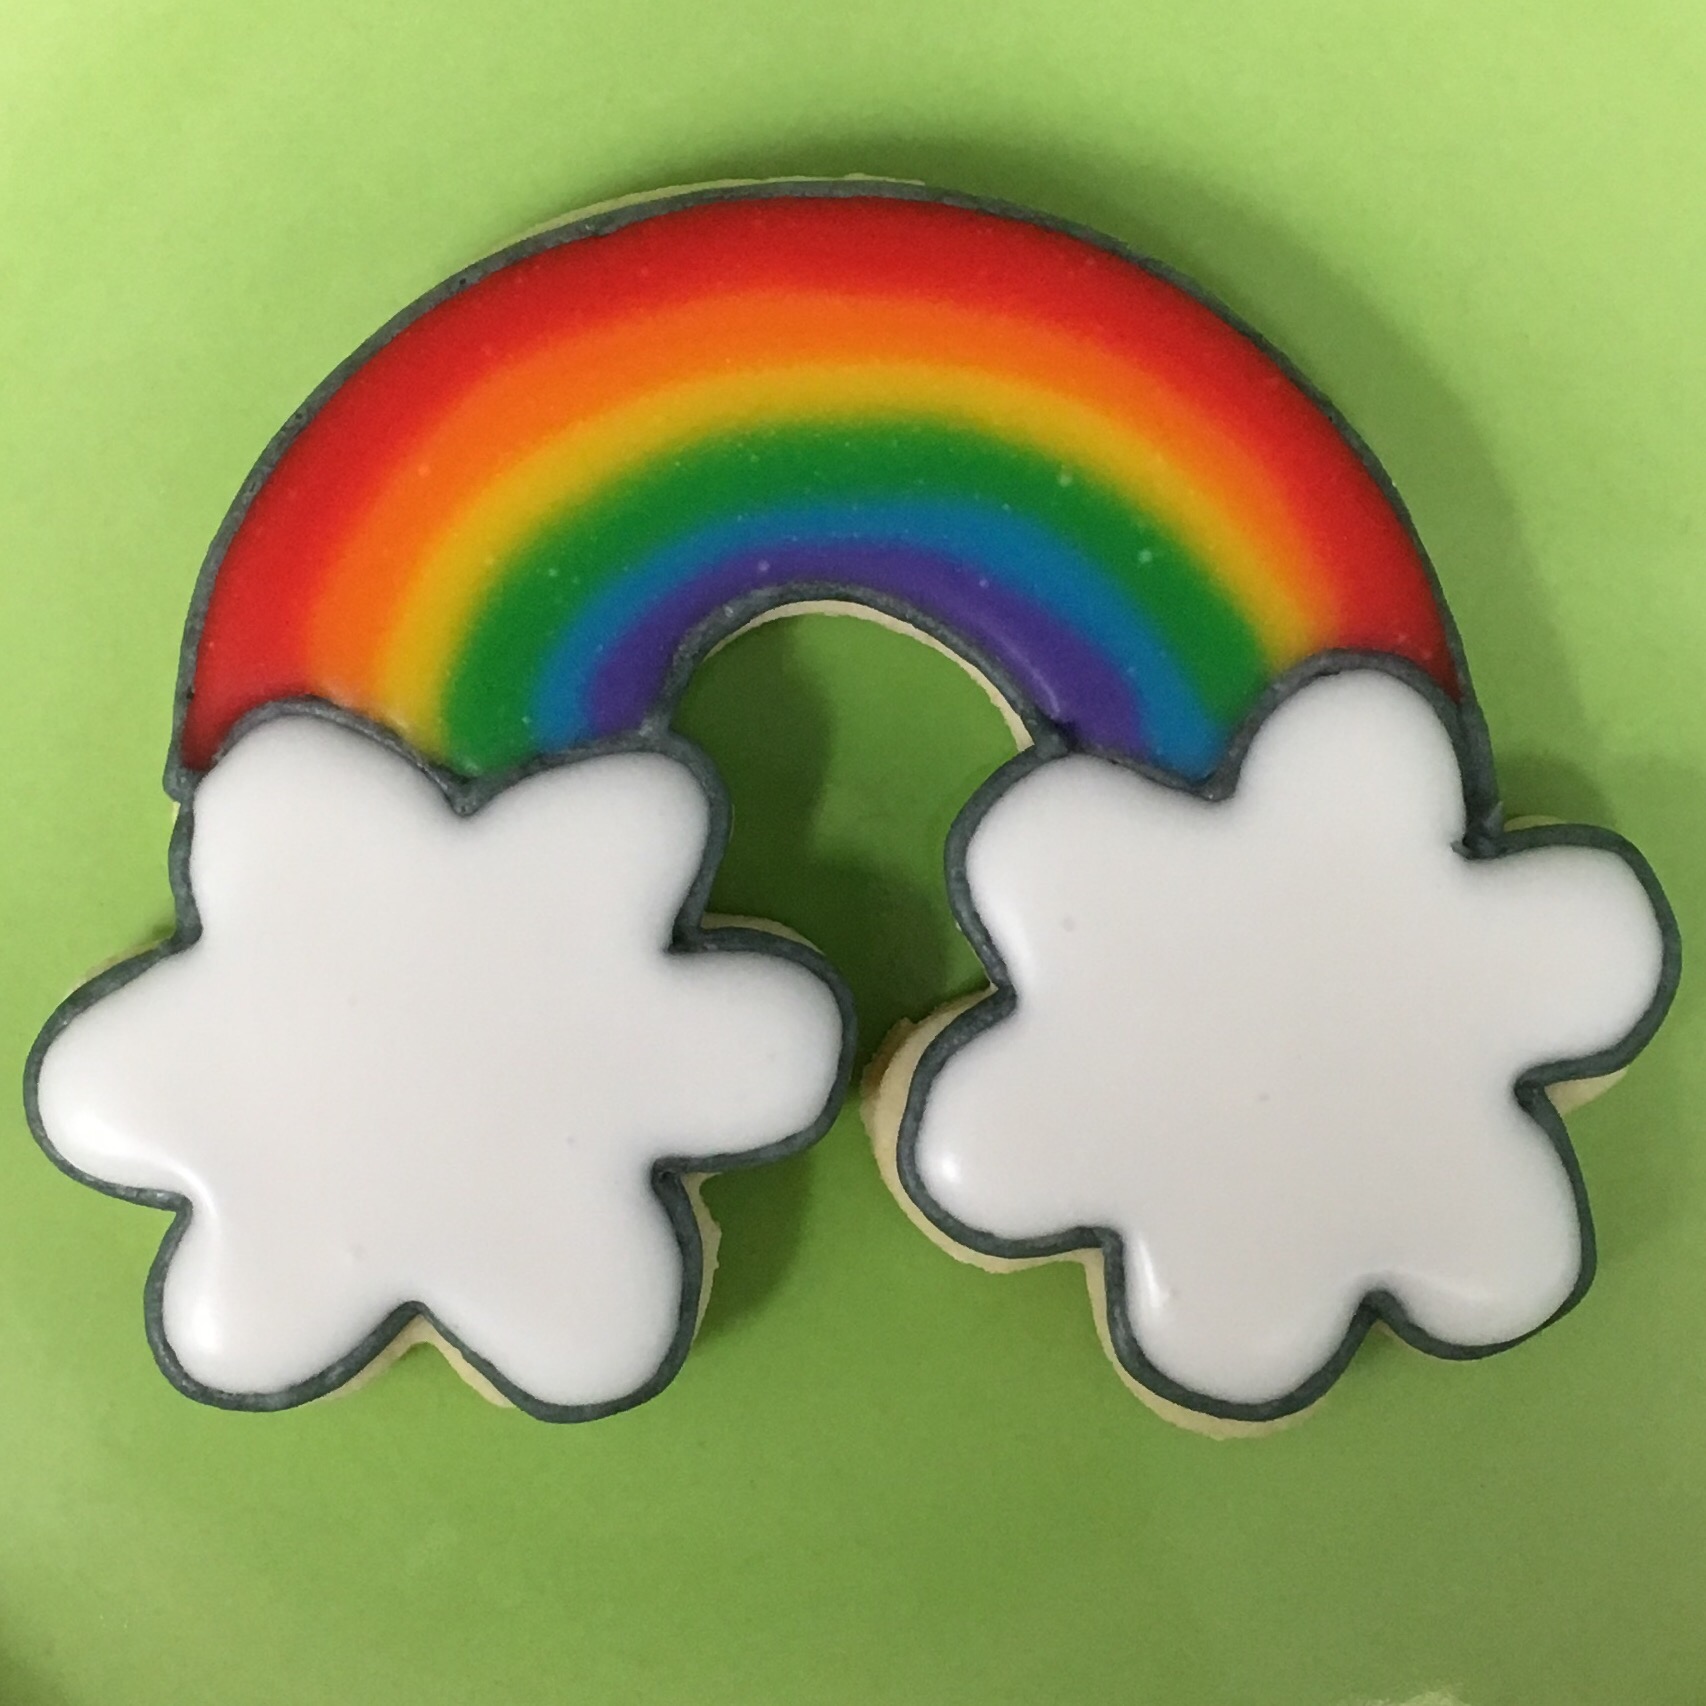
I bought this cute rainbow cookie cutter here.

I outlined these in white buttercream and filled with white icing. Once they were dry they were ready for painting!

I mixed food coloring gel with a couple drops of vodka. (Lemon juice can also be used if you don’t want to use vodka or don’t have any on hand. The alcohol evaporates so there’s no issue with kids eating these!)

I used a small paintbrush to paint the colors on one at a time.

This was the first time I’ve done this and I learned as I was going that I should have waited to do the next color until the first one had dried. Some of my colors were a little thin and started the bleed into each other.

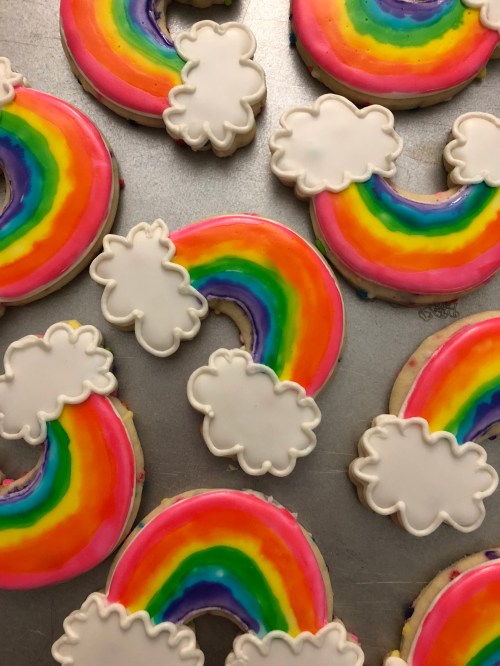
Most of them still turned out pretty cute in the end. They kind of looked like a kid had painted or colored them. 💗

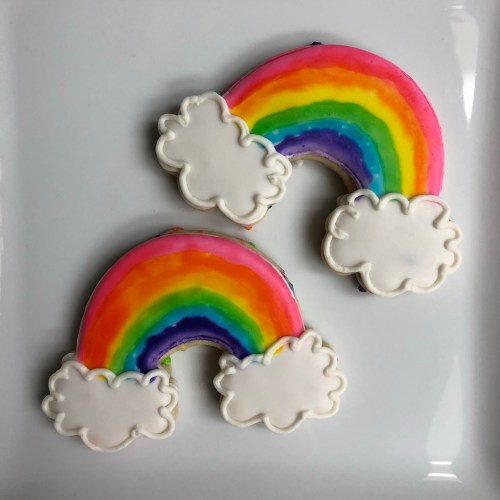
I decided to outline the clouds at the end because it helped cover the awkward line where the color met the cloud.

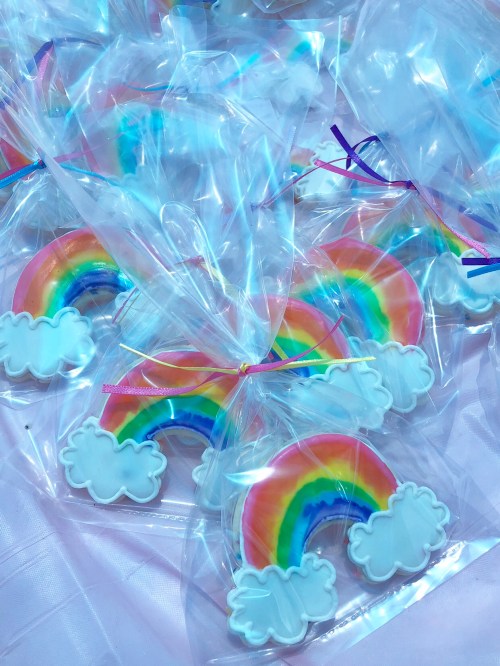
At the party I used them as favors. They looked so cute on the table with the rest of the decorations!

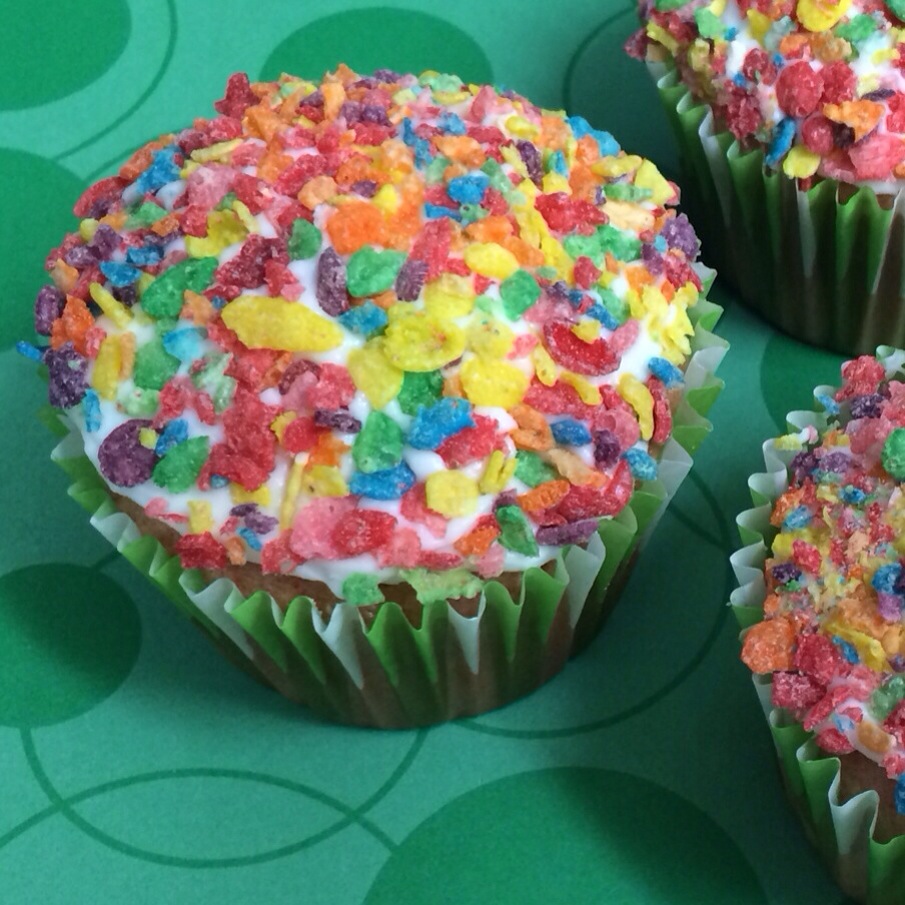
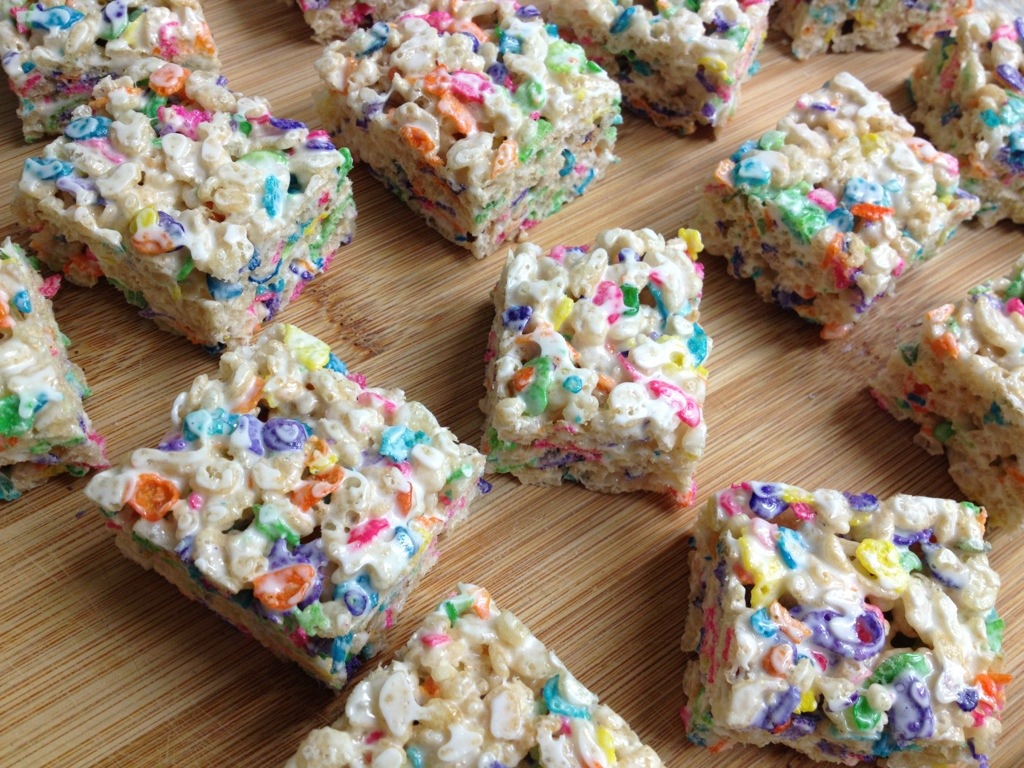
Do you love funfetti and sprinkles as much as I do?? Check out these other funfetti treats I have made:

Funfetti Sugar Cookies

Funfetti Oreo Surprise Cookies

Funfetti Cookie Dough Truffles

Funfetti Blondies

Leave a comment

Filed under Cookies

Unicorn Smash Cake

I made this cake for my tiny babe’s Unicorn First Birthday Party.

Unicorn cakes are “all the rage” right now. You can find them on Instagram and Pinterest and just about anywhere. I really wanted to make one for the party but I knew I needed to be reasonable with my skill level.

Cakes are not exactly my thing. They stress me out and there’s only 1 so if you mess it up there’s no extra to fall back on. Smash cakes on the other hand are smaller and don’t need to be perfect because the baby is just going to mess it up anyway!

I did a funfetti cake and frosted the outside in white with a little bit of pink streaks. (Which may or may not have been an accident.)

I wrapped the colors separately and added them all to the piping bag together to create this colored look.

I used a big star tip and piped swirls for the unicorn’s mane, then filled in the holes with stars.

Once I felt like the mane had a good flow, I sprinkled it with iridescent sparkles. It’s hard to capture in pictures but it was so pretty!

I made the ears and horn from cookies. I baked the horn on a stick so that I could easily put it on and take it off of the cake when it was time. I outlined and filled the cookies in white, plus a little pink for the ears. The horn, once dry, I painted in silver luster dust. I really like this one because you don’t have to mix it, it’s already ready to go.

I piped eyes and eyelashes on the unicorn and once they were dry I painted them in silver luster dust.

Overall I am pretty happy with how it turned out.

I think she liked it!

If you want to see more of my smash cakes, check out these links!

Pumpkin Smash Cake

Cookie Monster Smash Cake

Giant Cupcake Smash Cake

Leave a comment

Filed under Cakes, Cookies

Unicorn Birthday

My little Audrey turned ONE and we threw her a magical unicorn birthday party!

Here are some of the fun details. 🦄

((I will do separate posts for the cookies and cake. They were so fun to make!))

(Don’t worry she’s not crying here, the wind was making her eyes water!)

I made Fruity Pebble Rice Krispie Treats and a Rainbow Fruit Tray.

This is the smash cake I made…

There were also funfetti cupcakes with vanilla buttercream. I made my own sprinkle medley for these.

The rainbow cookies were the favors.

This birthday sign is from this Etsy shop. She made one a couple years ago for Levi’s first birthday.

So hard to believe my last little baby is ONE!

1 Comment

Filed under Cakes, Cookies, Crafts, Misc

Fiesta First Birthday

Colette was born on Cinco de Mayo. What better way to celebrate than to have a fiesta for her first birthday!?

I happened to have this mini donkey cutter that I knew would be perfect for piñatas.


This is my favorite flower cutter. I knew it would make awesome colorful flowers for this set.

I modified an ice cream cone cutter to make these maracas cookies. Obviously a baby rattle would be perfect.


I made one extra special cookie. Cole’s family lost their very special pup Beanie a while back. He was so special that I had previously made cookies of him for their wedding. I used the cutter to make a Beanie piñata. I think he looks pretty cute in color. 💙

**Disclaimer: I made these last year but didn’t get them up in time for Cinco de Mayo. Colette is actually almost 2 now!**

5 Comments

Filed under Cookies

My Little Pony Cookies

I still make things. Not as often, but I do. They just never seem to make it onto here.

I while back I made these My Little Pony Cookies. I was’t going to share them, but it’s been awhile now and I’m not feeling so self conscious about them anymore so I decided why not post them.

I don’t usually do characters (because they’re very hard) but I bought special cutter that indented a lot of the detail lines so I felt more comfortable taking on the challenge.

I like to outline in a dark color like this to create that “coloring book” feel. It also makes the images pop really well.

The hard part about filling in all of these little sections is they tend to crater. You can see this better in the next picture.

This is the finished product for this one. I wasn’t super happy with how they turned out, but I know I’m my harshest critic sometimes. I had a really rough time with the eyes. Is there a cookie character eye class I can attend? Ugh.

The next one was not as many tiny spaces to fill, but it had it’s own challenge.

This one has stripes in the tail, so I had to do a wet-on-wet technique.

Here’s the finished product. Again the eyes are rough and there is some cratering, but not too bad.

Thankfully I didn’t have to do too many ponies, because there were amazing rainbows to go with this set too. Can’t go wrong with a perfect rainbow! I pieced these together with a small flower cutter that I smooshed a little, and a couple circle cutters for the rainbow.

The birthday girl’s name went on the clouds.

I usuallly just google a bit and then “wing it” with my fonts. I like how this one turned out.

Little girls (and big girls) love sprinkles, so I rounded out the set with some rainbow sprinkled 4’s.

For the record, I’ve sworn off characters for now, they give me way too much anxiety. 😛

Leave a comment

Filed under Cookies

Wizard of Oz Cookies

Miss Hannah just turned 1! We celebrated Hannah at this baby shower and at this gender reveal dinner.

Her party theme was Wizard of Oz, and her mama did an AMAZING job with all the little details! Parties can drive a modern mama crazy, but once it’s all pulled together it’s spectacular!

I was up for the task of making the cookies of course. I had a hard time deciding what to make because there are so many fun ideas with this theme! I decided to go with rainbows, ruby red slippers, and a bit of yellow brick road.

Here is my progression with the rainbows… I wanted it to be as even as possible but didn’t want to have to mark out the cookie ahead of time.


I filled each rainbow color below the line it matched, if that makes sense. I started with every-other color to make sure nothing ran together while it was wet. Then I came back a little while later and did the rest.


For the yellow brick road I decided to line it all ahead of time and fill each section individually to give it dimension.


I think this was the first time I made so many colors WITHOUT making pink. It was weird. And it may never happen again. 🙂

The ruby red slippers. *sigh*

I outlined and filled in red, then added some disco dust once they were totally dry. I used a paint brush to just barely wet the top with vodka (don’t freak out, it evaporates) then sprinkled the sparkles across the cookie. Let it dry overnight, then used another dry paintbrush to brush off all the excess. There was sparkles EVERYWHERE.


Here are the finished cookies all together.

Love the dimension on the yellow brick road cookies.

It’s hard to capture just how sparkly the shoes were. I kind of want to sparkle everything now. #sparkleallthethings

So lucky to get to make these for little miss Hannah.

Now here are a couple of the other details from the party…


11046482_10205780360449069_909413974917940041_n

20523_10205780361849104_8429803733655691357_n 11034310_10205780362809128_2878004117970282480_n

1484674_10205780360809078_5243122985721073563_n 11024758_10205780362249114_4481602456505933736_n

15377_10205780362569122_5627063087471415842_n 11060924_10205780361049084_340349352295686601_n

Leave a comment

Filed under Cookies

Pot O’ Gold at the End of the Rainbow Cupcakes

I’ve made Rainbow Cupcakes before. (That post is almost 3 years old. If you want to see what a long way I’ve come in 3 years, peruse away. 😁 )

These rainbow cupcakes take it up a notch, because there’s something golden at the end of the rainbow….

Golden Oreos that is. 😜

These are simmmmmmmple.

Make up some cake. White makes prettier rainbows, but yellow will work too. (I used yellow. Just had to add more coloring to get the shades I wanted.)

Divide the batter into 6 bowls. Or however many different colors you want. If you hate one particular color you can leave it out. I won’t judge.

Color each bowl a different color of the rainbow.

Scrape the batter into individual baggies. Freezer bags work better cuz they’re a little thicker, but regular baggies will be okay if that’s all you have.

Place a golden Oreo in the base of each cupcake liner.

20140316-223434.jpg

Cut a small corner off of each baggy. Starting with purple (or whichever color you want last), squeeze a small amount on top of each Oreo. Try to make as thin and as even/flat of a layer as possible. It helps to shake the pan a little side-to-side to get it evened out (though you only want to do that for the bottom layer). Thin is the key here though – we have 6 colors/layers to go and we don’t want to overfill the liners.

20140316-223444.jpg

Go to blue, or whichever color you want next, and add another thin, flat layer, cover most of the purple if you can. Start by going around the outside then fill in (see picture of me doing green above). This ensures that the outside out the cupcake shows all the colors no matter what.

Repeat with all the colors.

The finished product should be about 2/3 the way full.

Now is the time to preheat the oven to 350*. Let the cupcakes sit out for 10 minutes before putting them in the oven. Seriously. It helps make the tops bake up more round and less nipple-like. You all know what I’m talking about.

Bake for 18-20 minutes, or until a toothpick inserted into a cupcake comes out clean.

I waited 10 minutes and mine still came out looking like nipples. *sigh*

20140316-223452.jpg

Top with white or green or whatever color frosting you want. White would be good if you’re going for ‘clouds.’ I did a pale green for St. Patty’s Day! Here is my Easy Buttercream Recipe that I used for mine.

(This is my favorite marshmallow frosting that would be good too, and more cloud like!)

20140316-223501.jpg

Pretty rainbow cupcake looking all innocent…. Then SURPRISE! Oreo. Bam.

20140316-223505.jpg

Not only do these look pretty, but that cookie on the bottom really gives them something special!

20140316-223518.jpg
#jamberrynails

I’m pretty obsessed with these if you can’t tell. Allllll the colorrrrssss!

20140316-223512.jpg

Leave a comment

Filed under Cakes

Fruity Pebble Cupcakes

These cupcakes are LOADED with fruity pebbles!

20140311-102905.jpg

I added 2 cups of crushed fruity pebbles to a box of white cake mix. (And by crushed I mean powder-ized.)

I spread a thin layer of my Easy Buttercream on top, then rolled the top in slightly crunched fruity pebbles.

20140311-102856.jpg

Pretty, rainbow-y, and perfect as a last-minute St. Patty’s Day treat!

2 Comments

Filed under Cakes

Easy Cookie Rainbow

I had a bit of leftover cookie dough after doing some decorated cookies, so I whipped these up for snacking purposes.

20140221-214546.jpg

I thought it would be an easy and cute little treat for St. Patty’s Day!

20140221-214551.jpg

Needless to say, they didn’t last long…

20140221-214557.jpg

2 Comments

Filed under Cookies

Rainbow Krispy Treats

Krispy Treats with Fruity Pebbles mixed in.

I have been wanting to make these for awhile.

I went to the store to get the ingredients and the Fruity Pebbles were special neon colors! Perfect for me because basically that means red is replaced with pink and the rest of the colors are a little brighter. My perfect palette. 🙂

20130323-152903.jpg

Mix together 4 cups of Rice Krispies and 2 cups of Fruity Pebbles.

20130323-152909.jpg

Melt 3 tablespoons of butter in a medium pot on low heat, then add an entire bag of regular marshmallows (4 cups if using mini marshmallows).

20130323-152915.jpg

Once they are completely melted (this takes an  eternity), pour over the cereal and mix with a wooden spoon or rubber spatula quickly until all cereal is coated.

Dump into a 13×9 pan sprayed with cooking spray. Spray cooking spray on hands and press down into pan as evenly as possible. Wait at least 2 hours. (Torture, I know.)

20130323-152922.jpg

Invert the pan on a cutting board and cut into 2 inch squares.

20130323-152929.jpg

I LOVE these. They’re not overly fruity because we just used a small amount of Fruity Pebbles. Plus, they’re fun and pretty and easy. And they would go perfectly with Easter!

20130323-152934.jpg

Recipe adapted from Kellogg’s and Cookies and Cups.

4 Comments

Filed under Misc