Tag Archives: marshmallows

2016 Monthly Challenge: Fondant

It’s that time again!

I made a quasi-resolution to challenge myself every month to try a new technique or recipe that I’ve been scared to do before.

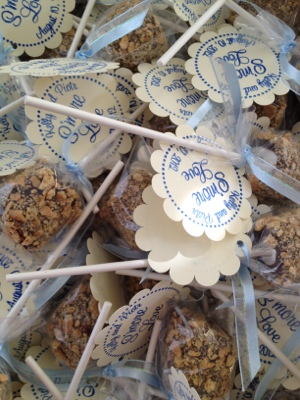
In January I made funnel cakes. On January 31st. In February I made granola bars. On February 29th. I’m happy to report that my March challenge was completed on March 30, with one day to spare! Small improvements people.

For March I made fondant.

In case you don’t know, fondant a paste used to cover cakes to give them that smooth perfect look. It’s also used as decorations, cupcake toppers, and sometimes on cookies. It’s edible, but typically not very tasty.

Homemade fondant is made out of marshmallows. Way tastier than store bought stuff!

I have never even worked with fondant before, so everything about this was new to me. I watched a couple how-to videos before getting started. This video by Lisa of The Bearfoot Baker helped me prepare my cake. I also used Lisa’s fondant recipe. I watched this YouTube video to get the technique down for covering my cake.

Fondant

Ingredients:

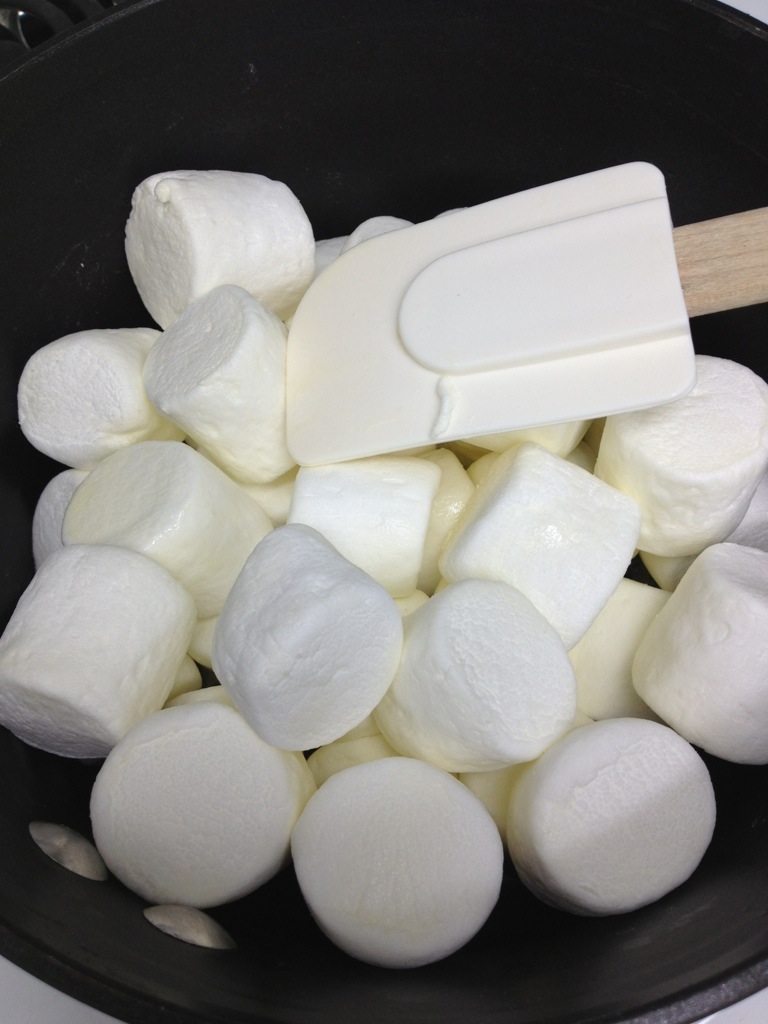
1 lb mini marshmallows

2 tbsp water

2 lb powdered sugar

**Lisa’s recipe called for vegetable shortening. I had some but it was bad (oops) so I just did without. It still worked fine, but it probably would have been a little easier. 

Directions:

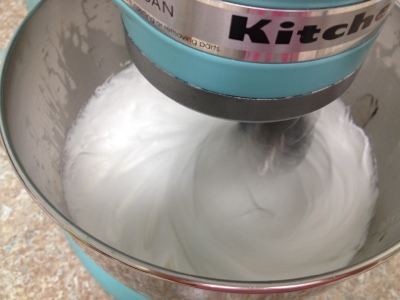
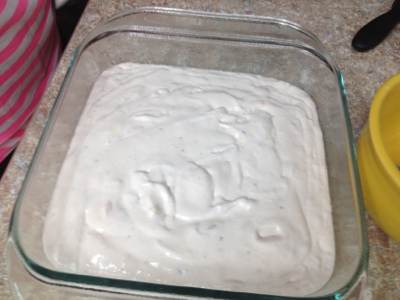
1. In a microwave safe bowl, melt marshmallows and water, stopping to stir every 35 seconds. (It took me 3 rounds of 35 seconds.)

2. Dump most of the powdered sugar on a mat for kneading, creating a well.

3. Pour the melty mallows into the powdered sugar well. My well was not big enough and it spilled over and stuck to my mat. Make a big well.

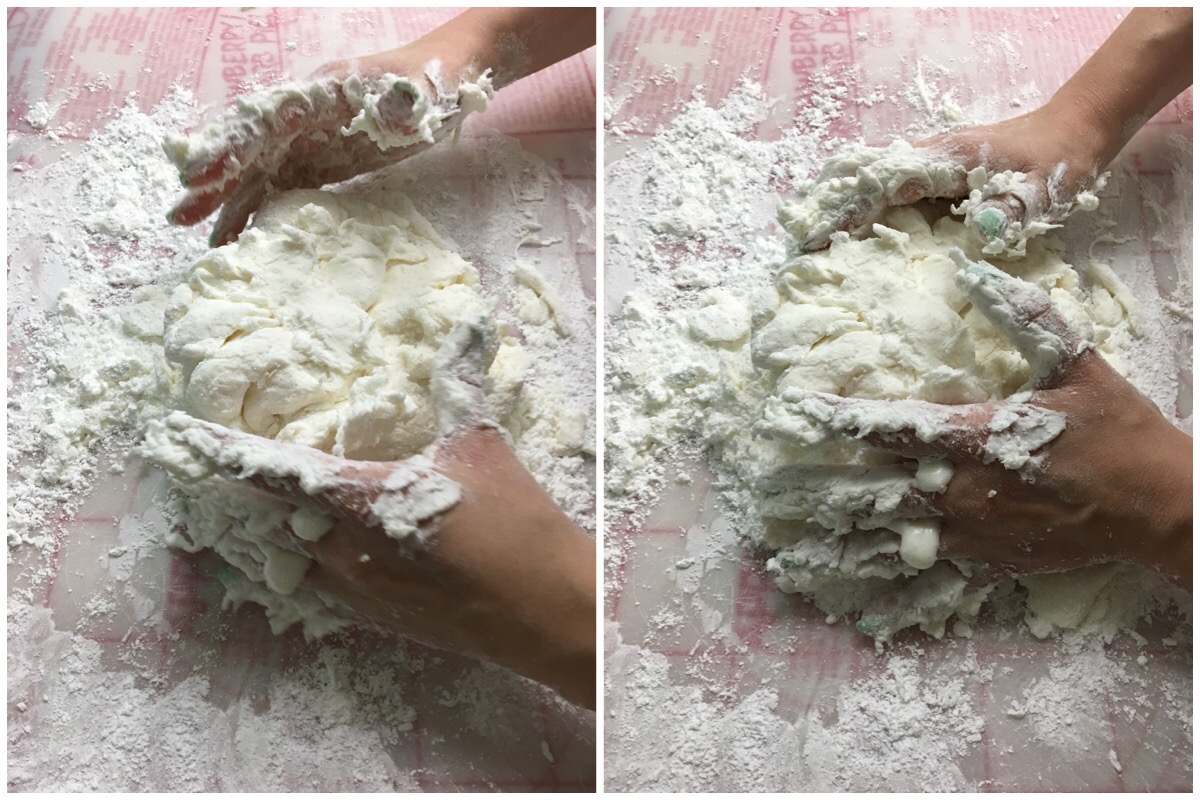
4. I stirred with a spatula at first because the mallows were HOT. After a minute or so I was able to use my hands. No vegetable shortening means a big sticky mess. Knead sugar into marshmallows.

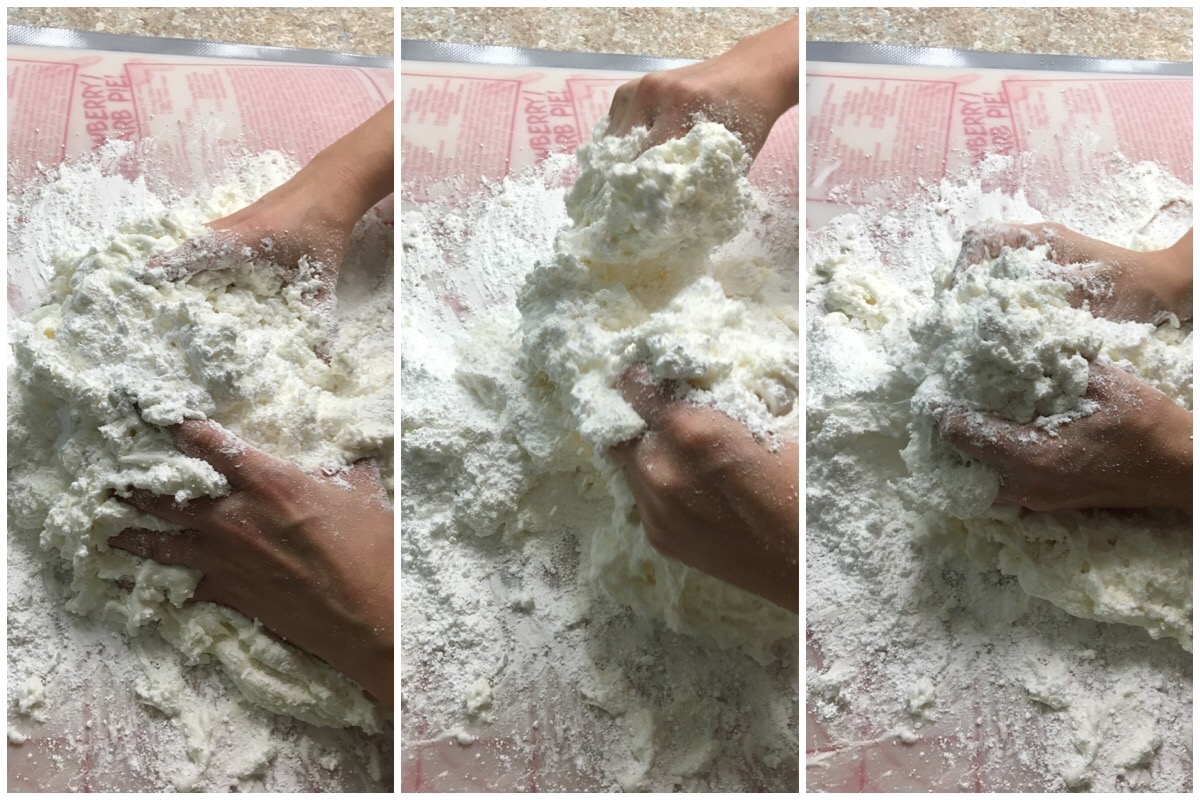
  …after a bit it finally started to come together. Still sticky gross hands.

5. Keep kneading until all of the powdered sugar is incorporated and there are no little powdered sugar balls.

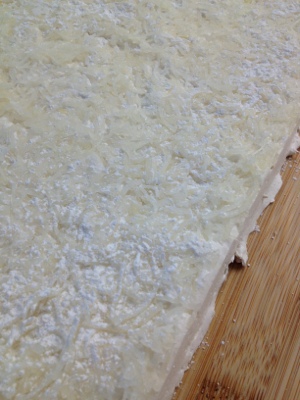
This is how it looked once all of the powdered sugar was incorporated. My hands were still messy but not too bad!  6. Roll out the fondant as smooth and flat as possible, turning 1/4 turn after every couple rolls (to keep it from sticking). The diameter needs to be wide enough to cover your cake. H+W+H. I had a 6″ cake that was 3″ tall so I needed it at least 12″ wide. This recipe make probably 2x as much fondant as I needed.

7. Lift the fondant up and over the top of your cake. I had to get my husband’s help with this part.

**Shhh no peeking at the cake. That will come later!**

  8. Immediately smooth out the top to make sure there are no air bubbles…
  …then use your hands to start molding the fondant down the sides of the cake, starting at the top. 9. Then use the smoother to smooth out the sides as much as possible all the way down.

10. Use a knife to cut as close to the cake as you can around the bottom, and remove the excess. (Store airtight. I wrapped in cling wrap then put in a ziploc bag.)

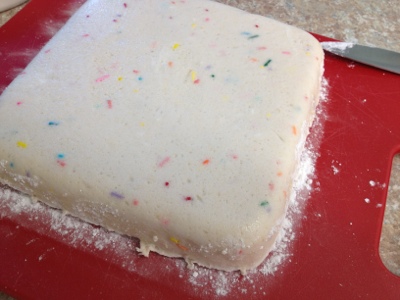
 11. Voila! Not as hard as I thought it would be! It’s DEFINITELY not perfect, but I am proud of it! 
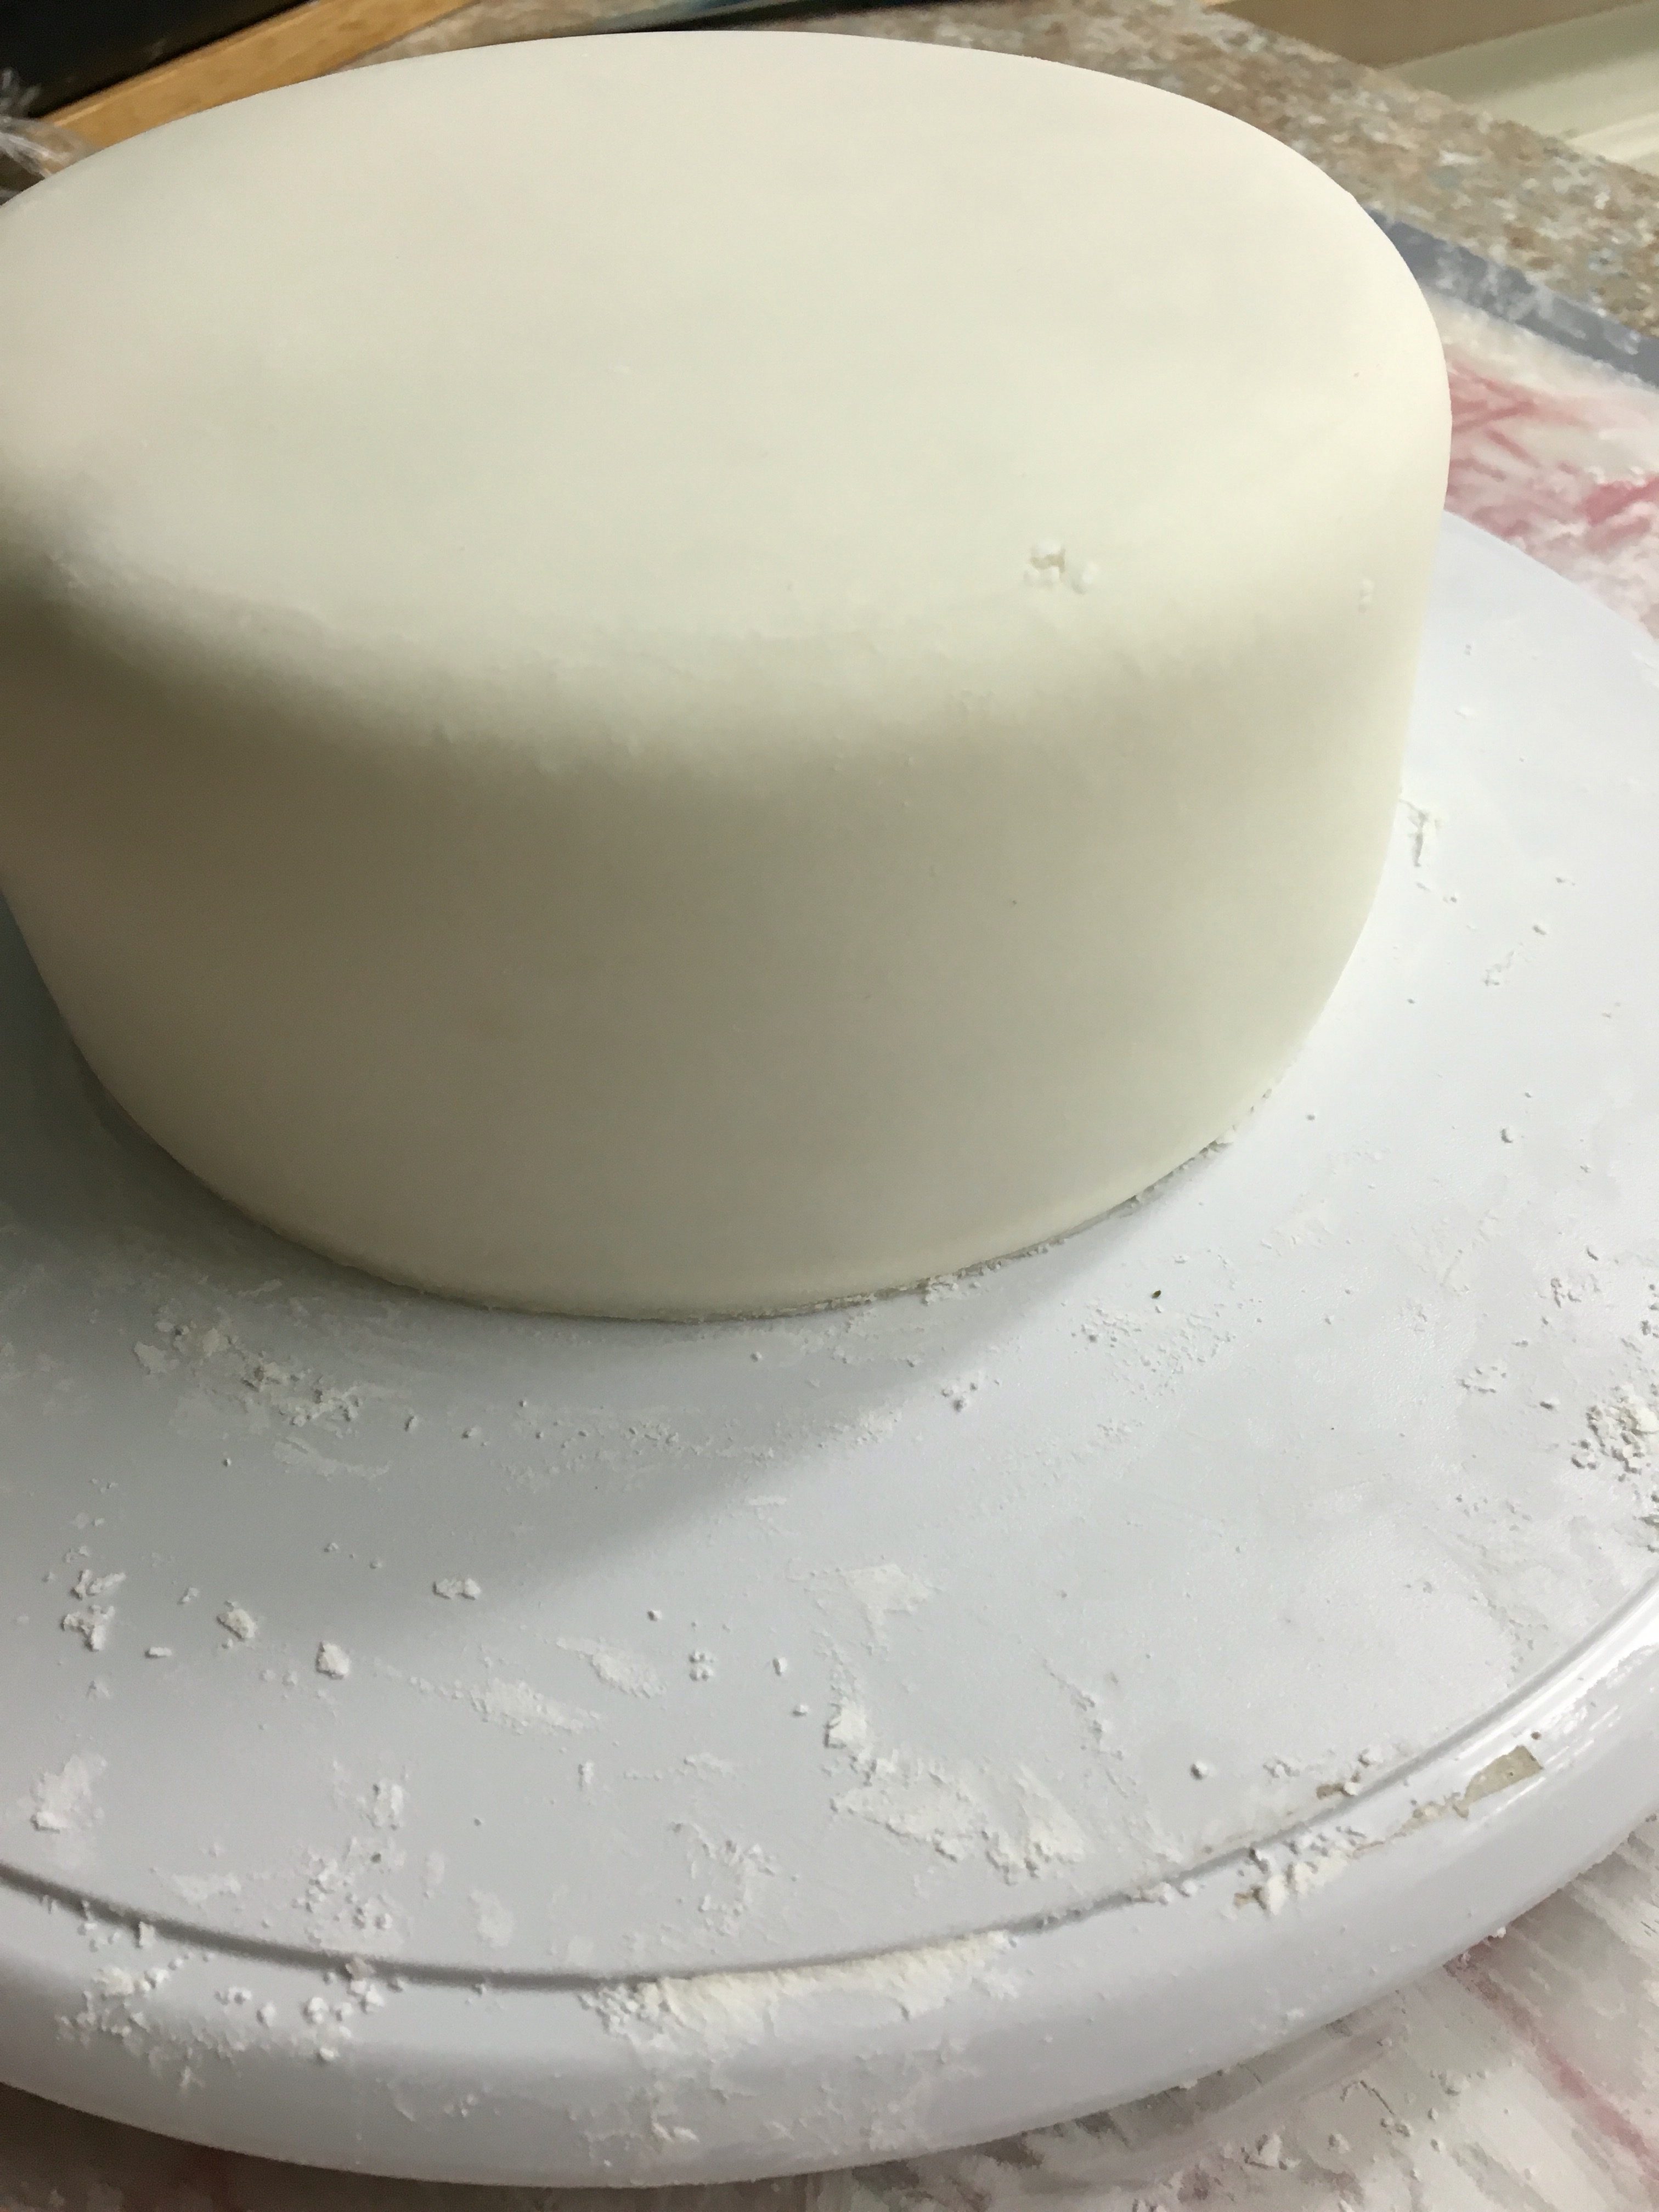
I used a stencil and a can of Wilton Color Spray to decorate the top.


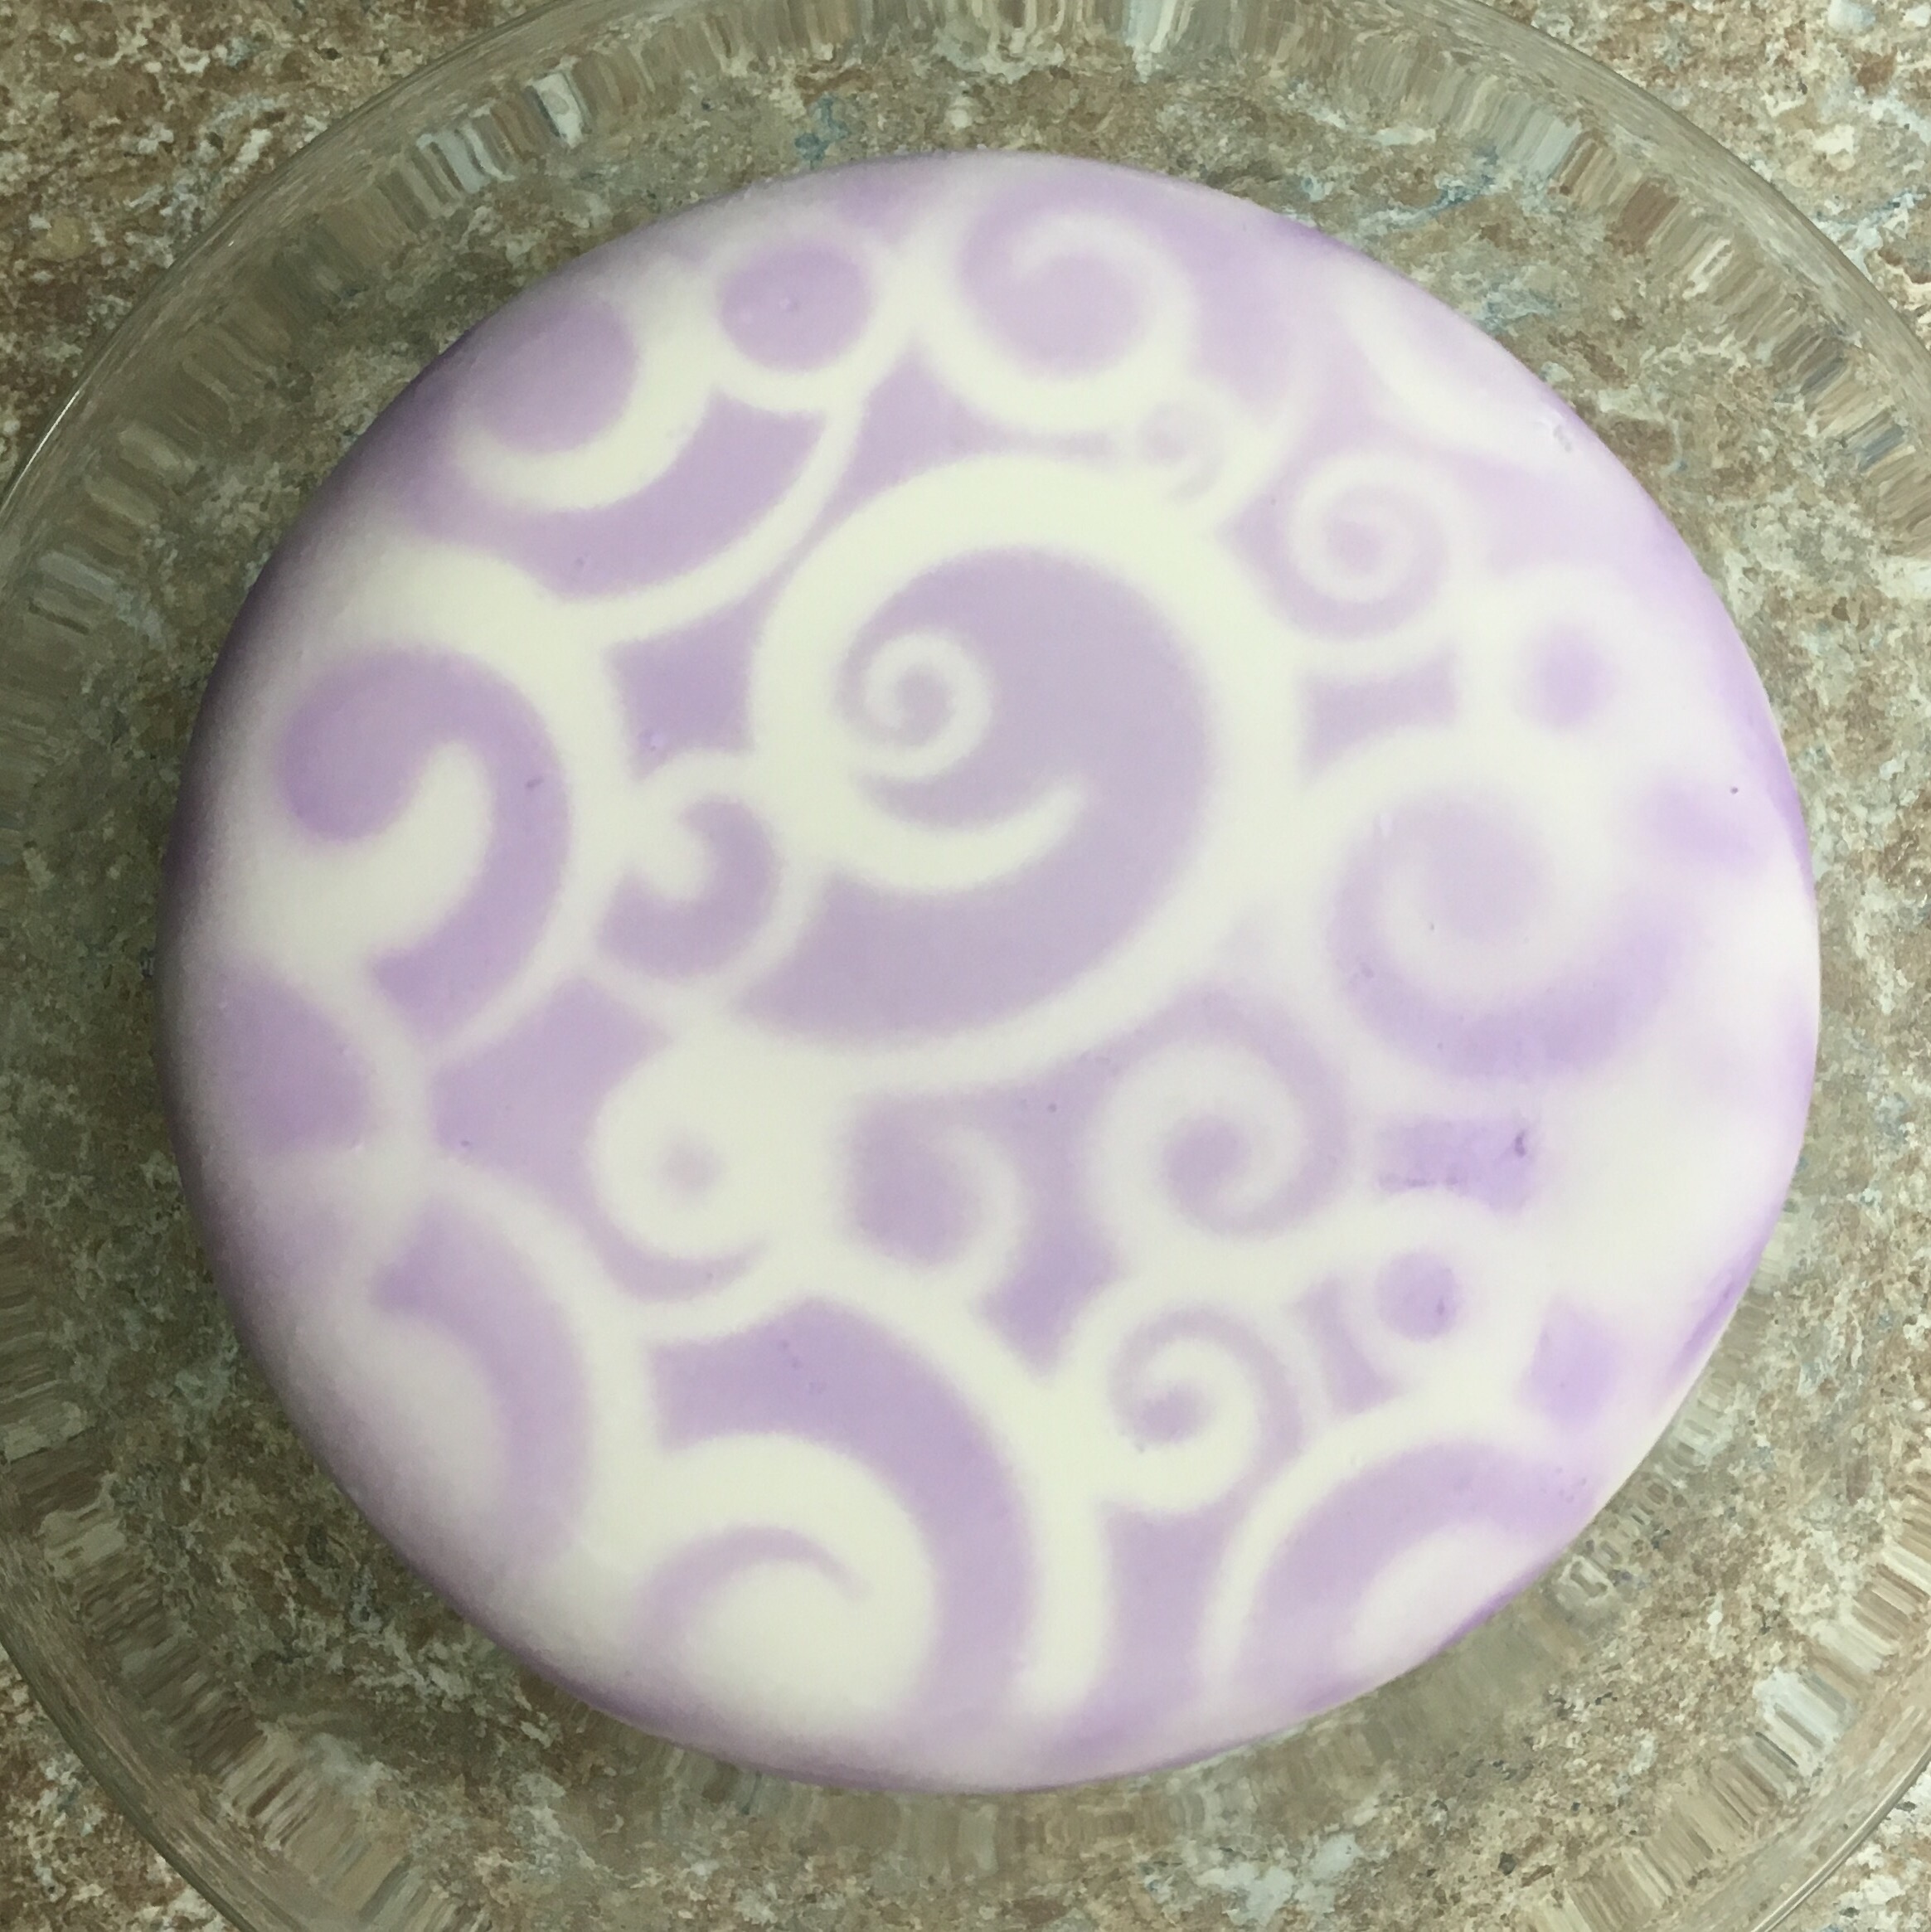
 Can’t wait to share what’s on the inside!! 😛

Leave a comment

Filed under Cakes

Cotton Candy Marshmallow Frosting

I haven’t posted in awhile… but that doesn’t mean I haven’t been baking sweets!

I am just extremely pregnant. Which means I have been busy getting ready for baby, being gone from work for a couple months, and spending as much time enjoying my little family and relaxing as I can!

I have been craving funfetti lately, so I whipped up a box mix the other night and topped it with this light and fluffy Cotton Candy Marshmallow frosting. I used this recipe that I made previously for these cupcakes, and just substituted the vanilla for cotton candy flavoring.

It wasn’t too overpowering, but just enough flavor to give the hint and the scent! I died it light blue for cotton candy, and because it was the 4th of July!


When I started up the mixer, my son had no idea what was going on. I realized I only bake and create when he’s gone to bed so he’s probably never heard it going before or seen me making anything! He was very curious so I had to get him a stool so he could see. The fluffy frosting was still white and he thought it was ice cream. (Which is his favorite thing ever – and he’s only had it a handful of times.)

We don’t really let him have sweets ever (he’s only 21 months old and I figure there’s PLENTY of time for that later) so this was a big treat. We let him have a 1/4 of a cupcake with a smear of the frosting on it. He ate it SO FAST we couldn’t get any pictures. So naturally we had to give him another piece. 🙂

I’d say he approves!

Now when I say extremely pregnant… Today is July 5th and I’m 41 weeks! I had my son 3 days before my due date so this is definitely testing my patience! Send me good labor vibes everyone! 😀

Leave a comment

Filed under Cakes

Rainbow Krispy Treats

Krispy Treats with Fruity Pebbles mixed in.

I have been wanting to make these for awhile.

I went to the store to get the ingredients and the Fruity Pebbles were special neon colors! Perfect for me because basically that means red is replaced with pink and the rest of the colors are a little brighter. My perfect palette. 🙂

20130323-152903.jpg

Mix together 4 cups of Rice Krispies and 2 cups of Fruity Pebbles.

20130323-152909.jpg

Melt 3 tablespoons of butter in a medium pot on low heat, then add an entire bag of regular marshmallows (4 cups if using mini marshmallows).

20130323-152915.jpg

Once they are completely melted (this takes an  eternity), pour over the cereal and mix with a wooden spoon or rubber spatula quickly until all cereal is coated.

Dump into a 13×9 pan sprayed with cooking spray. Spray cooking spray on hands and press down into pan as evenly as possible. Wait at least 2 hours. (Torture, I know.)

20130323-152922.jpg

Invert the pan on a cutting board and cut into 2 inch squares.

20130323-152929.jpg

I LOVE these. They’re not overly fruity because we just used a small amount of Fruity Pebbles. Plus, they’re fun and pretty and easy. And they would go perfectly with Easter!

20130323-152934.jpg

Recipe adapted from Kellogg’s and Cookies and Cups.

4 Comments

Filed under Misc

Cookies and Cream Marshmallows

These are soooo good. My 2nd favorite mallow flavor, and my brother’s #1 favorite. (Funfetti still tops my list.)

Make vanilla mallows according to this recipe. When all the whipping is done, stir in 1/2 cup crushed Oreo cookies. Instead of using powder to coat the sticky mallows, I used more crushed cookies!

4 Comments

Filed under Marshmallows

Cotton Candy Marshmallows

20120826-101224.jpg

These homemade marshmallows are flavored like cotton candy, colored like cotton candy, and packaged like cotton candy! 

20120826-101228.jpg

3 Comments

Filed under Marshmallows

Wedding S’more Pop Favors

Today is National S’mores Day!

A friend of a good friend of mine is getting married today and I made her these S’more Pops as her wedding favors!

20120810-064600.jpg

Aren’t the tags just adorable?

20120810-064605.jpg

If you love s’mores, you have GOT to make these. They take no time at all to whip up a few, and I promise they taste sooo much better than you can even imagine they would. I’m pretty much addicted.

How to: (sorry no pics. It’s easy though I swear.)
1. Stand up the mallows on a flat surface.
2. Shove the sticks straight into the tops of the mallows without lifting the mallow from the flat surface. (The stick may be into the mallow crooked, but it should be straight up and therefore sturdier. If you hold the mallow while you shove the stick in, it will end up crooked like 46.5% of the time. Ugh.)
3. Melt chocolate chips or candy melts in the microwave. I did candy melts this time and it seemed easier/smoother. But either works fine and tastes great. By the way, I like to melt in a short drinking glass. It’s taller and less wide so the chocolate is deeper and easier for dipping.
4. Dip the sticked mallow and shake downward to get as much chocolate off as will drip off. Trust me, they’re messy if you skip this step.
5. Roll the chocolated mallow in graham cracker crumbs.
6. Set the mallow “stick up” on wax paper to set up.
Enjoy!!!

6 Comments

Filed under Marshmallows, Misc

Mini Krispy Cupcakes

So a couple days ago I stumbled across this recipe for small batch rice krispy treats.

GENIUS!!

All the guilt of making your unhealthy snack is gone because you can make just enough for one little dessert! I thought this would be the perfect way to experiment with different flavors without making a ton of it (just in case it turned out yucky… like that could even happen with rice krispies…)

The recipe suggests pressing them into a muffin/cupcake pan (which makes 2). I decided to do a mini muffin pan instead (which made about 12), because everyone knows that the smaller a dessert is, the cuter it is too!

20120725-131050.jpg

I have to give credit where credit is due here… my husband came up with the idea of dipping the tops in chocolate to make them look like cupcakes! I was going to just press them flat and drizzle them. I guess he’s pretty smart at the chocolate stuff because they turned out great!

I made 2 different kinds!!

Peanut Butter Rice Krispies

Ingredients:

1 tbsp butter

1/4 cup smooth peanut butter

1 cup mini marshmallows

1 1/2 cups rice krispies

Directions:

1. Spray muffin pan with non-stick spray.

2. In a small pot, melt butter, mallows, and peanut butter until smooth.

3. Add the rice krispies straight to the pot and stir until completely coated in goop.

4. Remove pot from heat and carefully scoop krispies into the muffin pan cavaties. Make the tops rounded if you want it to look like a cupcake, or make them flat if you want them to look like little cups.

20120725-130940.jpg

5. Wait. The hardest part, I know.

6. When they are set up (mine took an hour or 2), melt chocolate, white chocolate, or candy melts to dip or drizzle however you like.

20120725-131003.jpg 20120725-131011.jpg

20120725-131017.jpg 20120725-131021.jpg

I had just enough mini mallows to do another small batch…

Chocolate Rice Krispies

Ingredients:

2 tbsp butter

1/4 cup semi-sweet chocolate chips

1 cup mini marshmallows

1 1/2 cups rice krispies

Directions:

1. Spray muffin pan with non-stick spray.

2. In a small pot, melt butter, mallows, and chocolate until smooth.

20120725-130948.jpg

3. Add the rice krispies straight to the pot and stir until completely coated in goop.

4. Remove pot from heat and carefully scoop krispies into the muffin pan cavaties. Make the tops rounded if you want it to look like a cupcake, or make them flat if you want them to look like little cups.

5. Wait. The hardest part, I know.

6. When they are set up (mine took an hour or 2), melt chocolate, white chocolate, or candy melts to dip or drizzle however you like.

20120725-131027.jpg 20120725-131031.jpg

As soon as I can get to the store to buy more mini mallows, I will be making new krispy recipes!

20120725-132225.jpg  20120725-132242.jpg

5 Comments

Filed under Misc

Coconut Star Marshmallows

In these coconut star marshmallows, coconut is definitely the star!

20120715-124403.jpg

Ingredients:

2 packets of powdered unflavored gelatin (I use Knox)

1/2 cup cold coconut water

1/4 cup water

3/4 cup sugar

1/2 cup light corn syrup

1/8 tsp salt

1 tbsp vanilla

some shredded coconut

cornstarch/powdered sugar mixture for dusting (1:1.5 ratio)

Directions:

1. In a microwave safe bowl, whisk together the cold coconut water and gelatin, then let it stand for 5 minutes.

2. Spray a 13×9 pan with non-stick spray, then sprinkle the bottom with shredded coconut. It doesn’t need to be a full layer, but you don’t want too much empty space.

20120713-105759.jpg

3. Pour 1/4 cup corn syrup into your stand mixer. Pour the other 1/4 cup into a medium pot with the water, sugar, and salt. Attach the candy thermometer so that the tip does not touch the bottom of the pot, but instead sits in the mixture. Turn the heat on high and stir occasionally while checking the temperature (you want it to get to about 235-240*).

4. Microwave the gelatin for 30 seconds. Pour it into the stand mixer (fitted with the whisk attachment) with your corn syrup, turn the mixer on low and leave it running.

5. When the sugar mixture reaches 235-240*, slowly pour it into the stand mixer. Turn the speed up to 5 or 6 and set the time for 5 minutes. When the timer goes off, turn the speed up to 8 and set the timer again for 5 minutes. After the timer goes off again, add the vanilla and turn the speed up to the highest setting and set the timer for 2 minutes.

6. After the last timer goes off, turn off the mixer and pour the mallow on top the shredded coconut in the pan. Smooth out the top as much as possible, then dust with cornstarch/powdered sugar mixture and pat it down even.

7. Waiting is the hardest part. Let set up overnight.

8. The next day, place a cutting board on top of the pan and invert to release the mallow. It should come out easily because of the shredded coconut.

20120713-105804.jpg

9. Cut with a small star (or any shape) cookie cutter. Make sure to cut them as close as possible so there isn’t much waste. (Haha, yeah right.. the “waste” tastes just as good!) You may need to clean the cutter every couple of stars because the coconut gets sticky.

20120713-105810.jpg

20120713-105818.jpg

10. Dust the sticky edges of the mallows in more cornstarch/powdered sugar.

20120713-105830.jpg

They are amazing as is, but I wanted to take them a step further…

20120713-105834.jpg

Chocolate time!!

11. Melt chocolate in microwave in 30 second intervals, or in a double broiler. I chose to use my mini crock pot warmer. Once it’s smooth, you’re ready to dip!

Because the mallows were dusty and I didn’t want it to get into my chocolate, I pressed the mallow into the melted chocolate, covered it with chocolate without moving it around. Then I just lifted it out with a fork and tapped it on the edge until all the excess chocolate dripped off. Then used a knife to gently scrape the mallow off the fork onto wax paper.

20120715-125419.jpg

They look a little bumpy, but that’s all the yummy coconut in there!

20120715-124353.jpg

Don’t they look pretty?!

20120715-124359.jpg

The coconut is subtle enough and not too sweet. Absolutely perfect!

3 Comments

Filed under Marshmallows

Funfetti Marshmallows

I am OBSESSED with making marshmallows! If you missed the first post or the last post, be sure to check them out!

This recipe is from Shauna Server’s book Marshmallow Madness.

Follow the recipe for Basic Vanilla Marshmallows.

20120607-082100.jpg

At the end of all the whipping, carefully fold in 1/4 cup sifted dry funfetti cake mix. (You can use white, vanilla, or yellow cake mix if you don’t have funfetti.) My funfetti mix didn’t have enough sprinkles, so I added some more. (If you use regular cake mix you’ll want to add about 2 tbsp sprinkles.) Just be careful not to mix it too much or the sprinkles will melt and make the whole thing look muddy.

20120607-082115.jpg

20120607-082138.jpg

20120607-082158.jpg

20120607-082211.jpg

20120607-082221.jpg

20120607-082235.jpg

Don’t sprinkles just make everything better?! So pretty!

20120607-082248.jpg

When I made these, I cut out the last 2 minutes of whipping on high speed (because I thought that’s what the recipe said) but you can go the full time. Mine just came out more smooth and melt-in-your-mouth and less marshmallowy squishy. Hope that makes sense. They were still amazing though so it doesn’t really matter. 🙂

20120607-082300.jpg

Unfortunately the picture above is the last one I got of these marshmallows. We ate them all so fast I was barely able to share and didn’t get a chance to take some good pictures! So far these are my favorite marshmallows I have made. So there will be a ‘next time’ and then I will come back and add better photos!

2 Comments

Filed under Marshmallows

Kool Aid Marshmallows

To make these Kool Aid Marshmallows, follow all the steps of the Basic Vanilla Marshmallows, except add a packet of unsweetened Kool-Aid mix to the gelatin at the very beginning.

I chose Black Cherry because it’s my husband’s favorite.

I chose to cut into triangles this time to be different. And I made this batch in a casserole dish rather than the standard 8×8 pan. Turned out perfect!

I bet Orange Kool Aid would be tasty! Ooh or Ice Blue Raspberry Lemonade… I ❤ Kool Aid.

3 Comments

Filed under Marshmallows