Category Archives: Cakes

Unicorn Smash Cake

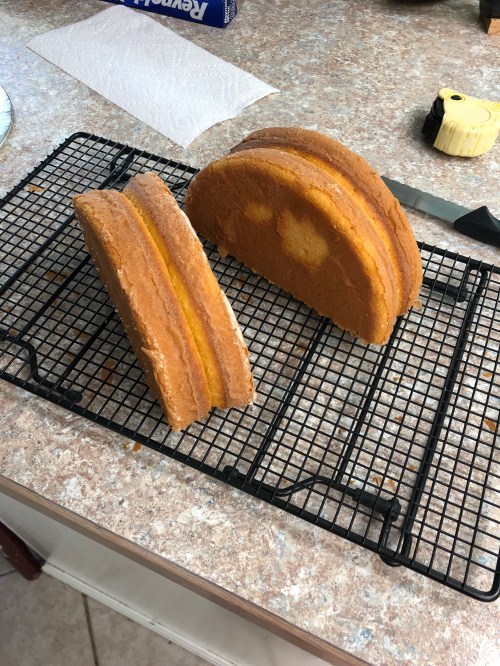
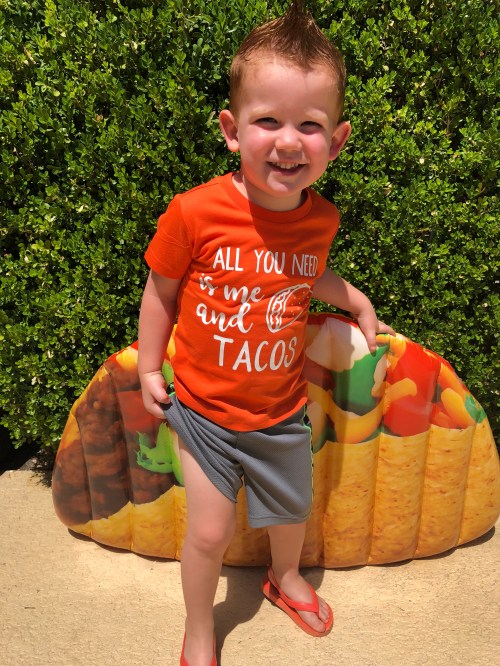
I made this cake for my tiny babe’s Unicorn First Birthday Party.

Unicorn cakes are “all the rage” right now. You can find them on Instagram and Pinterest and just about anywhere. I really wanted to make one for the party but I knew I needed to be reasonable with my skill level.

Cakes are not exactly my thing. They stress me out and there’s only 1 so if you mess it up there’s no extra to fall back on. Smash cakes on the other hand are smaller and don’t need to be perfect because the baby is just going to mess it up anyway!

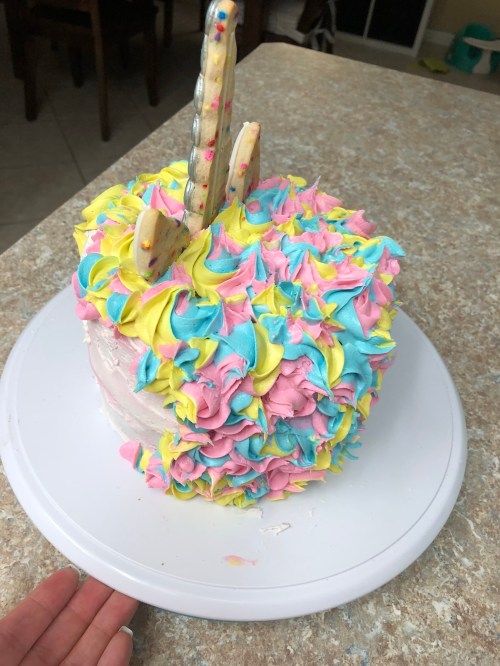
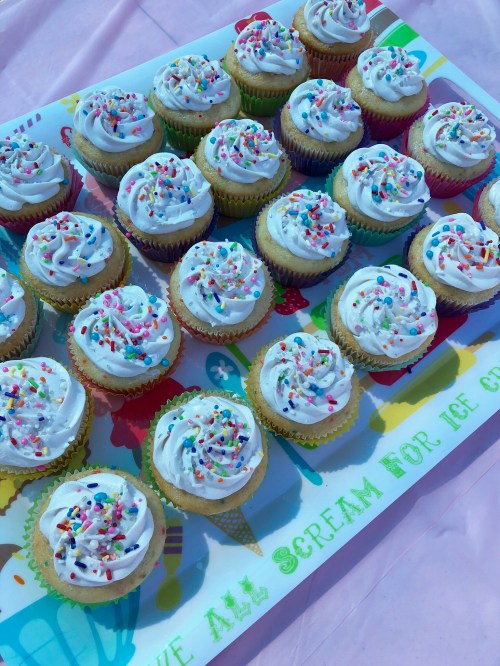
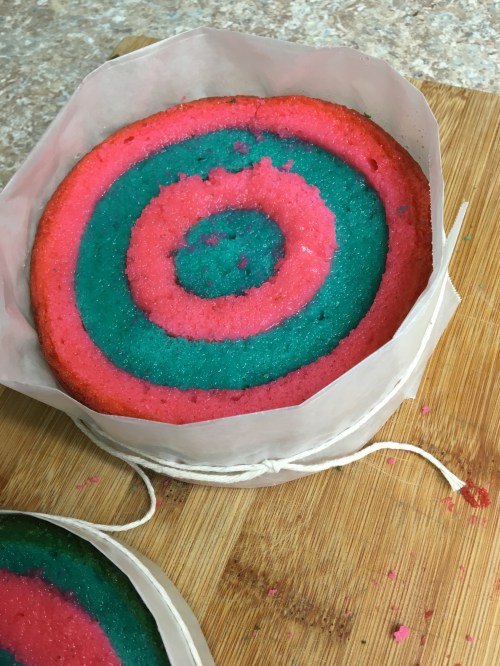
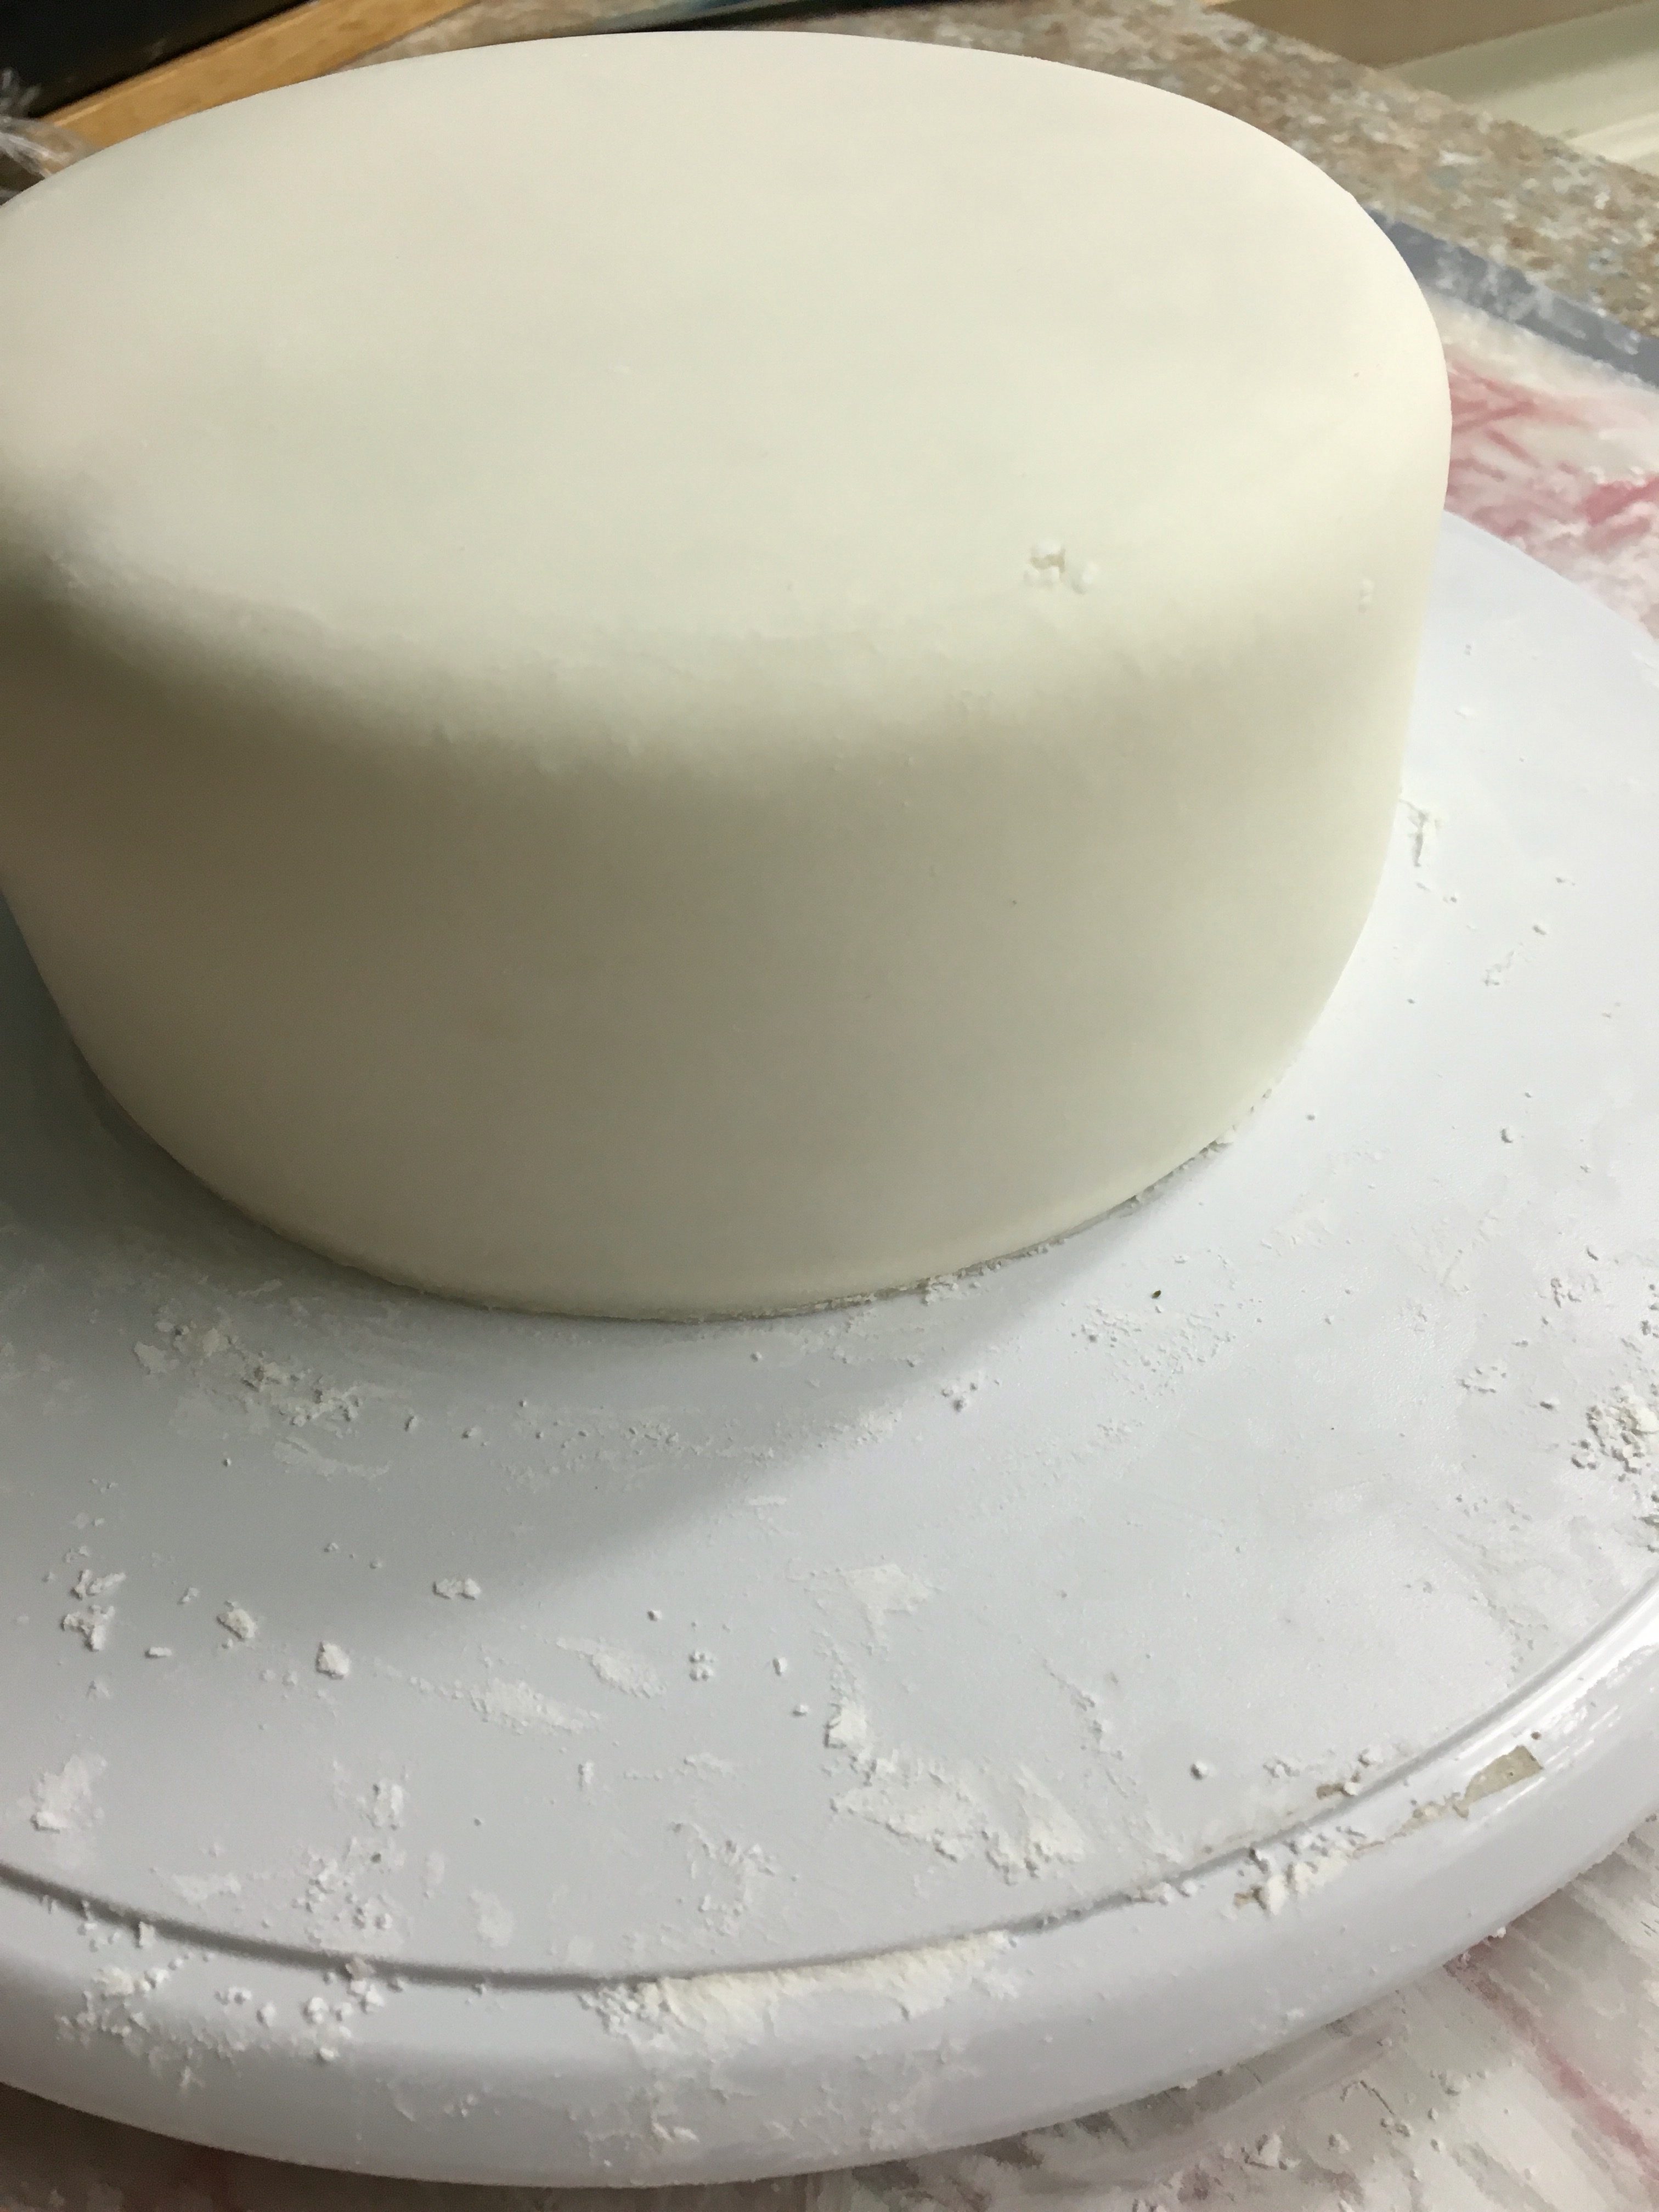
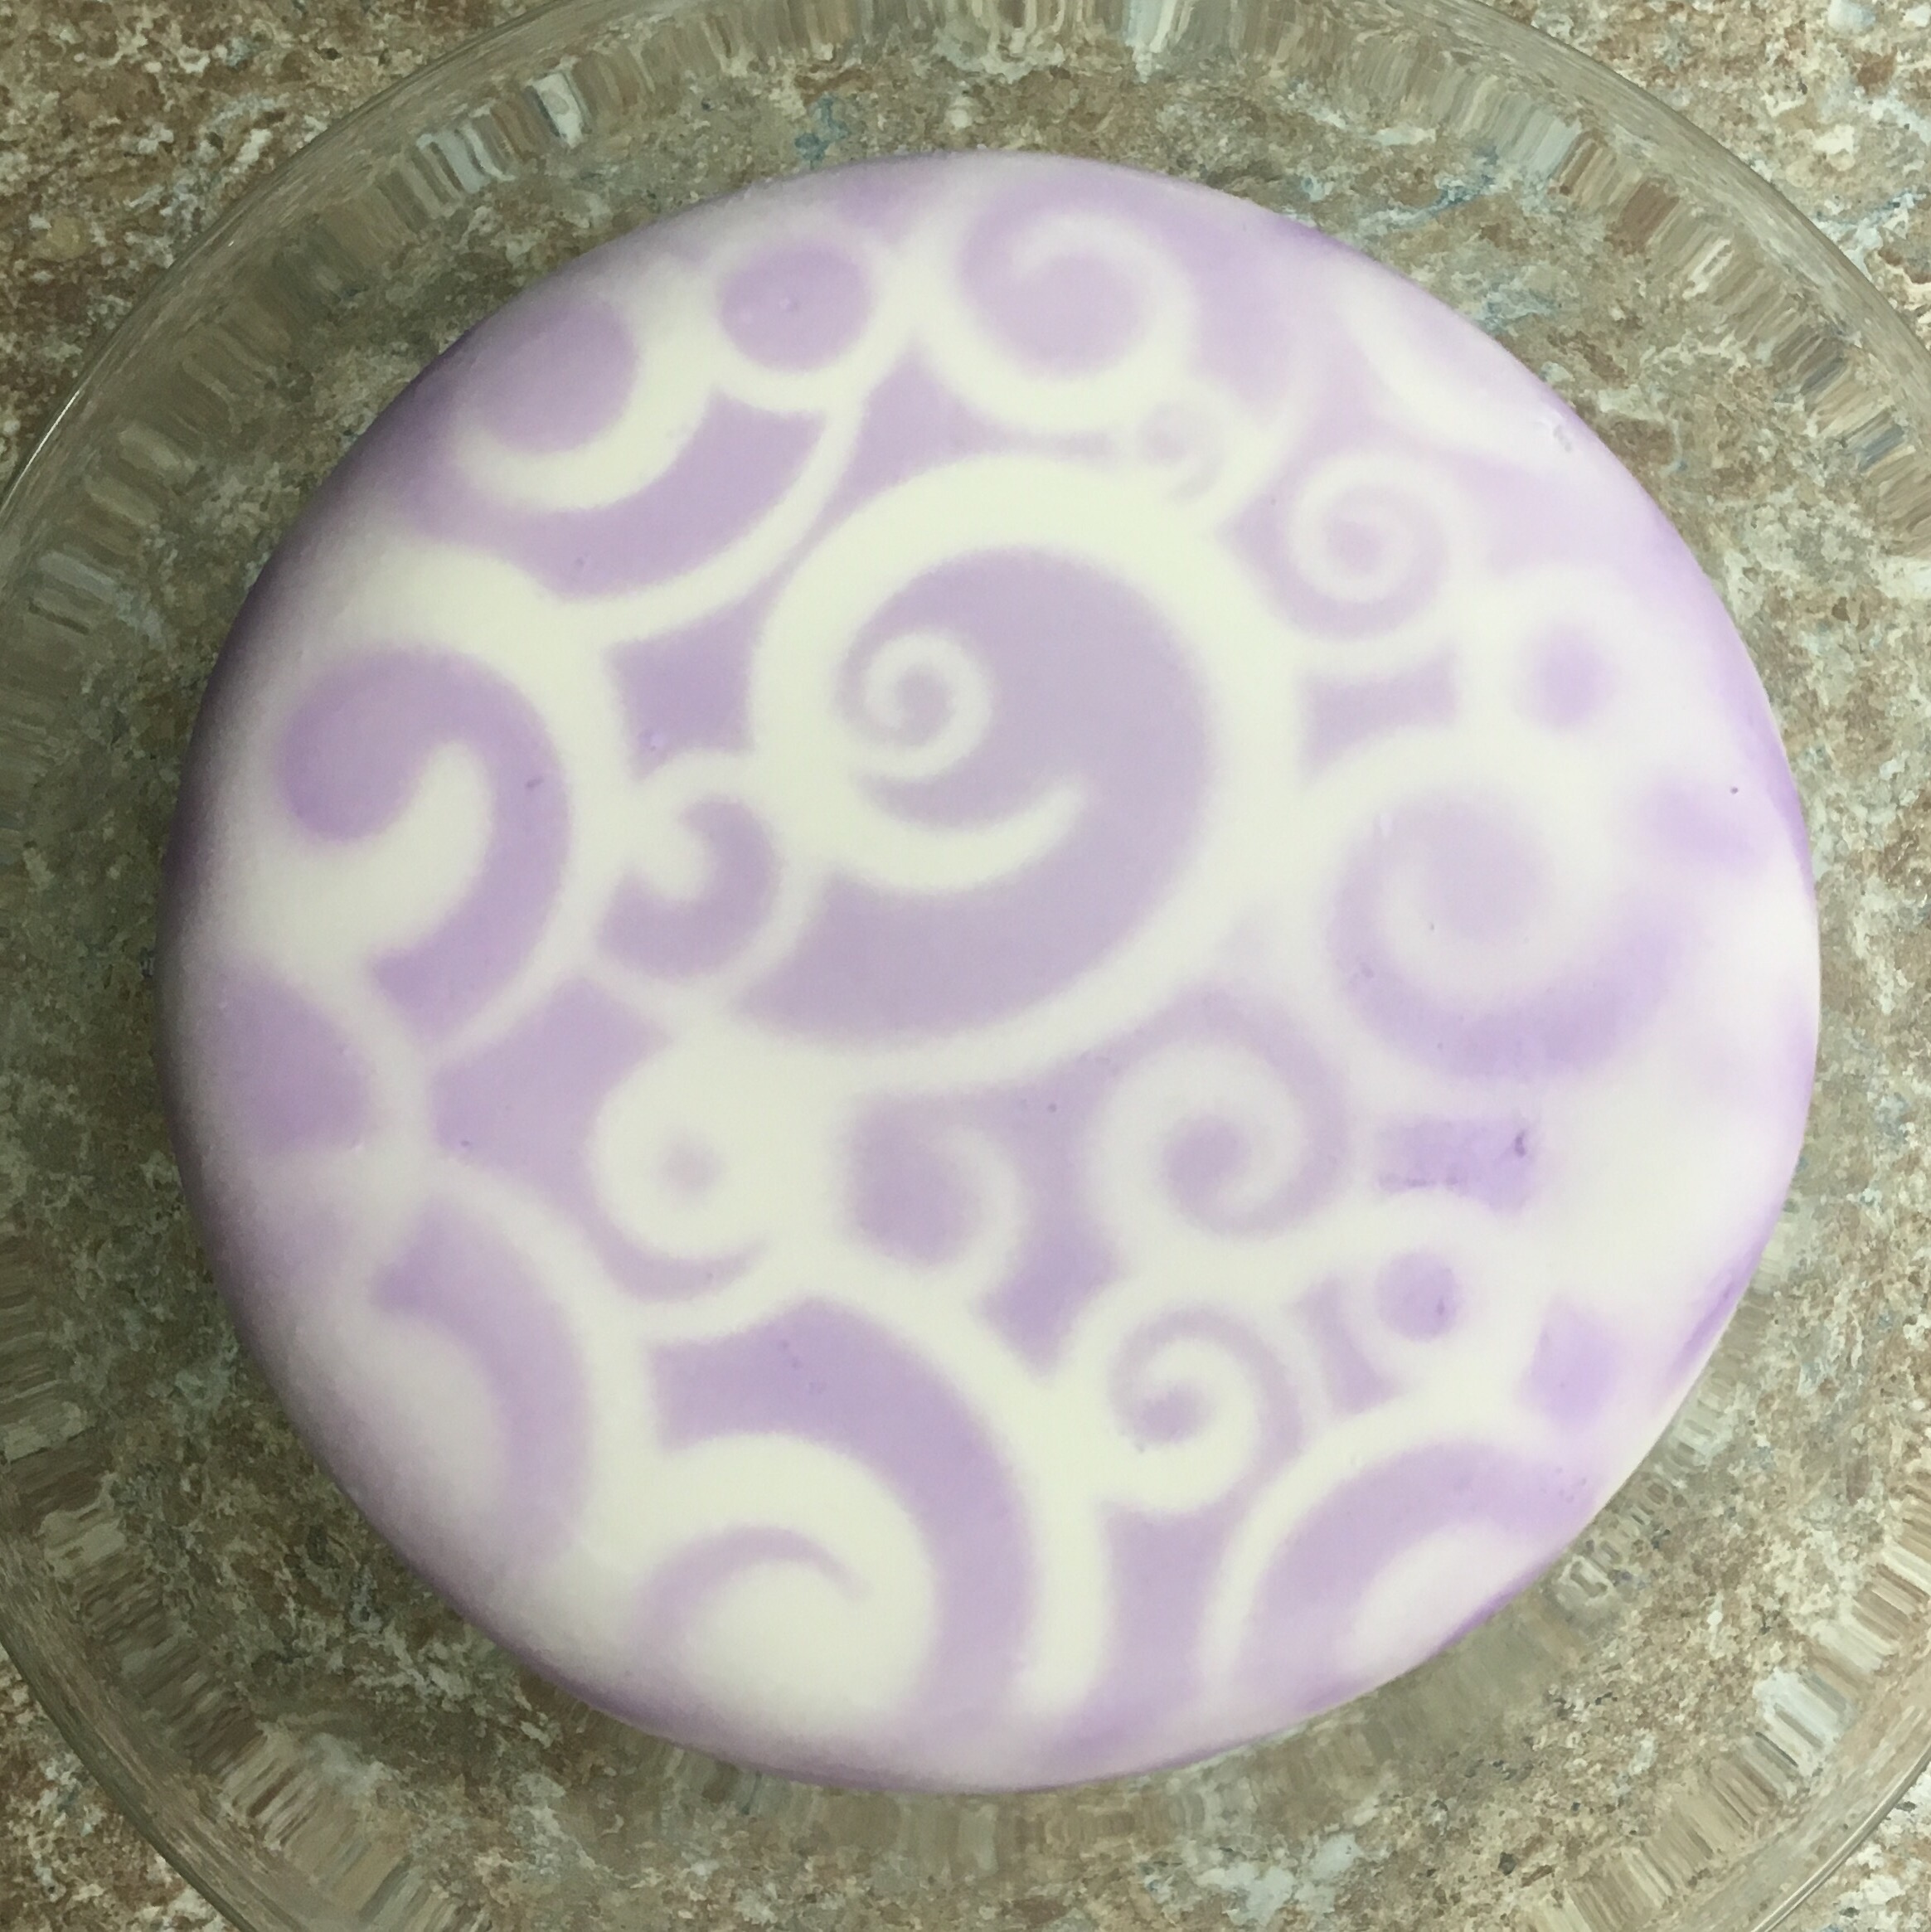
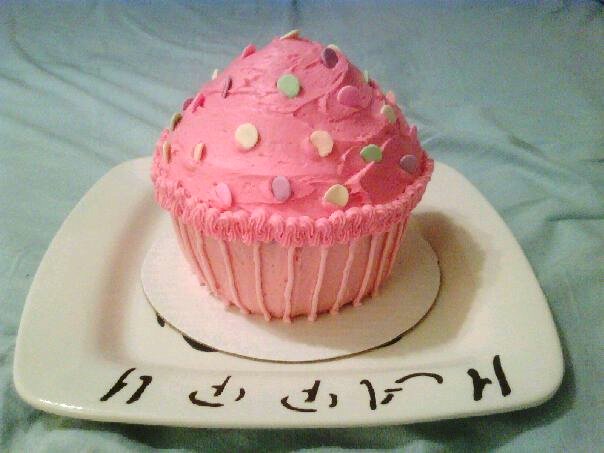
I did a funfetti cake and frosted the outside in white with a little bit of pink streaks. (Which may or may not have been an accident.)

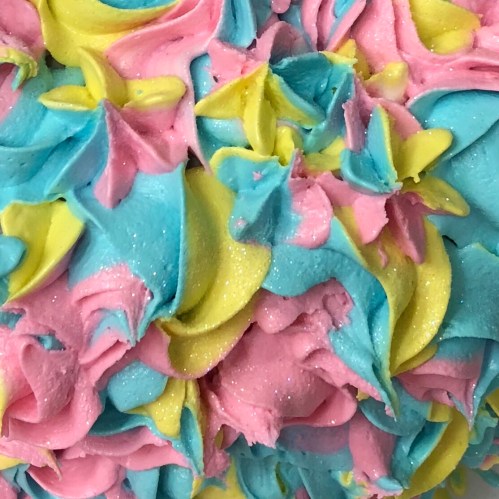
I wrapped the colors separately and added them all to the piping bag together to create this colored look.

I used a big star tip and piped swirls for the unicorn’s mane, then filled in the holes with stars.

Once I felt like the mane had a good flow, I sprinkled it with iridescent sparkles. It’s hard to capture in pictures but it was so pretty!

I made the ears and horn from cookies. I baked the horn on a stick so that I could easily put it on and take it off of the cake when it was time. I outlined and filled the cookies in white, plus a little pink for the ears. The horn, once dry, I painted in silver luster dust. I really like this one because you don’t have to mix it, it’s already ready to go.

I piped eyes and eyelashes on the unicorn and once they were dry I painted them in silver luster dust.

Overall I am pretty happy with how it turned out.

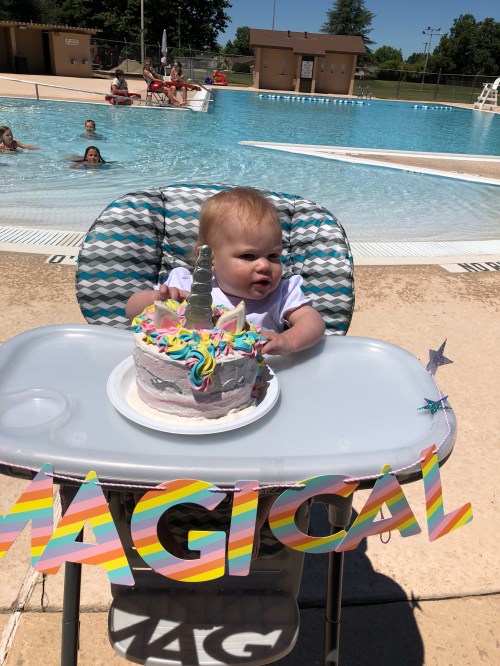
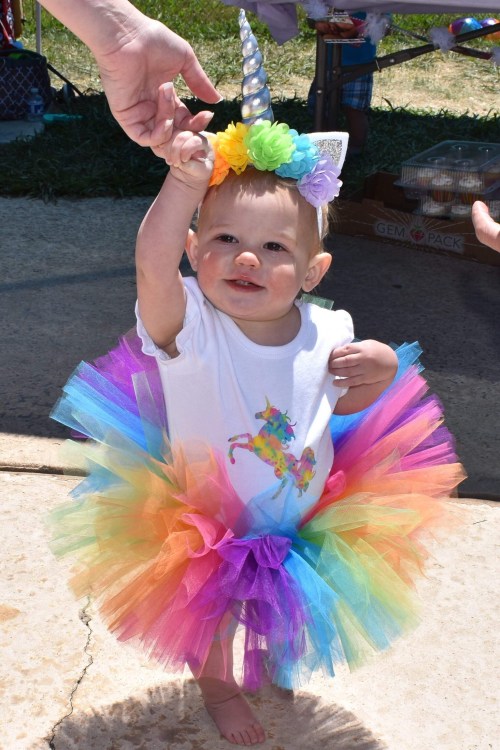
I think she liked it!

If you want to see more of my smash cakes, check out these links!

Pumpkin Smash Cake

Cookie Monster Smash Cake

Giant Cupcake Smash Cake

Advertisement

Leave a comment

Filed under Cakes, Cookies

Unicorn Birthday

My little Audrey turned ONE and we threw her a magical unicorn birthday party!

Here are some of the fun details. 🦄

((I will do separate posts for the cookies and cake. They were so fun to make!))

(Don’t worry she’s not crying here, the wind was making her eyes water!)

I made Fruity Pebble Rice Krispie Treats and a Rainbow Fruit Tray.

This is the smash cake I made…

There were also funfetti cupcakes with vanilla buttercream. I made my own sprinkle medley for these.

The rainbow cookies were the favors.

This birthday sign is from this Etsy shop. She made one a couple years ago for Levi’s first birthday.

So hard to believe my last little baby is ONE!

1 Comment

Filed under Cakes, Cookies, Crafts, Misc

Taco Cake

This cake almost didn’t get made.

Levi said he wanted an “orange cake, yellow inside, with orange candles.”

I was trying to convince him to have ice cream cones instead of cupcakes (no baking needed!) when he told me his cake desires.

I checked that he didn’t maybe mean cupcakes??

Nope. Cake.

Fine.

Then, about a week before his party he told me he wanted a taco cake. *sigh*

Pinterest had a few different versions but I had to kind of combine the ideas to get what I had in mind.

I made 2 cakes and cut them both in half. I added frosting between them and once it had set a bit I turned them on their sides and frosted them with a crumb coat. Then I did a smooth frost of taco shell yellow frosting on just the outsides of the tacos and along the edges.

After the frosting had set up a little I moved them carefully to a cake board. It wasn’t really big enough so I had to put the tacos close together.

I piped brown “meat” buttercream near the bottom of the taco and then swirled it with the tip of s fork to add texture. Next I added lettuce with a leaf tip and green buttercream. I added layers in different directions and of different lengths to make it look more full and realistic.

Lastly I added cheese and tomatoes with buttercream. I tried to be as random as I could to make it look more realistic.

To cut the cake I just sliced it straight down from the top. After he’d blown out his candles of course. 😁

You can see the rest of the party here and the taco cookies I made here.

1 Comment

Filed under Cakes

Levi Loves Tacos (A Taco Birthday Party)

My little dude just turned 3 and we had a taco themed party!

He’s obsessed with food. Anytime we go to a party I ask him later what his favorite part was and he always says “the food.” Even if it’s lame greasy pizza. Even if there was a bounce house and pony rides and face painting and balloon animals. Food always wins.

He also loves the book Dragons Love Tacos. We morphed it a bit and left out the dragons, but otherwise pulled a lot of ideas from the book. We made the invitations look like mini books. Here are a couple pages from his invitation:

We had plenty of real tacos (beef and chicken – like the invite), with all the toppings in buckets (buckets of tacos!). There was also a taco cake and taco cookies (pantloads of tacos). I even made a boat for the table!

(I will be doing a separate post on the Taco Cookies. These were so fun to make!)

I found some cool taco floaties (here and here) for the pool which really tied together the taco pool party.

I made favor bags to match the Taco Cave bags from the book, which had a few goodies and also held the candy from the taco pinata.

Levi had a blast. He’s still talking about his taco birthday party days later!

We all had taco shirts for the party – though it was so hot we spent the whole time in the pool so no one saw them!

Levi’s orange shirt was custom made by my friend at SpillTheBeansEtc. Carter’s green shirt is from OliviaandAugust. The little pink shirt on Audrey was customized into a onesie by BayouCityThreads (best customer service everrrr). My shirt is from LiftHerUpCo and Travis’ is from Target.

1 Comment

Filed under Cakes, Cookies, Crafts, Misc

2016 Monthly Challenge: Checkered Cake

This month marks 5 years this blog has been running! Craziness. To celebrate I made a cake. A fancy cake that was new and different and a challenge for me… which qualifies it as one of my monthly challenges for 2016!

I originally planned on making a vertical layer cake, like this one by Amanda from i am baker. Well, we all know I am not great at following directions. So I didn’t realize how TALL these cakes needed to be in order to actually make vertical layers that looked like vertical layers. My cake was much too short and I had to improvise, so I made this checkered cake instead. I still used most of her techniques. 🙂

I used boxed cake. Easy. And the recipe isn’t the goal here. If you want to make your own cake, by all means make that mess in your kitchen.

I colored my cake pink and blue. Cuz pink and blue define me and this cake is to celebrate my blog and me, so it seemed fitting.

Ignore the mini cakes. Totally irrelevant and a poor decision.

So yeah, bake your cakes. Let cool in pan for just a couple minutes, then remove and trim the bump from the top right away. Wrap in cling wrap and put straight into the freezer. For at least a couple hours. I did mine the next day.

Once the cake is good and frozen, get your template ready. I started with my cake pan, tracing a circle onto cardstock. Then I found the center with a ruler. I don’t have a compass so we had to rig something with a pencil and string. Don’t recommend this, you can see how messy my lines are. But it works in a pinch.

Cut off the first layer, then center it on the cake. With a serrated knife, cut around the template with the knife straight up and down. Do this to both cakes.

  img_5863

Then cut the next circle off the template and do the same thing again on both cakes. Do this all the way to the smallest circle.


Once all the circles are cut, cut a slit all the way through on one side, except for the smallest inner circle. Carefully separate the circles, and piece back together with the opposite color.

img_5865-1img_5866 img_5867

Wrap parchment paper around the cake to hold the circles together, and tie with a string. Amanda recommends pouring simple syrup over the whole thing. I was too lazy to make simple syrup, so I just brushed corn syrup over the top. Didn’t really do the trick. I recommend following directions like I apparently can’t.

img_5868-1

At this point I put the cake wrapped with paper and string into a ziploc bag and into the fringe.

When I was ready to decorate, I put the 2 layers together with a layer of buttercream, then iced the outside of the whole thing in a thin layer of buttcream. I covered it in fondant, which was March’s monthly challenge. (My Easy Buttercream recipe.)

I was really nervous about what the cake would look like when I cut into it. With a technique like this, you just have to hope it’s lined up well and cross your fingers waiting for the cut!

I was super happy with how it turned out! The layers didn’t stay together very well because I didn’t do the simple syrup, but it tasted good and everyone was impressed with the checkers and fondant.


I don’t often make cakes, especially fancy ones. I don’t have a lot of confidence in this area, but this cake definitely helped with that!

2 Comments

Filed under Cakes

2016 Monthly Challenge: Fondant

It’s that time again!

I made a quasi-resolution to challenge myself every month to try a new technique or recipe that I’ve been scared to do before.

In January I made funnel cakes. On January 31st. In February I made granola bars. On February 29th. I’m happy to report that my March challenge was completed on March 30, with one day to spare! Small improvements people.

For March I made fondant.

In case you don’t know, fondant a paste used to cover cakes to give them that smooth perfect look. It’s also used as decorations, cupcake toppers, and sometimes on cookies. It’s edible, but typically not very tasty.

Homemade fondant is made out of marshmallows. Way tastier than store bought stuff!

I have never even worked with fondant before, so everything about this was new to me. I watched a couple how-to videos before getting started. This video by Lisa of The Bearfoot Baker helped me prepare my cake. I also used Lisa’s fondant recipe. I watched this YouTube video to get the technique down for covering my cake.

Fondant

Ingredients:

1 lb mini marshmallows

2 tbsp water

2 lb powdered sugar

**Lisa’s recipe called for vegetable shortening. I had some but it was bad (oops) so I just did without. It still worked fine, but it probably would have been a little easier. 

Directions:

1. In a microwave safe bowl, melt marshmallows and water, stopping to stir every 35 seconds. (It took me 3 rounds of 35 seconds.)

2. Dump most of the powdered sugar on a mat for kneading, creating a well.

3. Pour the melty mallows into the powdered sugar well. My well was not big enough and it spilled over and stuck to my mat. Make a big well.

4. I stirred with a spatula at first because the mallows were HOT. After a minute or so I was able to use my hands. No vegetable shortening means a big sticky mess. Knead sugar into marshmallows.

  …after a bit it finally started to come together. Still sticky gross hands.

5. Keep kneading until all of the powdered sugar is incorporated and there are no little powdered sugar balls.

This is how it looked once all of the powdered sugar was incorporated. My hands were still messy but not too bad!  6. Roll out the fondant as smooth and flat as possible, turning 1/4 turn after every couple rolls (to keep it from sticking). The diameter needs to be wide enough to cover your cake. H+W+H. I had a 6″ cake that was 3″ tall so I needed it at least 12″ wide. This recipe make probably 2x as much fondant as I needed.

7. Lift the fondant up and over the top of your cake. I had to get my husband’s help with this part.

**Shhh no peeking at the cake. That will come later!**

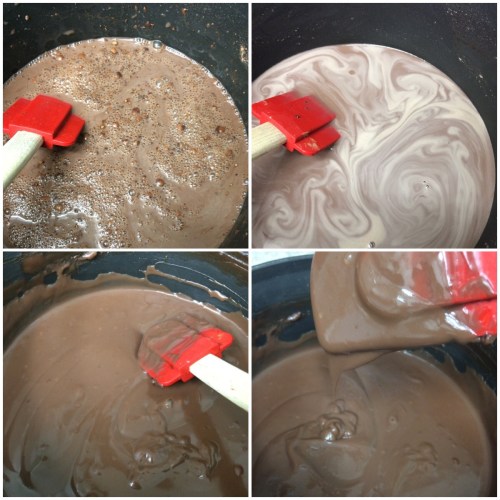
  8. Immediately smooth out the top to make sure there are no air bubbles…
  …then use your hands to start molding the fondant down the sides of the cake, starting at the top. 9. Then use the smoother to smooth out the sides as much as possible all the way down.

10. Use a knife to cut as close to the cake as you can around the bottom, and remove the excess. (Store airtight. I wrapped in cling wrap then put in a ziploc bag.)

 11. Voila! Not as hard as I thought it would be! It’s DEFINITELY not perfect, but I am proud of it! 
I used a stencil and a can of Wilton Color Spray to decorate the top.


 Can’t wait to share what’s on the inside!! 😛

Leave a comment

Filed under Cakes

Raspberry Champagne Cupcakes

Champagne is for celebrations. With these cupcakes I’m celebrating ME!

(I made these cupcakes for my 3 year work-iversary!)

I followed this recipe by Courtney at Pizzazzerie.

I used this amazing raspberry champagne I bought a while back from a local winery. I’d been saving it for something special and this was perfect!

I also added a little pink food coloring to give them more of a raspberry-feel.

These were SO yummy! You can definitely taste the champagne in the frosting, but it was also in the cupcake itself. Both the cupcake and the frosting were so light and fluffy.

If you have something special to celebrate, or if you just want to celebrate nothing at all – make some champagne cupcakes! Either way they will brighten your day. 🙂

1 Comment

Filed under Cakes

Cotton Candy Marshmallow Frosting

I haven’t posted in awhile… but that doesn’t mean I haven’t been baking sweets!

I am just extremely pregnant. Which means I have been busy getting ready for baby, being gone from work for a couple months, and spending as much time enjoying my little family and relaxing as I can!

I have been craving funfetti lately, so I whipped up a box mix the other night and topped it with this light and fluffy Cotton Candy Marshmallow frosting. I used this recipe that I made previously for these cupcakes, and just substituted the vanilla for cotton candy flavoring.

It wasn’t too overpowering, but just enough flavor to give the hint and the scent! I died it light blue for cotton candy, and because it was the 4th of July!


When I started up the mixer, my son had no idea what was going on. I realized I only bake and create when he’s gone to bed so he’s probably never heard it going before or seen me making anything! He was very curious so I had to get him a stool so he could see. The fluffy frosting was still white and he thought it was ice cream. (Which is his favorite thing ever – and he’s only had it a handful of times.)

We don’t really let him have sweets ever (he’s only 21 months old and I figure there’s PLENTY of time for that later) so this was a big treat. We let him have a 1/4 of a cupcake with a smear of the frosting on it. He ate it SO FAST we couldn’t get any pictures. So naturally we had to give him another piece. 🙂

I’d say he approves!

Now when I say extremely pregnant… Today is July 5th and I’m 41 weeks! I had my son 3 days before my due date so this is definitely testing my patience! Send me good labor vibes everyone! 😀

Leave a comment

Filed under Cakes

Drumstick Inspired Cupcakes

First and foremost, today is my blog’s 4th birthday! Funny story – last year I thought it was the 4th birthday. Posted it and everything. Realized later but I just figured I would correct it this time. Haha!

To celebrate my bloggy birthday I made some special cupcakes. These cupcakes were actually inspired by drumstick ice cream cones.

The cupcake is a vanilla bean cake, there is a gooey chocolate center, and the perfect chocolate frosting on top!

Originally I was going to bake these in ice cream cones, but I didn’t have enough. I had some of these adorable cupcake cups left over from a wedding last year so I thought they would be perfect.

I used boxed white cake and added the caviar from one vanilla bean to the batter. It reminded me perfectly of vanilla bean ice cream. The little flecks are so pretty! I need to add it to things more often!

Once they cupcakes were baked and cooled, I used a small corer to cut a hole in the top of each cupcake. (A small knife would work fine too.) Then I filled each hole with chocolate pudding. I didn’t have any on hand so I made my own! (Recipe below.)

I topped each with this smooth creamy chocolate frosting. It’s so perfect, I am definitely going to be coming back to this recipe again!

Homemade Chocolate Pudding (Hershey’s recipe, found here)

Ingredients:

2/3 cup sugar

1/4 cup cocoa powder

3 tbsp cornstarch

1/4 tsp salt

2 1/4 cup milk

2 tbsp butter

1 tsp vanilla

Directions:

1. In a medium pot, mix together the sugar, cocoa powder, cornstarch, and salt. Slowly add milk. (It looked so weird at this point so I took pictures so you don’t freak out when it looks weird to you too.)

2. Cook over medium heat, stirring constantly. It will sloooowly stir together well then start to thicken up. Once it starts to boil, let it boil for 1 minute then remove from the heat. (It took so long! Okay maybe just 10-15 minutes, but it feels like forever when you’re stirring constantly.)

3. Stir in butter and vanilla.

4. Cover surface with plastic wrap to prevent a “skin” from forming on the top, then refrigerate for at least 2 hours.

*I didn’t have 2 hours to wait, so I put a little of the pudding into a piping bag, cut the tip, and squeezed a bit into each cupcake white it was still warm.

Perfect Chocolate Frosting (recipe by My Frugal Adventures, found here)

Ingredients:

2 3/4 cups powdered sugar

6 tbsp cocoa powder

5 tbsp milk

6 tbsp butter

1 tsp vanilla

Directions:

1. Whisk together powdered sugar and cocoa, set aside.

2. Cream butter with mixer until creamy. Slowly add powdered sugar mixture, alternating with milk.

3. Scrape sides of bowl and add vanilla, the mix again to incorporate.

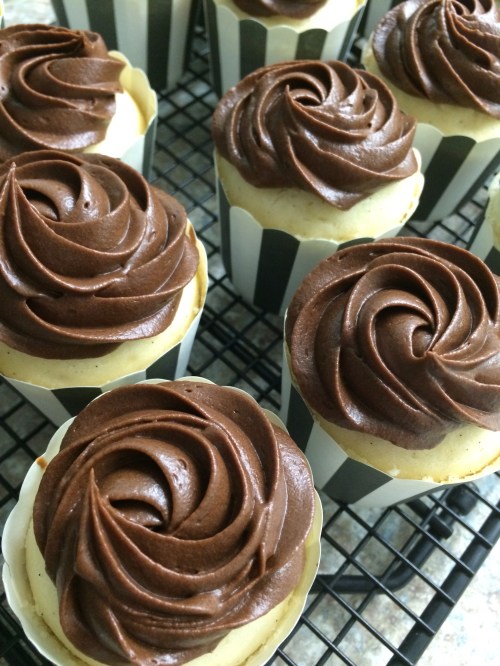
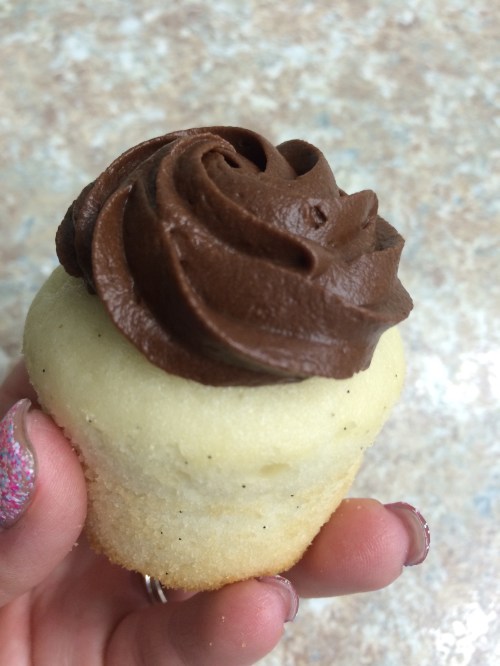
 As you may know, I’m not the biggest chocolate fan, but I did try these and they were so yummy! The gooey center is a fun addition to the cupcake, and the frosting isn’t too over-the-top rich. Perfect combo. 🙂
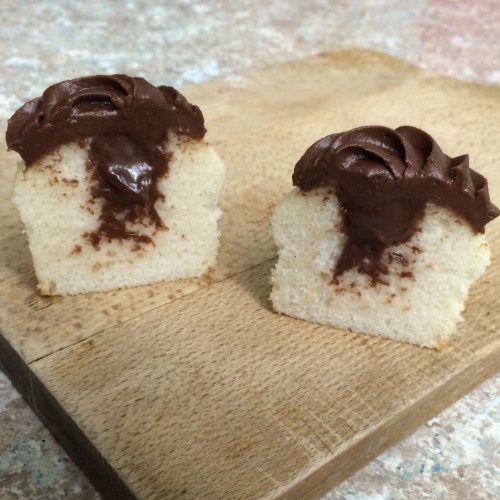
1 Comment

Filed under Cakes

Bridal Shower Cupcakes

I made some bridal shower cupcakes for a friend of a friend. Her wedding colors are coral and pewter/grey. Sounded easy enough, but when it came time to color the buttercream I realized I had no idea where to start! Thankfully Callye of Sweet Sugarbelle is an AMAZING resource for color mixing. A quick search on her blog and I had the exact answers I needed!

Here is her post on coral, and here is her post where I found the best way to get to grey.

Both were easy and took me only a second to do. No back and forth of adding colors.

Here are a couple pictures from the shower. The table set-up is so gorgeous!

Leave a comment

Filed under Cakes