a.k.a. Oreo Balls or Oreo Truffles.

Chances are, you have had these, or at least seen or heard of them. This is not some new idea or concept that I created. But they are brilliant. And easy. And oh so yummy.
Let’s get started.
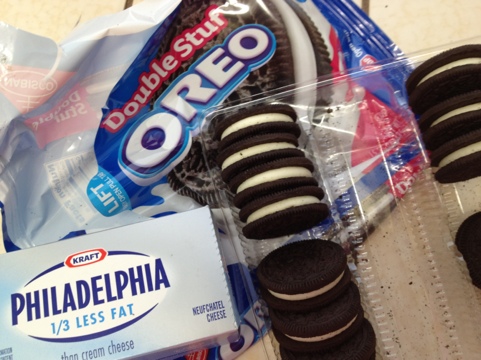
We just need 3 ingredients.
An entire pack of oreos. If you must eat one, just buy the 2nd bag. Trust me, you want all the oreo goodness of the entire bag in this!
An 8 oz. block of cream cheese. I used 1/3 less fat. Can’t even tell the difference, so might as well be somewhat healthier, right?
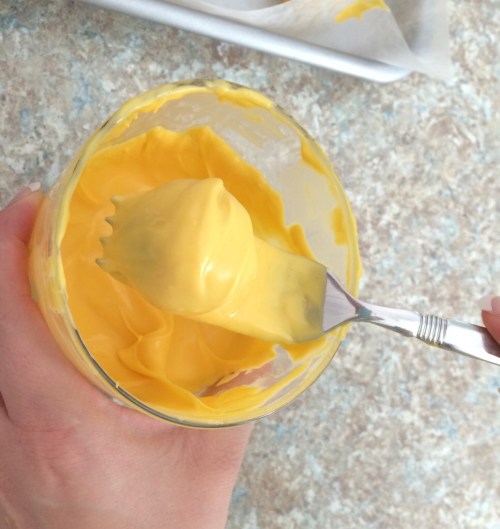
Candy Melts. One bag was not quite enough. You could also use regular chocolate chips, or almond bark. I couldn’t find almond bark at my grocery store so I went with candy melts.
Chop up the oreos in a food processor. If you don’t have one, you could put them in a big zip top baggie and smash them. They don’t have to be perfect smithereens, they will still be amazing.
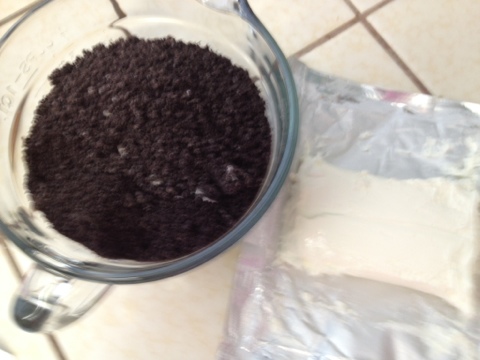
Mix the oreo crumbs and cream cheese together. I used my Sheila, but a wooden spoon would also be fine.

Pop that in the fridge for 10 minutes or so to firm up a tad.
Roll into balls, set on a wax paper lined baking sheet, and pop it back in the fridge.
At this point I made sugar cookies, so the balls probably sat in my fridge for over 2 hours. I would think 20 minutes would be sufficient though.
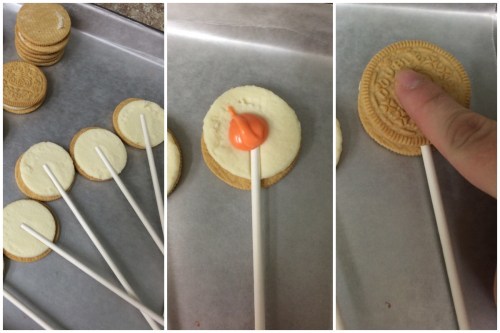
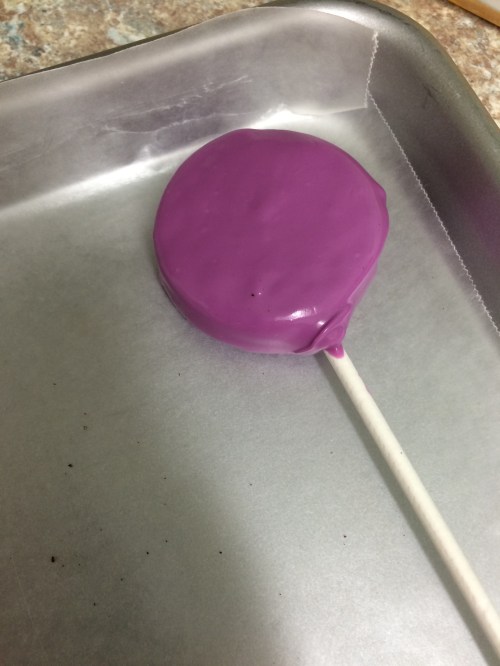
Once the balls are chilled, melt your candy melts (or chocolate) and dip the balls one at a time into the candy with a fork, tapping the excess off on the side of the bowl. They don’t have to be perfect.
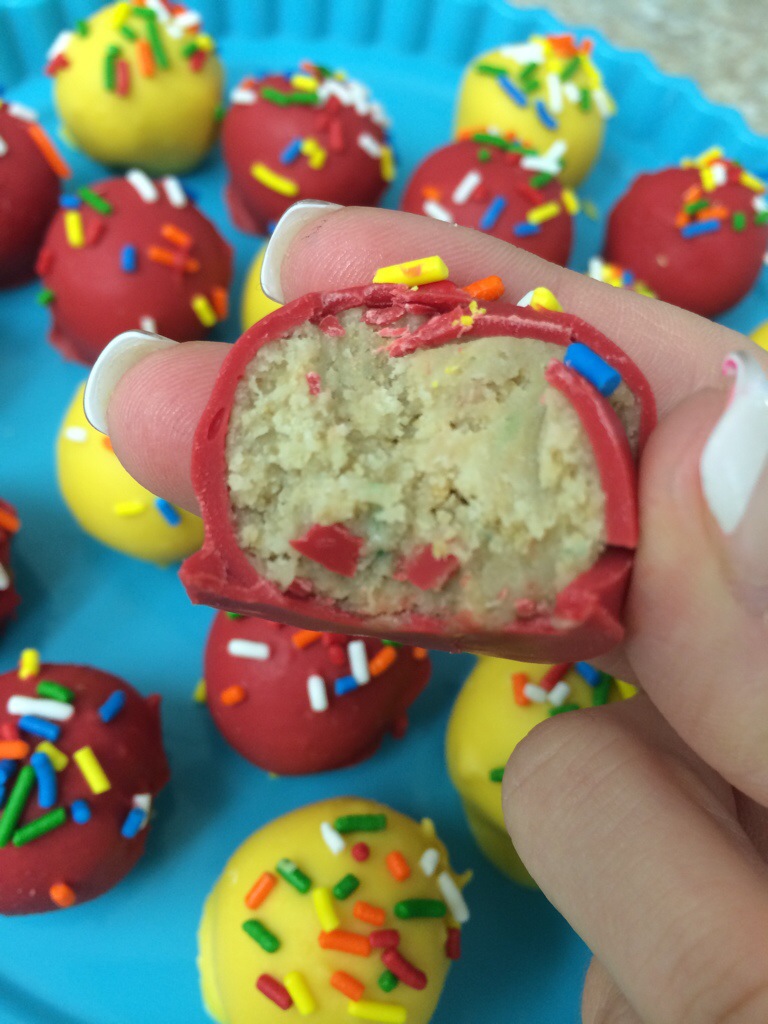
I started off doing okay, they were looking pretty cleanly/perfectly dipped, but then a couple balls got scraped and the oreo started mixing into the candy melts. I almost started stressing but then I realized it made them look like cookies and cream, which makes perfect sense! So that’s why I decided to call these Cookies & Cream Truffles.

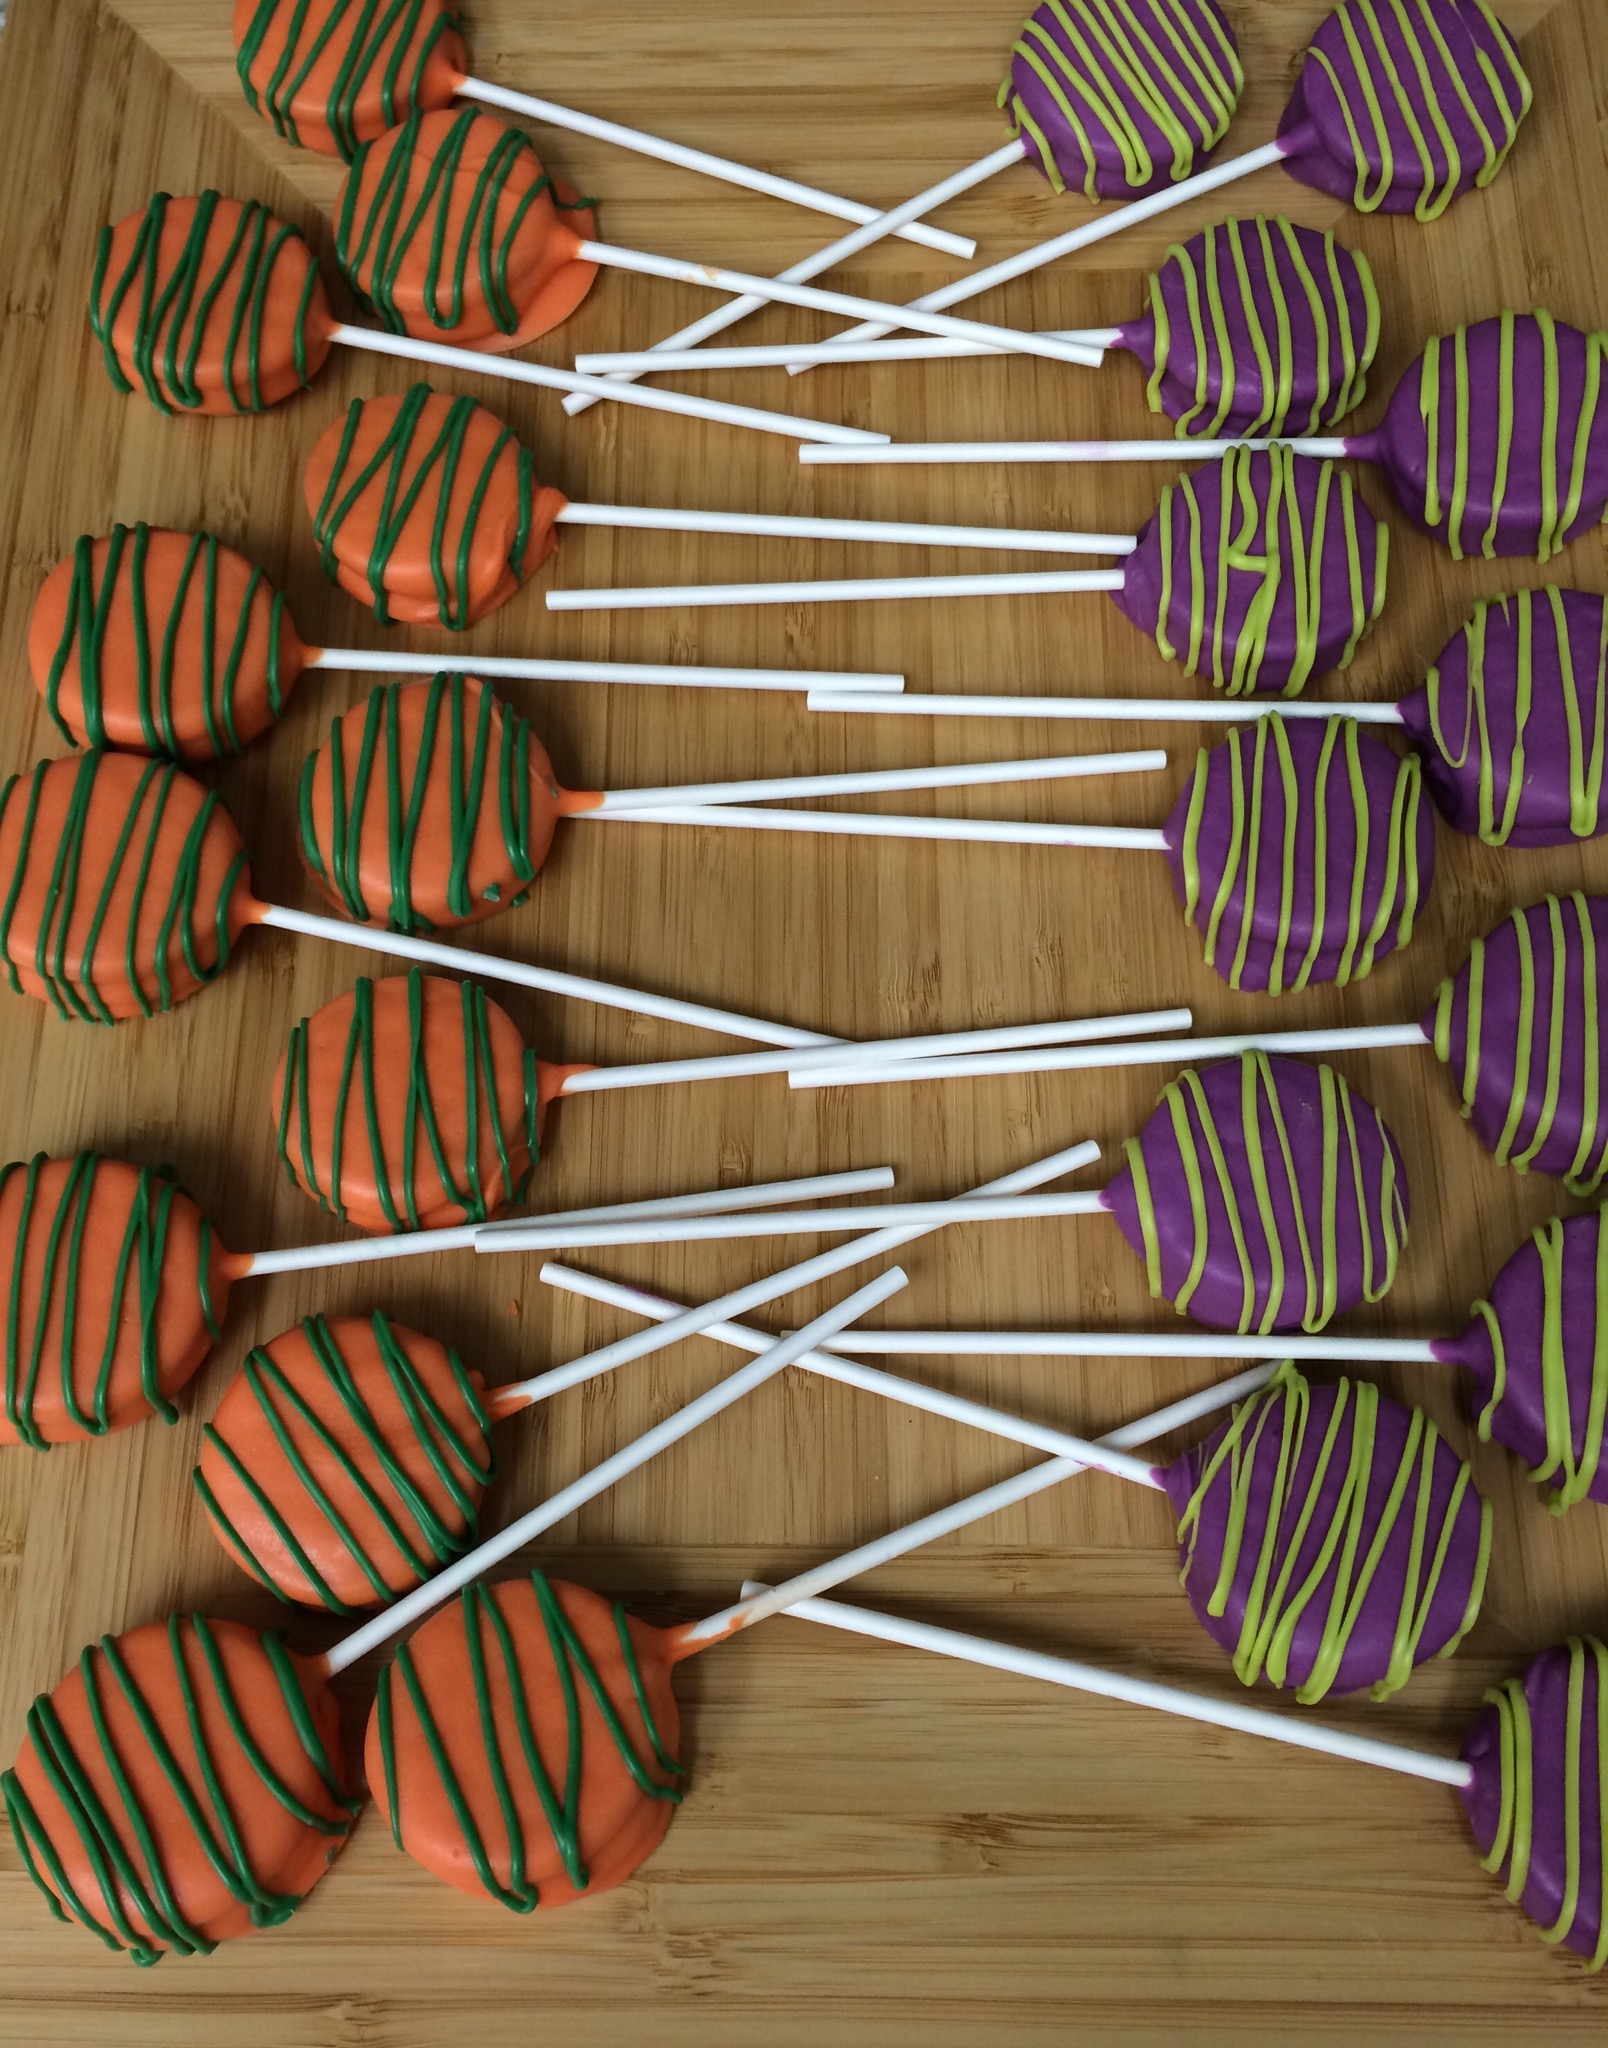
After the balls are all coated, pop the tray back in the fridge to harden up. Once they are set, eat one. Then peel them off the wax paper and break off the excess candy if possible.

Store in the fridge until ready to eat.

I actually made these for my brother (by special request) for his birthday yesterday. Glad I did, they were pretty tasty!