
I bought this seasonal cake mix last season.
Then it sat in my cabinet…. See how dented the box is? It had been pushed around my baking cabinet for months.
I finally broke it out and made these amazing blondies. Then I typed up this post and then realized that the flavor is no longer in stores and no one would be able to make them, so I stored this recipe away until it would be relevant again. *sigh*
But now here we are and here we go! 🙂

These are seriously SO easy. No mixer is needed. If you can stir some stuff in a bowl, you can make these!
Pink Lemonade Blondies – adapted from this recipe by Sally’s Baking Addiction
Blondie Ingredients:
1 box of pink lemonade cake mix (seasonal item)
1/4 cup vegetable oil
1/3 cup milk
1 egg, beaten
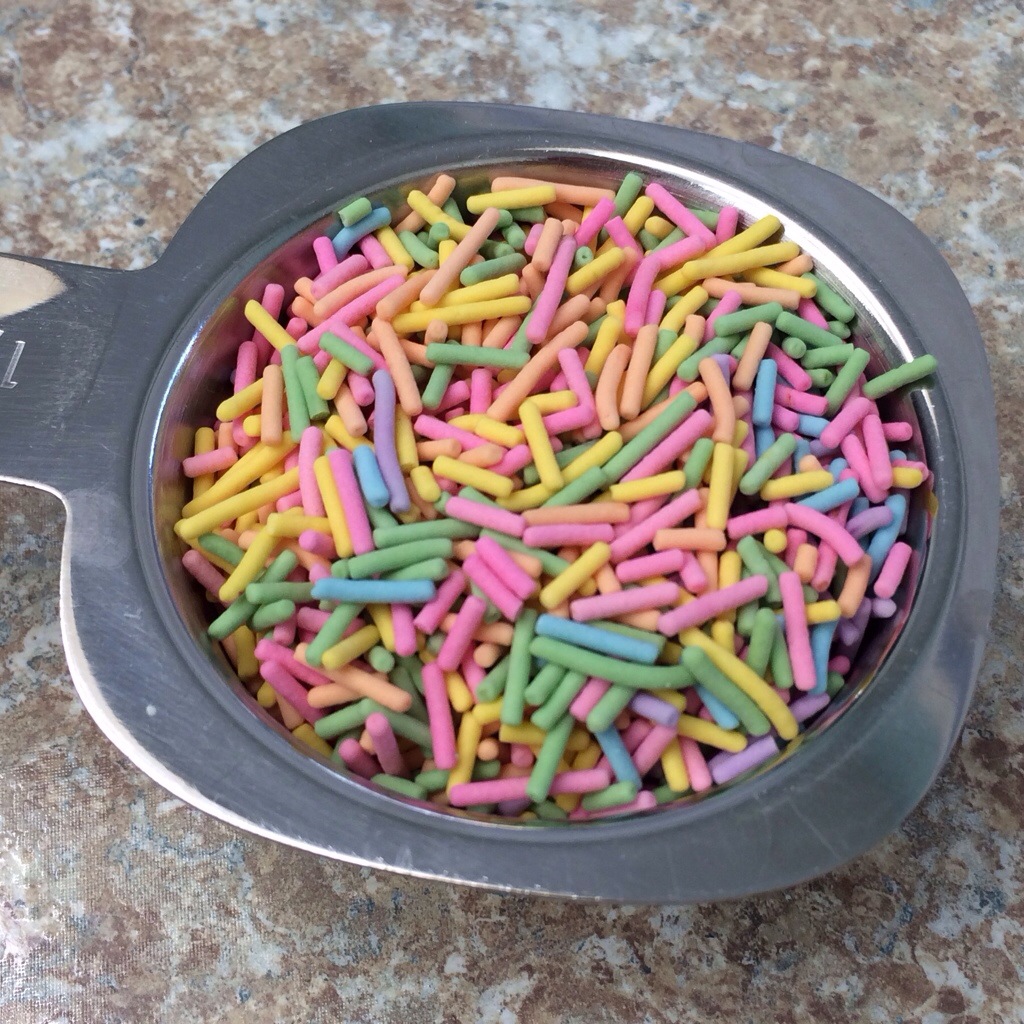
1/2 cup sprinkles
Icing Ingredients:
4 oz powdered sugar
4 1/2 tsp milk
1 packet Crystal Light on-the-go drink mix

Directions:
1. Preheat oven to 350*. Spray pan with non-stick spray. (I used an 8×8 pan, but a 9×9 would work, or even a round pan if that’s all you have.)

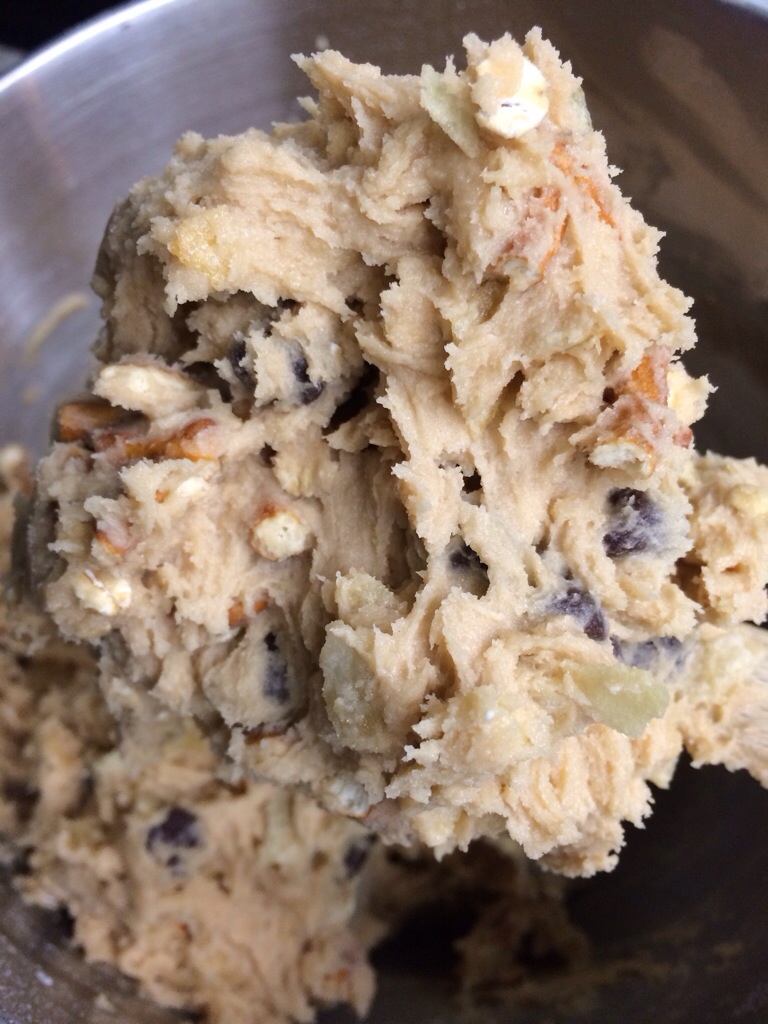
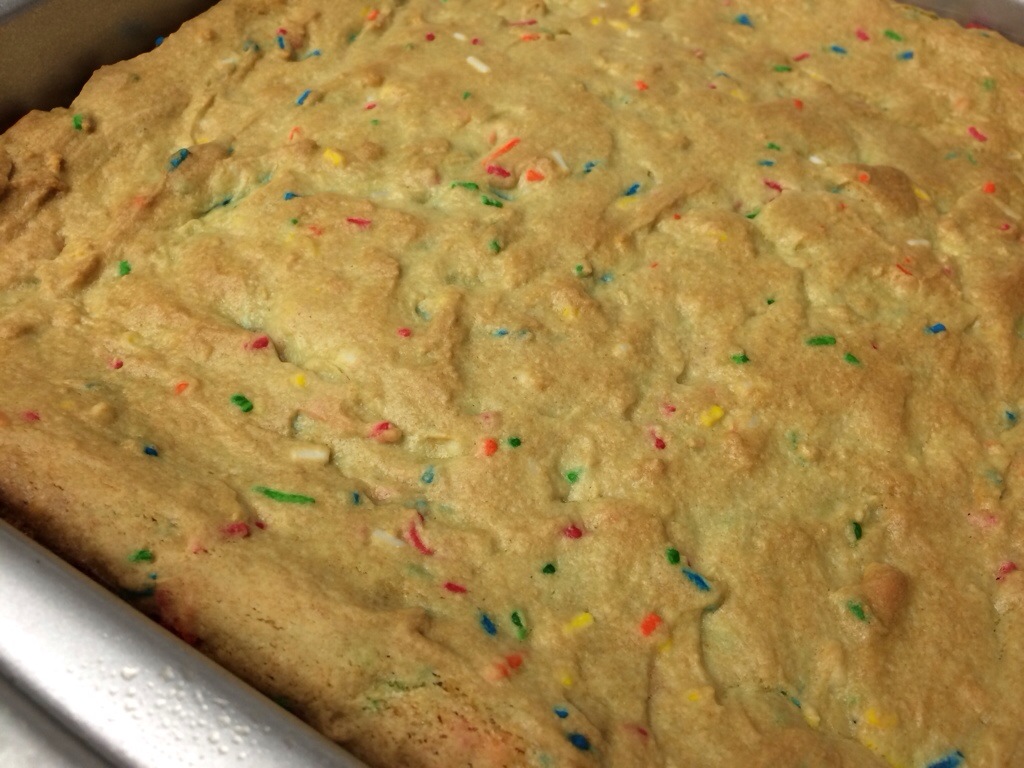
2. Mix together cake mix, oil, milk, egg, and sprinkles. It should be thick and sticky.

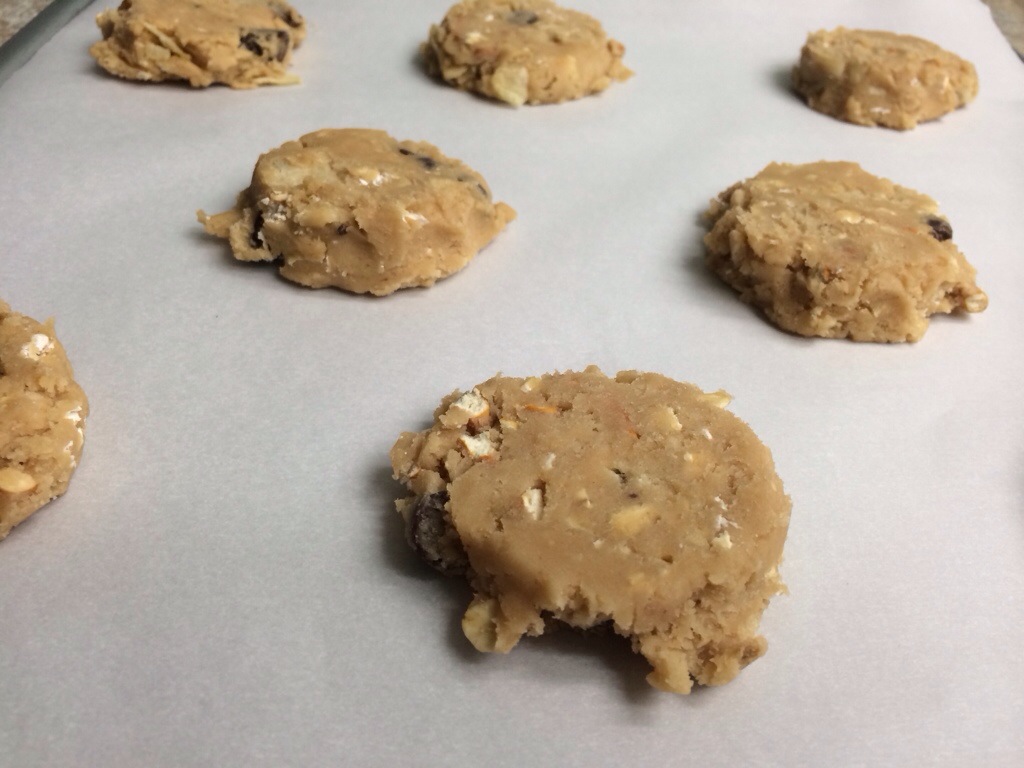
3. Press evenly into the pan and bake for 20-25 minutes. Remove from oven when the edges start to brown.
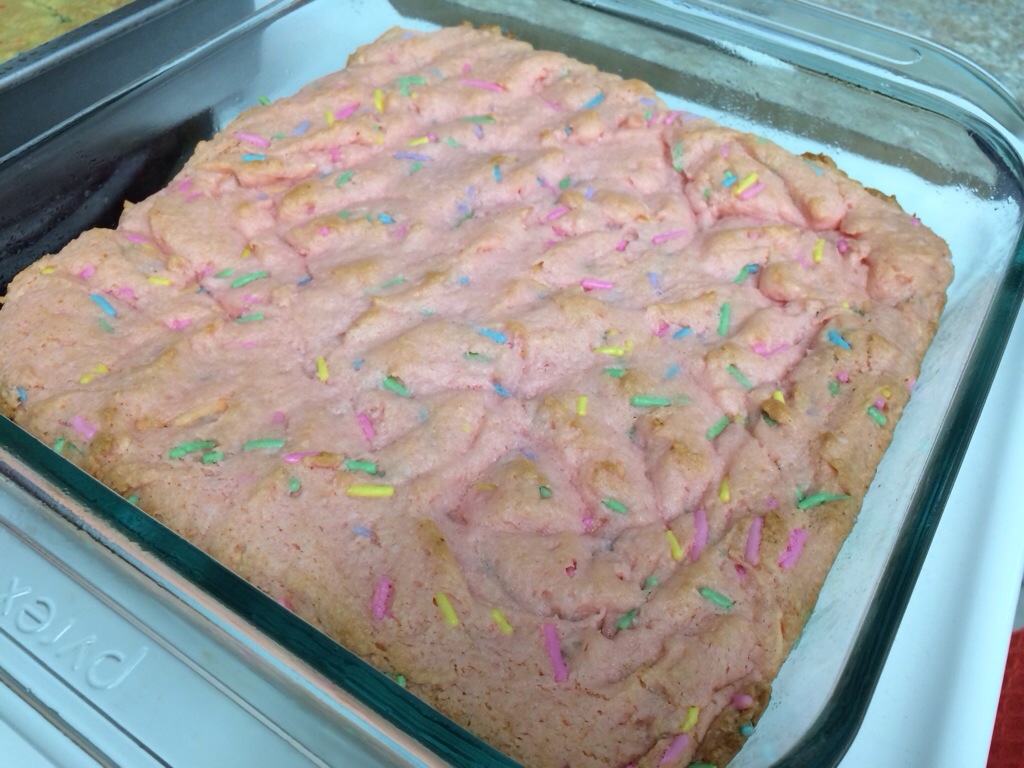
**The center might not look fully cooked, but that’s okay.**
4. Let them cool for at least 30 minutes. (That under-cooked looking center will set up and be wonderfully perfect if you let it cool completely!)
5. Mix together powdered sugar, milk, and drink mix packet. Pour icing over blondies and spread evenly with a spatula. Let the icing set up a couple hours.

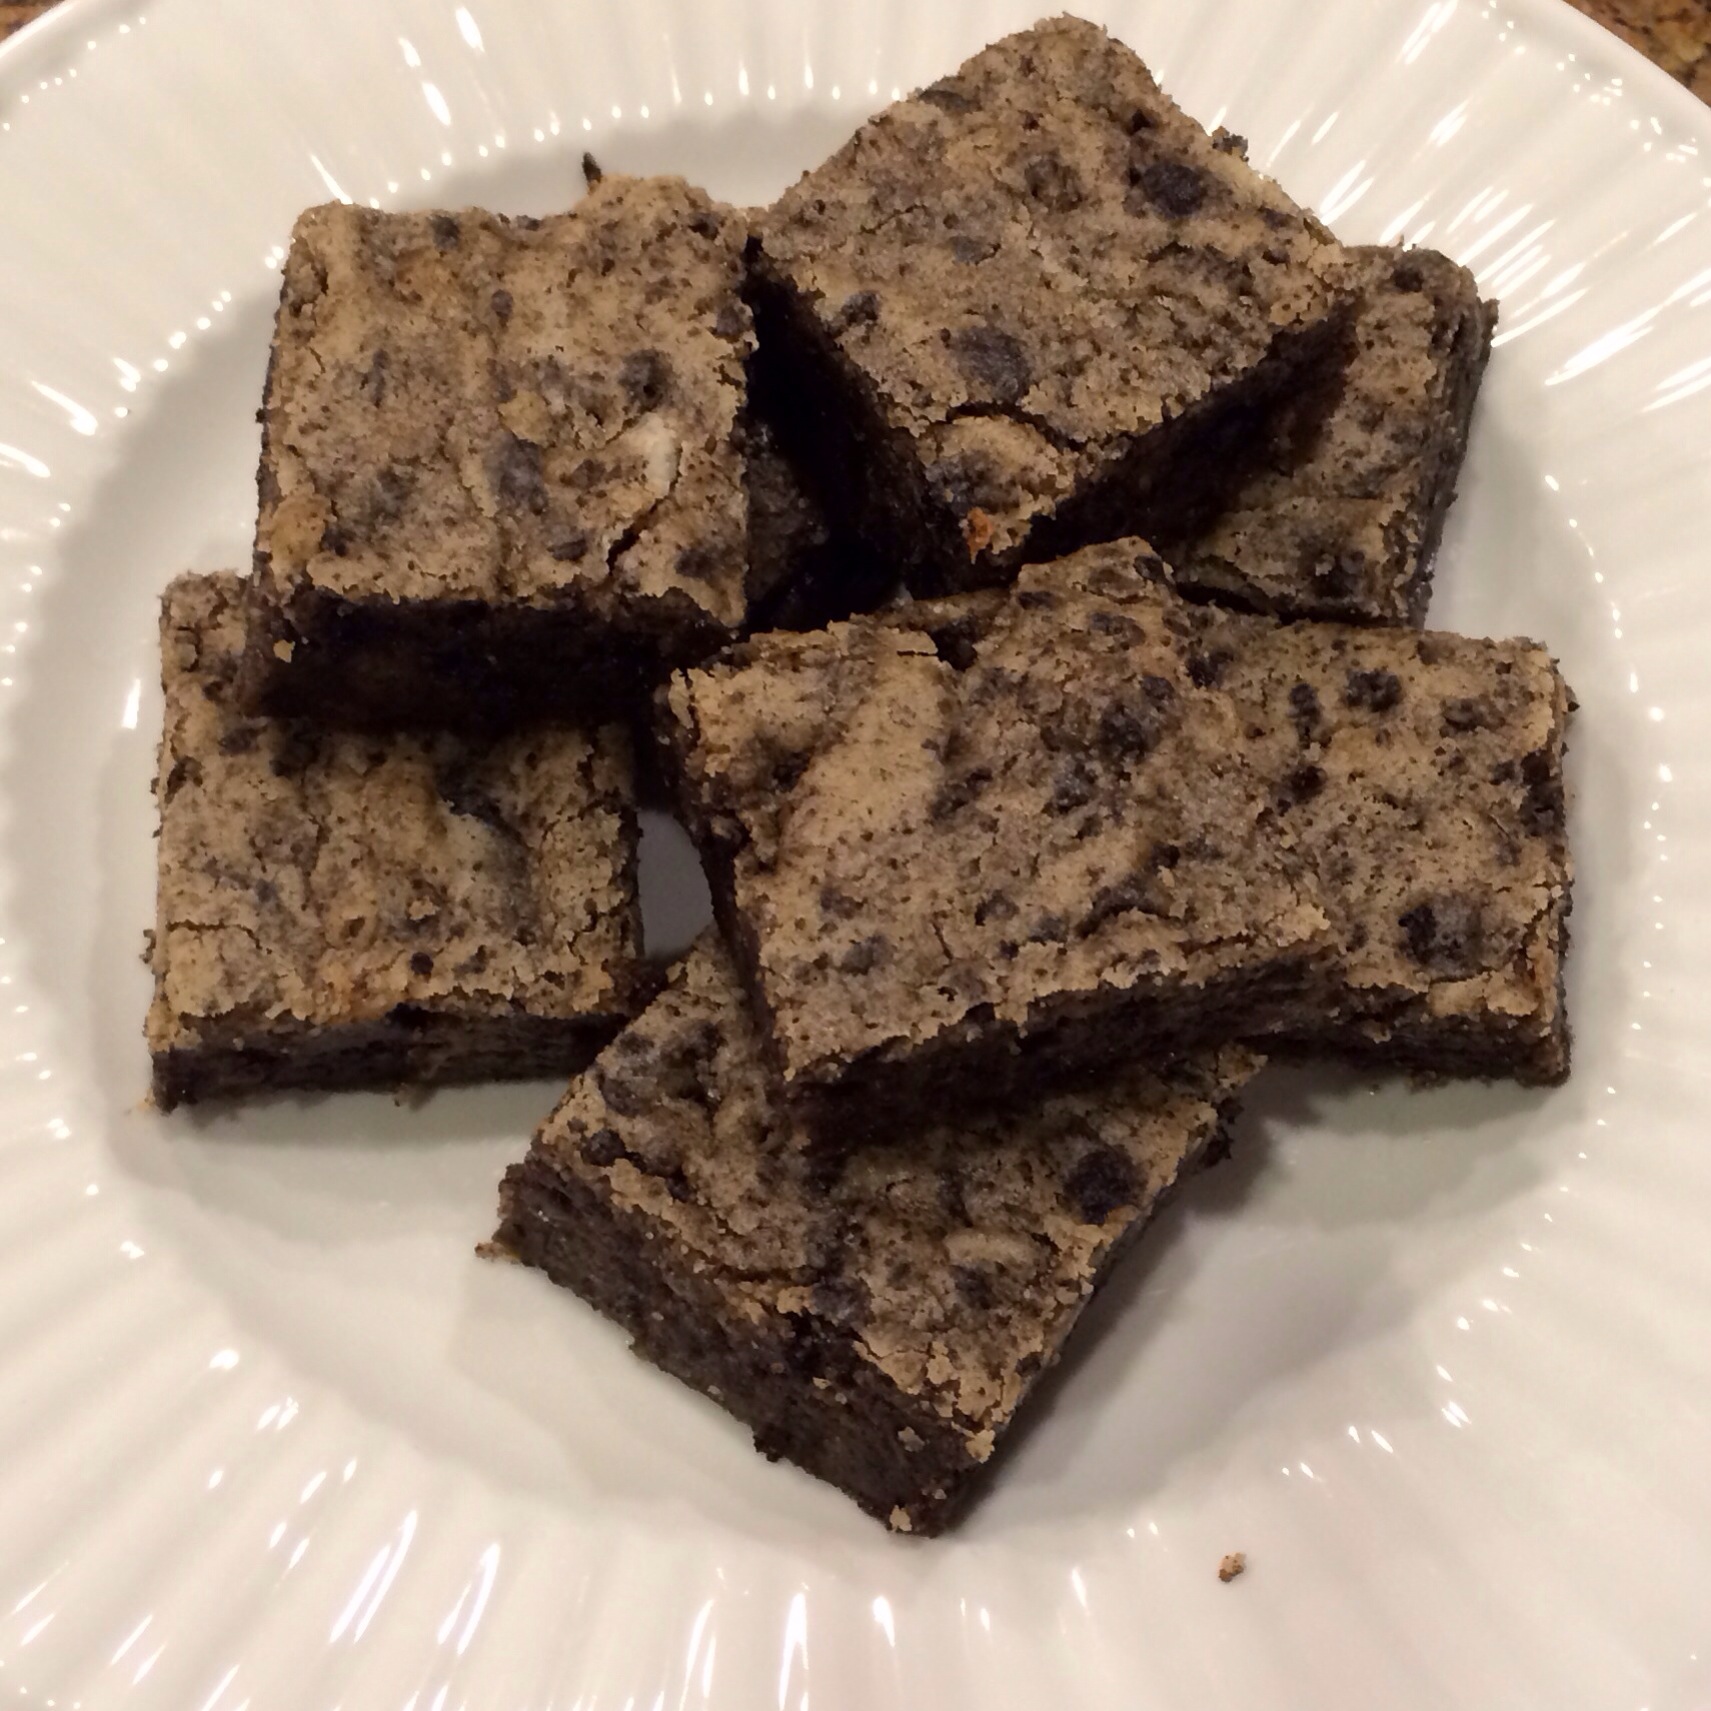
6. Cut into small pieces to share, or large pieces to devour. 🙂

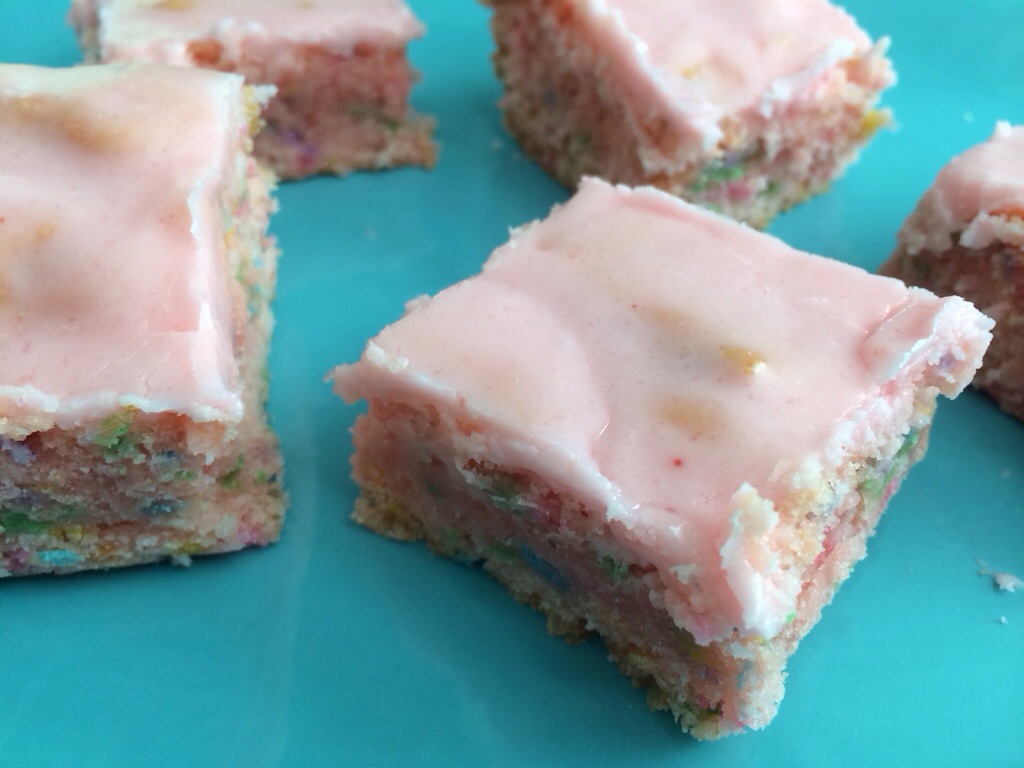
These blondies are sweet and tart and pink and pretty. I can totally imagine them at a little girl’s birthday party!


