Orange Soda Ice Cream

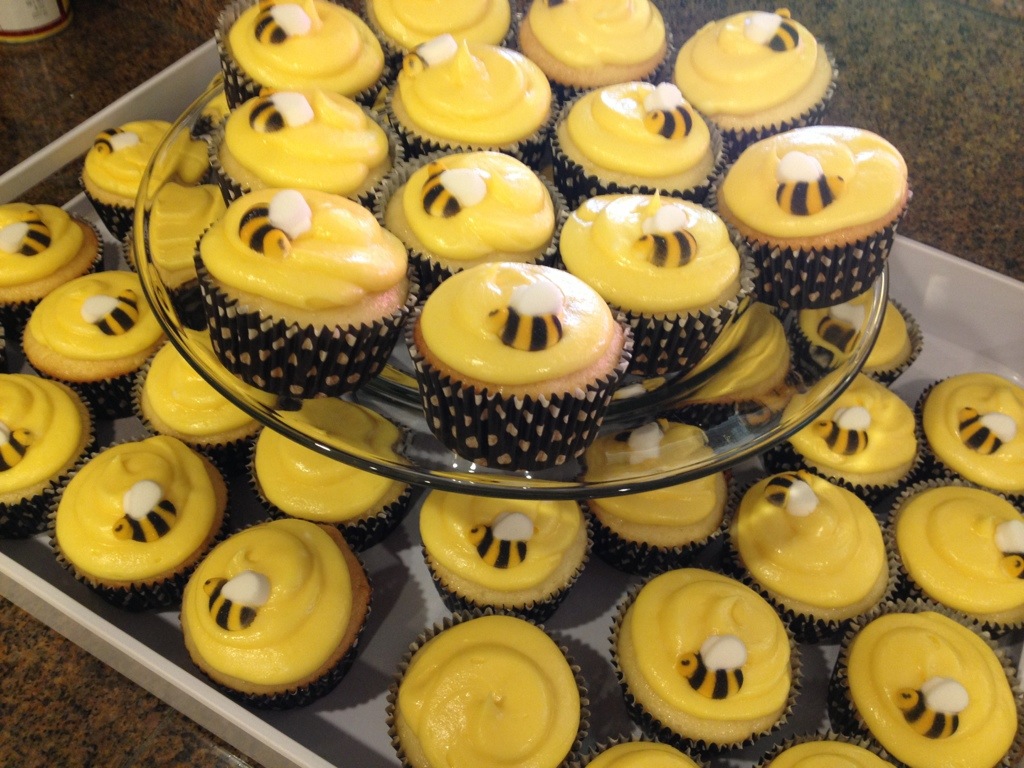
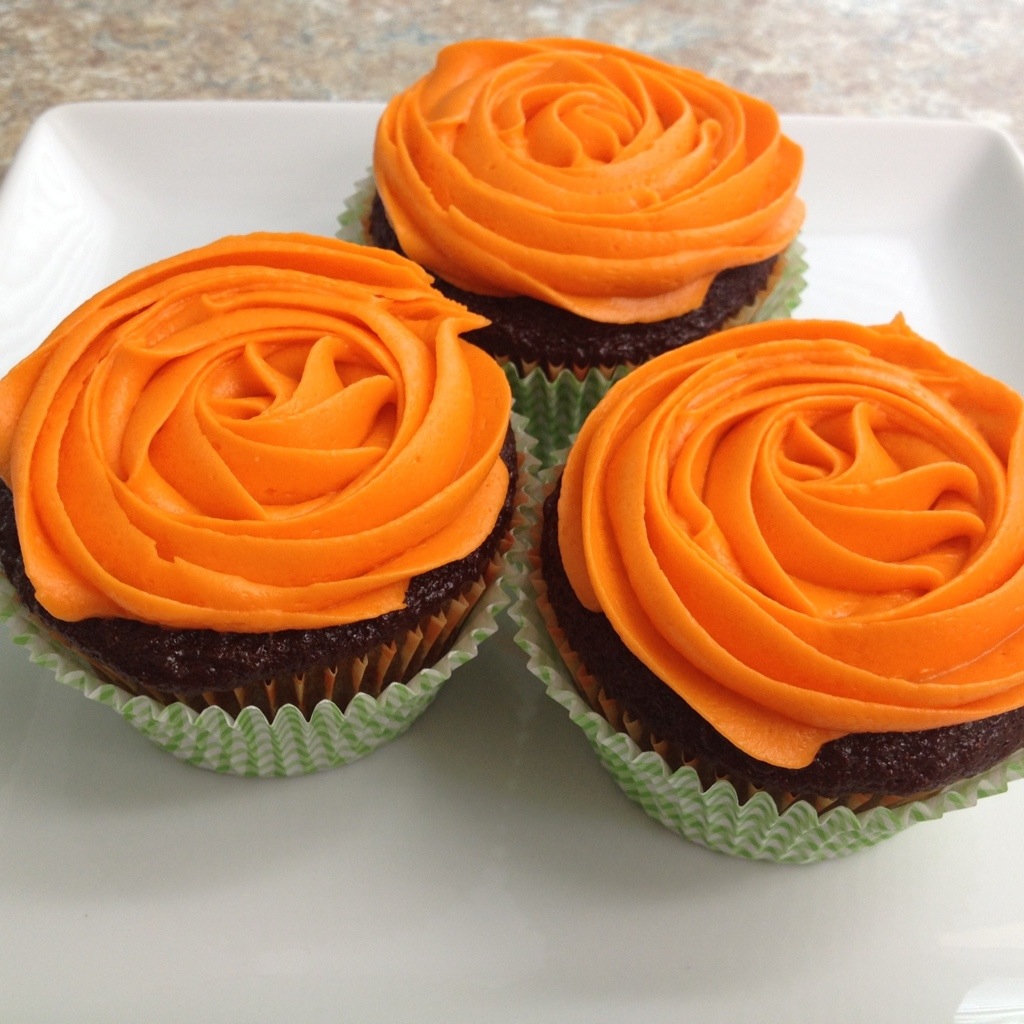
I stumbled across this recipe on Pinterest. It’s made by Teresa over at Blooming on Bainbridge. I’m pretty much obsessed with orange soda, so I knew I absolutely HAD to make this ice cream. (Remember my Orange Soda Cupcakes I made awhile back?) Teresa’s recipe calls for an ice cream maker, but I made mine without – so anyone can make this!

I followed Teresa’s recipe with just a few minor tweaks…

Orange Soda Ice Cream – barely adapted from Blooming on Bainbridge

Ingredients:

3 cans of orange soda (I used Sunkist because it’s my favorite)

1 (14oz) can of sweetened condensed milk

heaping 1/2 cup sugar

Directions:

1. Pour sweetened condensed milk into a freezer safe mixing bowl (that has an airtight lid).

20130804-133559.jpg

2. Stir in the sugar.

3. Slowly add 1 can of orange soda and mix until completely combined. Repeat with other 2 cans. It gets pretty foamy at this point.

20130804-133606.jpg

**Teresa’s recipe called for an ice cream maker at this point. If you have one, feel free to use that. (Churn until ice cream is solid and store in an airtight container in the freezer.) My ice cream maker churned the mixture for 25 minutes then abruptly stopped working, with no frozen ice cream inside. So I improvised, and it worked…

4. Put the lid on the mixing bowl and stick the whole thing in the freezer for at least 4 hours, preferably overnight.

5. Remove bowl from freezer and let thaw for about 10 minutes.

6. Scoop mixture into blender and blend just enough to make a slushy consistency. Return to bowl and put back in the freezer for at least 4 hours, preferably overnight.

20130804-133549.jpg

Once the mixture is frozen again, it’s the perfect creamy consistency! The flavor is difficult to explain, but if you are a fan of orange soda, you must give this a try!

2 Comments

Filed under Misc

What’s It Gonna Bee? [My Baby Shower]

My mommy is AMAZING. She threw a wonderful baby shower for me a couple weeks ago. When trying to find a good and easy theme, I stumbled upon “What’s It Gonna Bee?” on Pinterest. Usually this is used for gender reveal parties, but since hubby and I aren’t finding out the sex of our little one, we thought the theme was perfect.

Here is the invitation:

20130724-114840.jpg

I made the treats. People were kind of freaking out that I shouldn’t have to make the desserts for my own party, but I feel like it would have been more weird to come to a party for me and there not be Carrie’s Creations cookies!

I fell in love with this photo a while back, and if anyone knows who it belongs to please let me know! I saved the photo from a google search to my phone and the uploaded that to my Pinterest board later… but I have been unable to find it since to give credit to where credit is due.

20130724-115741.jpg

I was unable to find a cutter in this shape, but I did find this cutter made by Cristin’s Cookies.

20130724-115656.jpg

I modified the inspiration picture above to fit Cristin’s cutter shape, and I have to say – I think I like it better!

20130724-114720.jpg

I outlined the whole bee in black, then filled in each section one color at a time.

20130724-114730.jpg

In addition to the cookie favors, I made cupcakes. Lemonade Cupcakes to be exact – some of my favorite, and they fit with the warm weather (hottttt weather actually) and the yellow theme.

Here is my inspiration picture, also found through google searching, and also without proper credit.

20130724-115724.jpg

I had a hard time finding little bees for the tops. I eventually stumbled upon these sugar bees at Layer Cake Shop, and they were perfect! I piped the frosting using a basic round tip to mimic the hive look, without overdoing it on the frosting.

20130724-114703.jpg

20130724-114709.jpg

20130724-114737.jpg Here are a couple of the other details from the party:

(this shirt I made/wore)

20130724-114907.jpg (my fingernails that my bestie did for me)

20130724-114857.jpg

(the table centerpieces I made)

20130724-114833.jpg

(the drink table)

20130724-114820.jpg

(the fruit salad a family friend made – her sex vote is girl btw, haha…)

20130724-114815.jpg

(some of the other foods served, and the little tags I made.. they’re hard to see but each tag has a little bee on it similar to the centerpieces)

20130724-114825.jpg

(and one of the games we played… everyone got to make their guess, and we will just have to wait and see who gets the closest!)

20130724-114801.jpg

It was a great shower and thank you to Mommy, Sandy, and Ann for helping out!!

4 Comments

Filed under Cakes, Cookies

Homemade Funfetti Cupcakes

I’ve always wanted a good homemade funfetti recipe. Every time I try one that I find online, I am disappointed. Boxed funfetti is perfection, but cupcakes are appreciated more (especially for a party!) when they’re made from scratch.

This time I decided to start with a well-known blogger’s “best ever” recipe and adapt as I needed to in order to make funfetti. Problem is, I still wanted it to be easy and able to make with basic ingredients. Ain’t nobody got time for fancy ingredients or steps.

I ended up going with Glory’s Perfect Vanilla Cupcakes from her blog Glorious Treats. Quick word about Glory – she actually lives within 15-20 minutes of me in a neighboring city! I’ve never met her, but I think she’s fabulous and I hope to someday. 🙂

**Some of the ingredients below have an “or” in parenthesis. Use whichever ingredient(s) you have on hand!**

Homemade Funfetti Cupcakesrecipe adapted from Glorious Treats

Ingredients:

1 cup + 1 tbsp + 1 1/2 tsp flour  (or 1 1/4 cups cake flour and NO cornstarch)

2 tbsp + 1 1/2 tsp cornstarch

1 1/4 tsp baking powder

1/2 tsp baking soda

1/2 tsp salt

1/2 cup milk  (or 1/2 cup buttermilk and skip the vinegar/lemon juice)

1/2 tsp white vinegar (or lemon juice)

2 eggs

3/4 cup sugar

1 tsp almond extract

1 tsp vanilla extract

1/2 cup oil

1/4 cup sprinkles (jimmies work best)

Directions:

1. Whisk together flour and cornstarch. Add baking powder, baking soda, and salt. Set aside.

2. Combine the milk and vinegar and set aside.

3. Beat eggs 10-20 seconds, then slowly add sugar and beat. Once full combined, beat in extracts and oil.

4. Slowly add half the flour mixture with the mixer on low. Then add half the milk and combine well. Slowly add the other half of the flour mixture, then the other half of the milk.

5. Turn off mixer and scrape down the sides of the bowl. Stir in the sprinkles by hand.

6. Carefully pour mixture into a lined cupcake pan, filling each liner about 2/3 the way. Do not overfill!

20130724-105718.jpg

7. Bake at 350* for 15-18 minutes, or until toothpick inserted in the center comes out clean.

8. Let cool in pan for 5 minutes, then transfer to cooling rack to cool completely.

This recipe makes about 15 cupcakes.

I topped mine with my Easy Buttercream.

20130724-105652.jpg

4 Comments

Filed under Cakes

Cowgirl Cookies

These cookies were made for a very good friend of mine. We’ve known each other since 1st or 2nd grade. A couple years ago I “introduced” her to a coworker of mine, and they are set to be married in September!

(I’m hoping I can make it to the wedding, it’s 4 days before my due date! Either this baby needs to come pretty early or on time or late for me to be able to make it. Luckily it’s in town so even if I’m still carrying baby I should be able to make it!)

Anyway, these cookies were for her cowgirl themed bridal shower. The wedding colors are orange and deep royal purple.

Here is a pic of the invitation:

photo

I liked the brown, so I decided to go with that for my accent color on the boots.

20130724-105432.jpg

There are three kinds of flowers going to be used for the wedding: orange gerbera daisies, orange roses, and (my favorite!) tiger lilies. Unfortunately I don’t have a cutter for a tiger lily, and my only rose cutter included a stem and leaf and I didn’t want to have to mix green as well… so I went with the ever easy, ever stunning gerbera daisy.

Instead of outlining the whole flower ahead of time and filling each section individually, I decided to do the whole thing, then add the outlines afterward. I did every other petal, then came back and added the remaining petals. I used a boo boo stick (a toothpick would work) to smooth together the touching petals, then added the yellow center at the end.

20130724-105414.jpg

20130724-105424.jpg

I love how simple and fun these turned out to be!

For the party I also made cupcakes. The bride requested chocolate and funfetti cupcakes. I frosting the chocolate cupcakes (recipe here) with bright orange roses.

20130724-105620.jpg The funfetti cupcakes were frosted in a bright purple swirl. I used a brand-new homemade recipe, which will be in the next post!

20130724-105627.jpg

4 Comments

Filed under Cakes, Cookies

Funfetti Cookie Dough Truffles

I guess it turned out to be funfetti week. 🙂

I have made Cookie Dough Truffles once before, here. Instead of chocolate chip cookie dough, this time I went with funfetti.

This idea is really not new. You might have seen this on Pinterest. Something similar was also done by Hayley. And a slightly different recipe can be found here by Shugary Sweets.

Since all the recipes are slightly different, and I just recently made funfetti cookies, I decided to adapt my own recipe to be “egg free” aka pregnant lady friendly.

Speaking of pregnant lady, have you seen my new sidebar pic?! I’m going to try to keep it updated as I go now so you can all see whyyyy I am not posting very often.

Anyway, back to these cookie dough truffles.

20130709-204430.jpg

Funfetti Cookie Dough Truffles

Ingredients:

1 1/2 sticks salted butter (3/4 cup)

1 cup sugar

6 tbsp milk

2 tsp vanilla

1 tsp baking powder

scant 1/2 tsp salt

2 cups flour

1 cup dry funfetti cake mix

4 tbsp any kind of sprinkles

Directions:

1. Beat together butter and sugar. Add milk and vanilla, scraping beater as needed.

2. Add baking powder and salt, then slowly add flour then funfetti mix.

3. Add more sprinkles. I used a few different random packets of Karen’s Cookies sprinkles. I had been saving them up and this was the perfect opportunity to utilize them!

20130709-204354.jpg

4. Line a cookie sheet with wax paper. Roll dough into tablespoon sized balls and lay on cookie sheet. Freeze until firm.

20130709-204359.jpg

5. Melt candy melts in microwave. Using a fork, dip the balls into the candy and tap off any excess.

20130709-204529.jpg

Return to the cookie sheet and sprinkle the top with more sprinkles.

20130709-204424.jpg

6. Store in refrigerator.

20130709-204434.jpg

My brother would absolutely LOVE these!!

8 Comments

Filed under Candy, Misc

Funfetti Oreo Surprise Cookies

My brother is away in the military. He’s been gone for almost 5 months now, and I am missing him like crazy! Before he left he lived with me. We are very close! My parents went to visit him, so I had to bake him up something yummy to send with them since I couldn’t go along.

I had a hard time coming up with something. Not because he’s picky (he loves anything with sugar in it), but because it had to travel well. They weren’t flying, so it didn’t need to be packed up necessarily, but it couldn’t be something that had to be refrigerated, or something that could melt (and when it’s 110 degrees here that’s nearly everything). Also, he’s not that into sugar cookies so I didn’t want to go there.

Somehow I arrived at the idea for these cookies, and I knew he would love them!

Funfetti Oreo Surprise Cookies makes about 20 large cookies

Ingredients:

1 1/2 sticks salted butter (3/4 cup)

1 cup sugar

2 eggs

2 tsp vanilla

1 tsp baking powder

scant 1/2 tsp salt

2 cups + 2 tbsp flour

1 cup dry funfetti cake mix

1/4 cup jimmies (the long sprinkles)

1 pack regular (aka Double Stuf) oreos

20130702-211343.jpg

Directions:

1. Cream together butter and sugar. (I like to cut my butter up into chunks first so that I don’t have to wait for it to come to room temperature.)

2. Add eggs and vanilla and beat to combine. Scrape bowl if necessary.

3. Keeping mixer on low speed, add salt and baking powder. Slowly add flour then dry funfetti cake mix.

4. I kneaded my extra sprinkles in by hand, but I guess you can do it with the mixer. It might just chop them up a bit instead of leaving large sprinkle pieces.

20130702-211336.jpg

5. Grab about a 2 tbsp size ball of the dough. Flatten it in your palm, then place an oreo in the center. Shape the dough around the oreo, making sure to cover it completely. It helped to kind of roll it around in my hand to smooth it out and to make sure it was totally covered.

20130702-211526.jpg

6. Space about 2″ apart on baking sheet, and bake for 15-20 minutes at 350* or until edges start to turn golden. Cookies will be super puffed up, but will flatten a little as they cool. Wait 5-10 minutes to move them to a cooling rack so they can set up.

20130702-211539.jpg

He loved them. 🙂

20130704-053141.jpg

Next time, I’m going to try to find those little mini oreos so I can make mini versions!

2 Comments

Filed under Cookies

Slutty Brownies

Don’t let the name fool you – these brownies are a very good thing.

I don’t know where the name came from, but it’s a real thing so I figured it made more sense to leave it be. Especially when they’re this good.

Let’s get right to it, shall we?

Just a quick note – There are multiple layers to these, so I listed some of the same ingredients twice. They’re listed in the order that you need them. Don’t be scared by the long list, these are easy! I put a line between each layer to help break it up.

Slutty Browniesadapted from this recipe

Ingredients:

1 1/2 sticks butter (3/4 cup), melted & slightly cooled

1 cup packed brown sugar

1/2 cup sugar

1 egg + 1 egg yolk

2 tsp vanilla

1/2 tsp baking soda

1/2 tsp salt

2 cups + 2 tbsp flour

1 cup semi-sweet chocolate chips

————————————————————–

1 ENTIRE pack of regular (aka Double Stuf) oreos – seriously don’t even eat one or two, you will be short!)

————————————————————–

1 cup vegetable oil

2 cup sugar

2 tsp vanilla

4 eggs

1 cup flour

2/3 cup unsweetened cocoa powder

1/2 tsp baking powder

1/2 tsp salt

Directions:

1. First layer is chocolate chip cookie. Mix together melted butter, brown sugar, and white sugar. Add the egg and egg yolk, and the vanilla, scraping the bowl if necessary. Mix in baking soda and salt, then slowly add the flour. Mix in the chocolate chips by hand.

2. Spray a 13×9″ pan with non-stick cooking spray. Press the cookie dough into the bottom of the pan. (My honey helped me.)

20130702-211243.jpg

3. Press the oreos into the chocolate chip cookie dough. You might have to spread them out a little to make sure there is oreo across the whole surface. Might even have to break some in half to reach the bottom.

20130702-211254.jpg

4. Time to make the brownie batter! Mix together the oil and sugar. Add vanilla and eggs. In a separate bowl, whisk together flour and cocoa powder, baking powder, and salt. Slowly add to wet mixture.

5. Carefully pour batter over oreos, making sure to cover them completely. Use a spatula to push batter into the corners and between all the oreos.

20130702-211303.jpg

*I was feeling fancy so I added sprinkles. Totally optional. But let’s face it, everything is better with sprinkles*

20130702-211311.jpg

6. Bake at 350* for 25-30 minutes. Check the doneness by sticking a toothpick in between where the oreos are to make sure the brownie batter is cooked thoroughly. Let cool completely before cutting. Seriously, let them cool.

I made these the night before going camping, and we didn’t have them until the 3rd night. I just covered the entire pan in foil and waited patiently!

20130702-214348.jpg

5 Comments

Filed under Brownies

Masquerade Cookie Pops

These are in the running for my favorite cookies I’ve ever made.

An old coworker asked for cookies for a Masquerade themed party. My husband suggested putting them on sticks as cookie pops so that they would be more realistic as masks. What a perfect idea!

I made them extra thick to hold up on the sticks, then iced them with a similar technique as these Fall Leaf Cookies. Except this time I couldn’t dunk them in a bowl because of the stick, so I had to work on a flat platter instead.

20130615-072056.jpg

Each cookie came out completely unique in color and swirl.

Once they were dry, I piped white designs on them. I love the way the white popped against the bright colors. Each one had a unique design on it as well, because I just “winged it” for each one.

20130615-072103.jpg

20130615-072108.jpg

20130615-072114.jpg

20130615-072119.jpg

20130615-072124.jpg

Once they were all ready, I bagged them individually to be given as favors. I’m so glad she liked them as much as I did!

20130615-072130.jpg

5 Comments

Filed under Cookies

Little Lady Baby Shower Cookies

A photographer friend of mine wanted some cookie favors for her sister’s baby shower. It’s going to be a girl, and the theme was “Little Lady.”

Here’s the invite, isn’t it adorable?!

Anyway, her and I agreed to do a “service swap” and she will be doing my maternity photos in a few weeks when I feel good and BIG. 🙂

We decided to do chevron on some onesies, and pair them each with a perfect little pink bow. I’m obsessed with my little bow cutter!

20130612-123922.jpg

I debated how to do the chevron design, because I wanted it clean and not a ton of outlining throughout. Especially since I outlined in pink. I decided the best route would be to go with a stencil.

20130612-123906.jpg

Unfortunately, I could not find a stencil! If I had planned ahead I would have just ordered one online, but seeing as chevron is so “in” right now, I thought I wouldn’t have a problem finding one.

I ended up buying stencil templates and making my own. I found a pattern online and printed it out, and my wonderful husband cut it for me with an x-acto knife.

20130612-123913.jpg

Then I just laid it across the cookies and sprayed it with Wilton color mist. Since the stripes had to be grey, I used black color mist and just did a light coat. (Obviously if you have an airbrush that would be better.)

Turned out better than I thought! The key was to spray exactly downward, and not at an angle – otherwise the spray snuck under the stencil and the design got a little blurry.

20130612-123932.jpg

Here are a couple that I sprayed a little too much and got too dark…

20130612-123959.jpg

And these are the last 2 that I did… the spray was running out and it started to get blotchy and messy on my poor cookies. Luckily I had made extras, so these were eaten. 1 can of color mist will cover about 50 3″ cookies like this. I’d say if you are doing exactly 50, opt for the 2nd can. You don’t want to end up with this at the end!

20130612-124006.jpg

Here are all the cookies bagged up and ready to go for the party!

20130612-124012.jpg

**A few other tips if you’re going to try this:

– Either do it outside or clear a large space. The mist gets everywhere. I’ve done it outside and it was windy and that wasn’t ideal either. Pick your battle I guess.

– Every 2-3 sets of cookies, wash and dry off the platter and stencil. You don’t want leftover smudging the next cookie.

– Make extras so you can test in the beginning, throw out any blotchy ones at the end, and play around with different shades of mist.

4 Comments

Filed under Cookies

Thank You Cookies

I was given free reign to make some simple Thank You cookies for someone. I had been craving summertime, so I went with bright & cheery summer colors.

20130530-111907.jpg

This is another new font I’ve tried lately. I like it because it’s cute and easy without being too cutesy. If that makes sense.

20130530-111922.jpg

4 Comments

Filed under Cookies