Mickey & Minnie Baby Shower Cookies

This mama-to-be is so very special to me. We’ve known each other since first grade. We went to elementary, middle, and high school together and I introduced her to her husband, who was a coworker of mine. And now they’re about to have their first baby! It was a Mickey and Minnie themed shower, and I got to make the cookies. 

I’ve made Mickey cookies once before (here) but I knew I wanted to do something different this time. And since they’re having a little girl, of course I had to do Minnie too! 

Sidenote – I decided years ago that I’m not making character cookies anymore. It’s so difficult to achieve the likeness of a character and it was way too stressful. Everyone is their own worst critic, and I was NOT nice to myself when I made characters. Instead, I prefer to do details and patterns that are still representative of the character or theme – but stress free!

I did a basic Mickey… (because it’s so easy and recognizable – you don’t even need a face!)


… Minnie’s bow (which I learned the hard way is NOT actually shaped like a bow) (can you tell what cutter shape I ended up using?) …


Minnie’s heels…


…and baby onesies! The G is for Gloria. Isn’t that the most gorgeous name?!


I was so happy with how these turned out. The colors really popped and they looked great with the rest of the decor and food. 

Advertisement

1 Comment

Filed under Cookies

Beach Ball Cookies

My little one had a beach ball themed pool party for his 1st birthday. (This was back in July so don’t think I’m a crazy lady having a pool party in November.)

We rented out the small local pool and had a blast. I made cupcakes with bright pool blue frosting, sprinkles, and a beach ball cake topper…


…and beach ball cookies in rainbow colors.


These were so fun and easy and tied all of the decorations and theme together perfectly.

And because my little dude is just so darn cute, here are a couple pictures from the party!

Leave a comment

Filed under Cookies

Bridal Shower Lingerie Cookies

I made these for my cousin’s fiance’s bridal shower over the summer. I love how the gold looked with the hot pink!

I know I’ve said this before, but I LOVE making lingerie cookies. I love to make each one unique and I love to watch people pick out their favorites.


Leave a comment

Filed under Cookies

My Little Pony Cookies

I still make things. Not as often, but I do. They just never seem to make it onto here.

I while back I made these My Little Pony Cookies. I was’t going to share them, but it’s been awhile now and I’m not feeling so self conscious about them anymore so I decided why not post them.

I don’t usually do characters (because they’re very hard) but I bought special cutter that indented a lot of the detail lines so I felt more comfortable taking on the challenge.

I like to outline in a dark color like this to create that “coloring book” feel. It also makes the images pop really well.

The hard part about filling in all of these little sections is they tend to crater. You can see this better in the next picture.

This is the finished product for this one. I wasn’t super happy with how they turned out, but I know I’m my harshest critic sometimes. I had a really rough time with the eyes. Is there a cookie character eye class I can attend? Ugh.

The next one was not as many tiny spaces to fill, but it had it’s own challenge.

This one has stripes in the tail, so I had to do a wet-on-wet technique.

Here’s the finished product. Again the eyes are rough and there is some cratering, but not too bad.

Thankfully I didn’t have to do too many ponies, because there were amazing rainbows to go with this set too. Can’t go wrong with a perfect rainbow! I pieced these together with a small flower cutter that I smooshed a little, and a couple circle cutters for the rainbow.

The birthday girl’s name went on the clouds.

I usuallly just google a bit and then “wing it” with my fonts. I like how this one turned out.

Little girls (and big girls) love sprinkles, so I rounded out the set with some rainbow sprinkled 4’s.

For the record, I’ve sworn off characters for now, they give me way too much anxiety. 😛

Leave a comment

Filed under Cookies

2016 Monthly Challenge: Checkered Cake

This month marks 5 years this blog has been running! Craziness. To celebrate I made a cake. A fancy cake that was new and different and a challenge for me… which qualifies it as one of my monthly challenges for 2016!

I originally planned on making a vertical layer cake, like this one by Amanda from i am baker. Well, we all know I am not great at following directions. So I didn’t realize how TALL these cakes needed to be in order to actually make vertical layers that looked like vertical layers. My cake was much too short and I had to improvise, so I made this checkered cake instead. I still used most of her techniques. 🙂

I used boxed cake. Easy. And the recipe isn’t the goal here. If you want to make your own cake, by all means make that mess in your kitchen.

I colored my cake pink and blue. Cuz pink and blue define me and this cake is to celebrate my blog and me, so it seemed fitting.

Ignore the mini cakes. Totally irrelevant and a poor decision.

So yeah, bake your cakes. Let cool in pan for just a couple minutes, then remove and trim the bump from the top right away. Wrap in cling wrap and put straight into the freezer. For at least a couple hours. I did mine the next day.

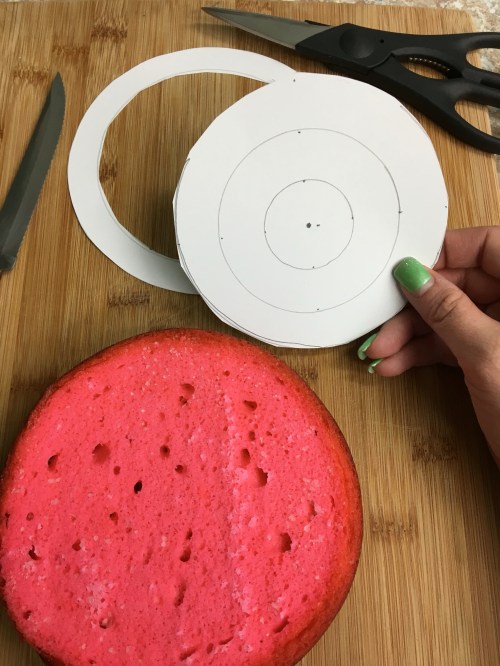
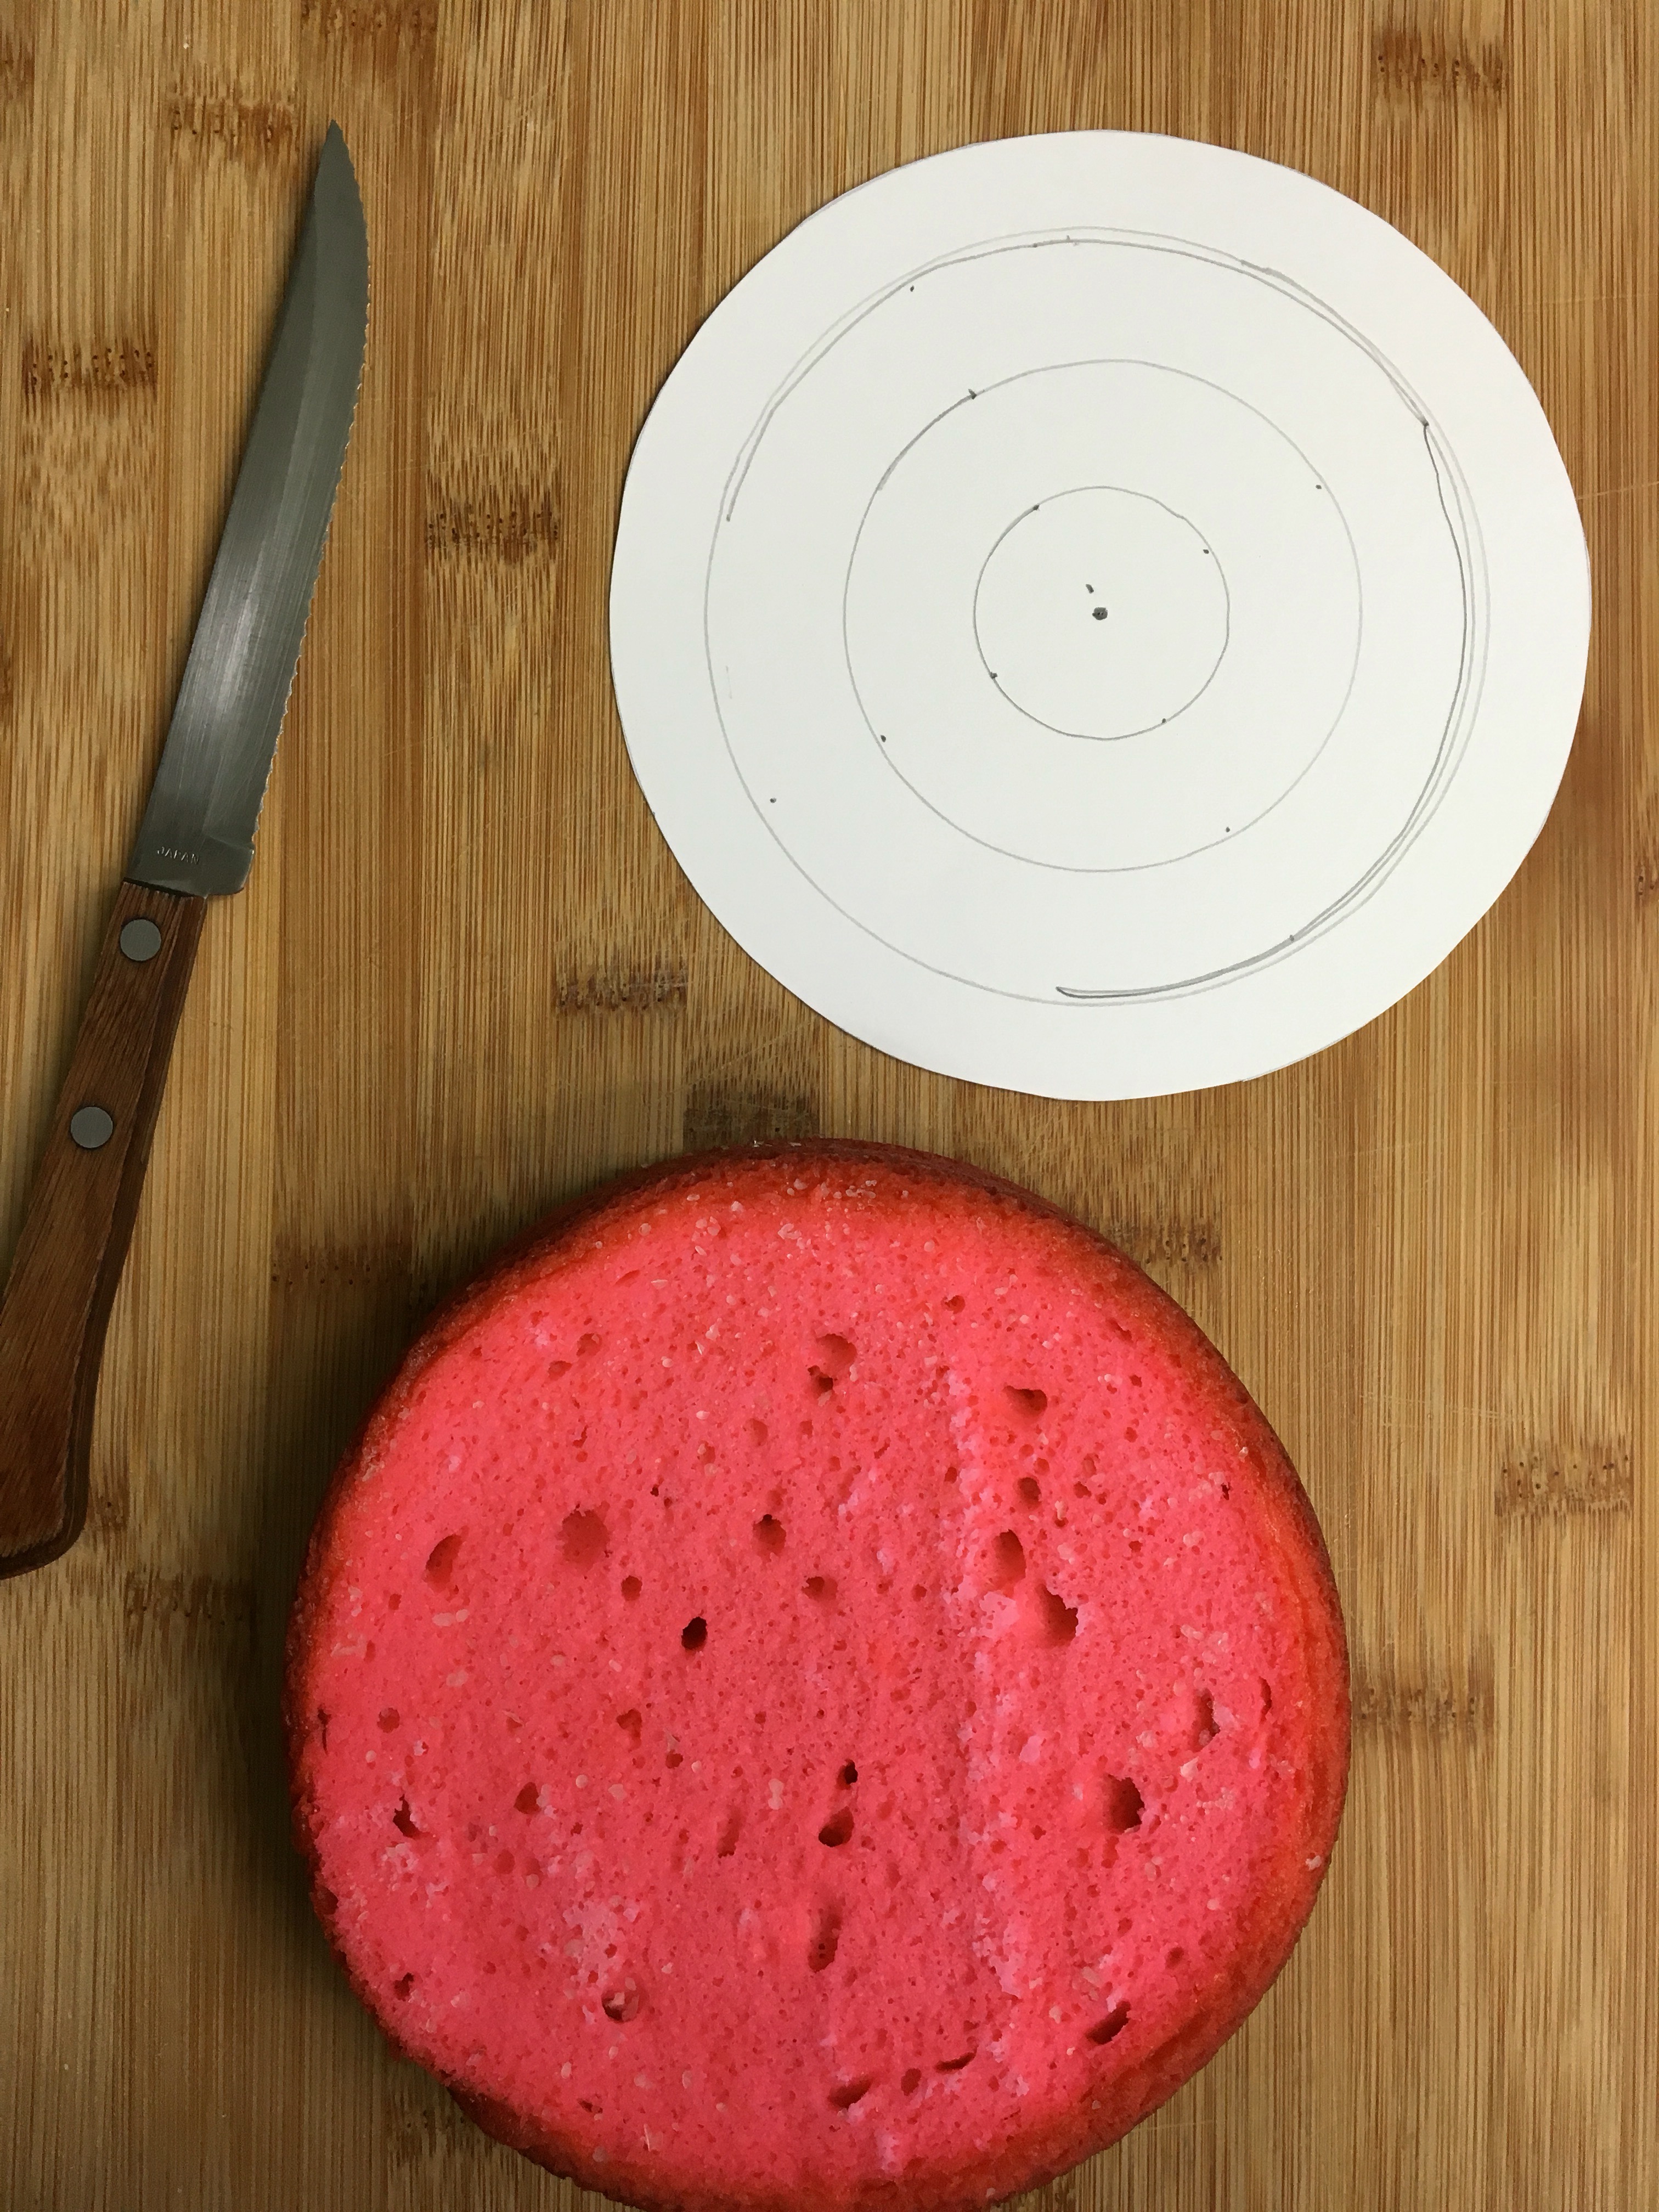
Once the cake is good and frozen, get your template ready. I started with my cake pan, tracing a circle onto cardstock. Then I found the center with a ruler. I don’t have a compass so we had to rig something with a pencil and string. Don’t recommend this, you can see how messy my lines are. But it works in a pinch.

Cut off the first layer, then center it on the cake. With a serrated knife, cut around the template with the knife straight up and down. Do this to both cakes.

  img_5863

Then cut the next circle off the template and do the same thing again on both cakes. Do this all the way to the smallest circle.


Once all the circles are cut, cut a slit all the way through on one side, except for the smallest inner circle. Carefully separate the circles, and piece back together with the opposite color.

img_5865-1img_5866 img_5867

Wrap parchment paper around the cake to hold the circles together, and tie with a string. Amanda recommends pouring simple syrup over the whole thing. I was too lazy to make simple syrup, so I just brushed corn syrup over the top. Didn’t really do the trick. I recommend following directions like I apparently can’t.

img_5868-1

At this point I put the cake wrapped with paper and string into a ziploc bag and into the fringe.

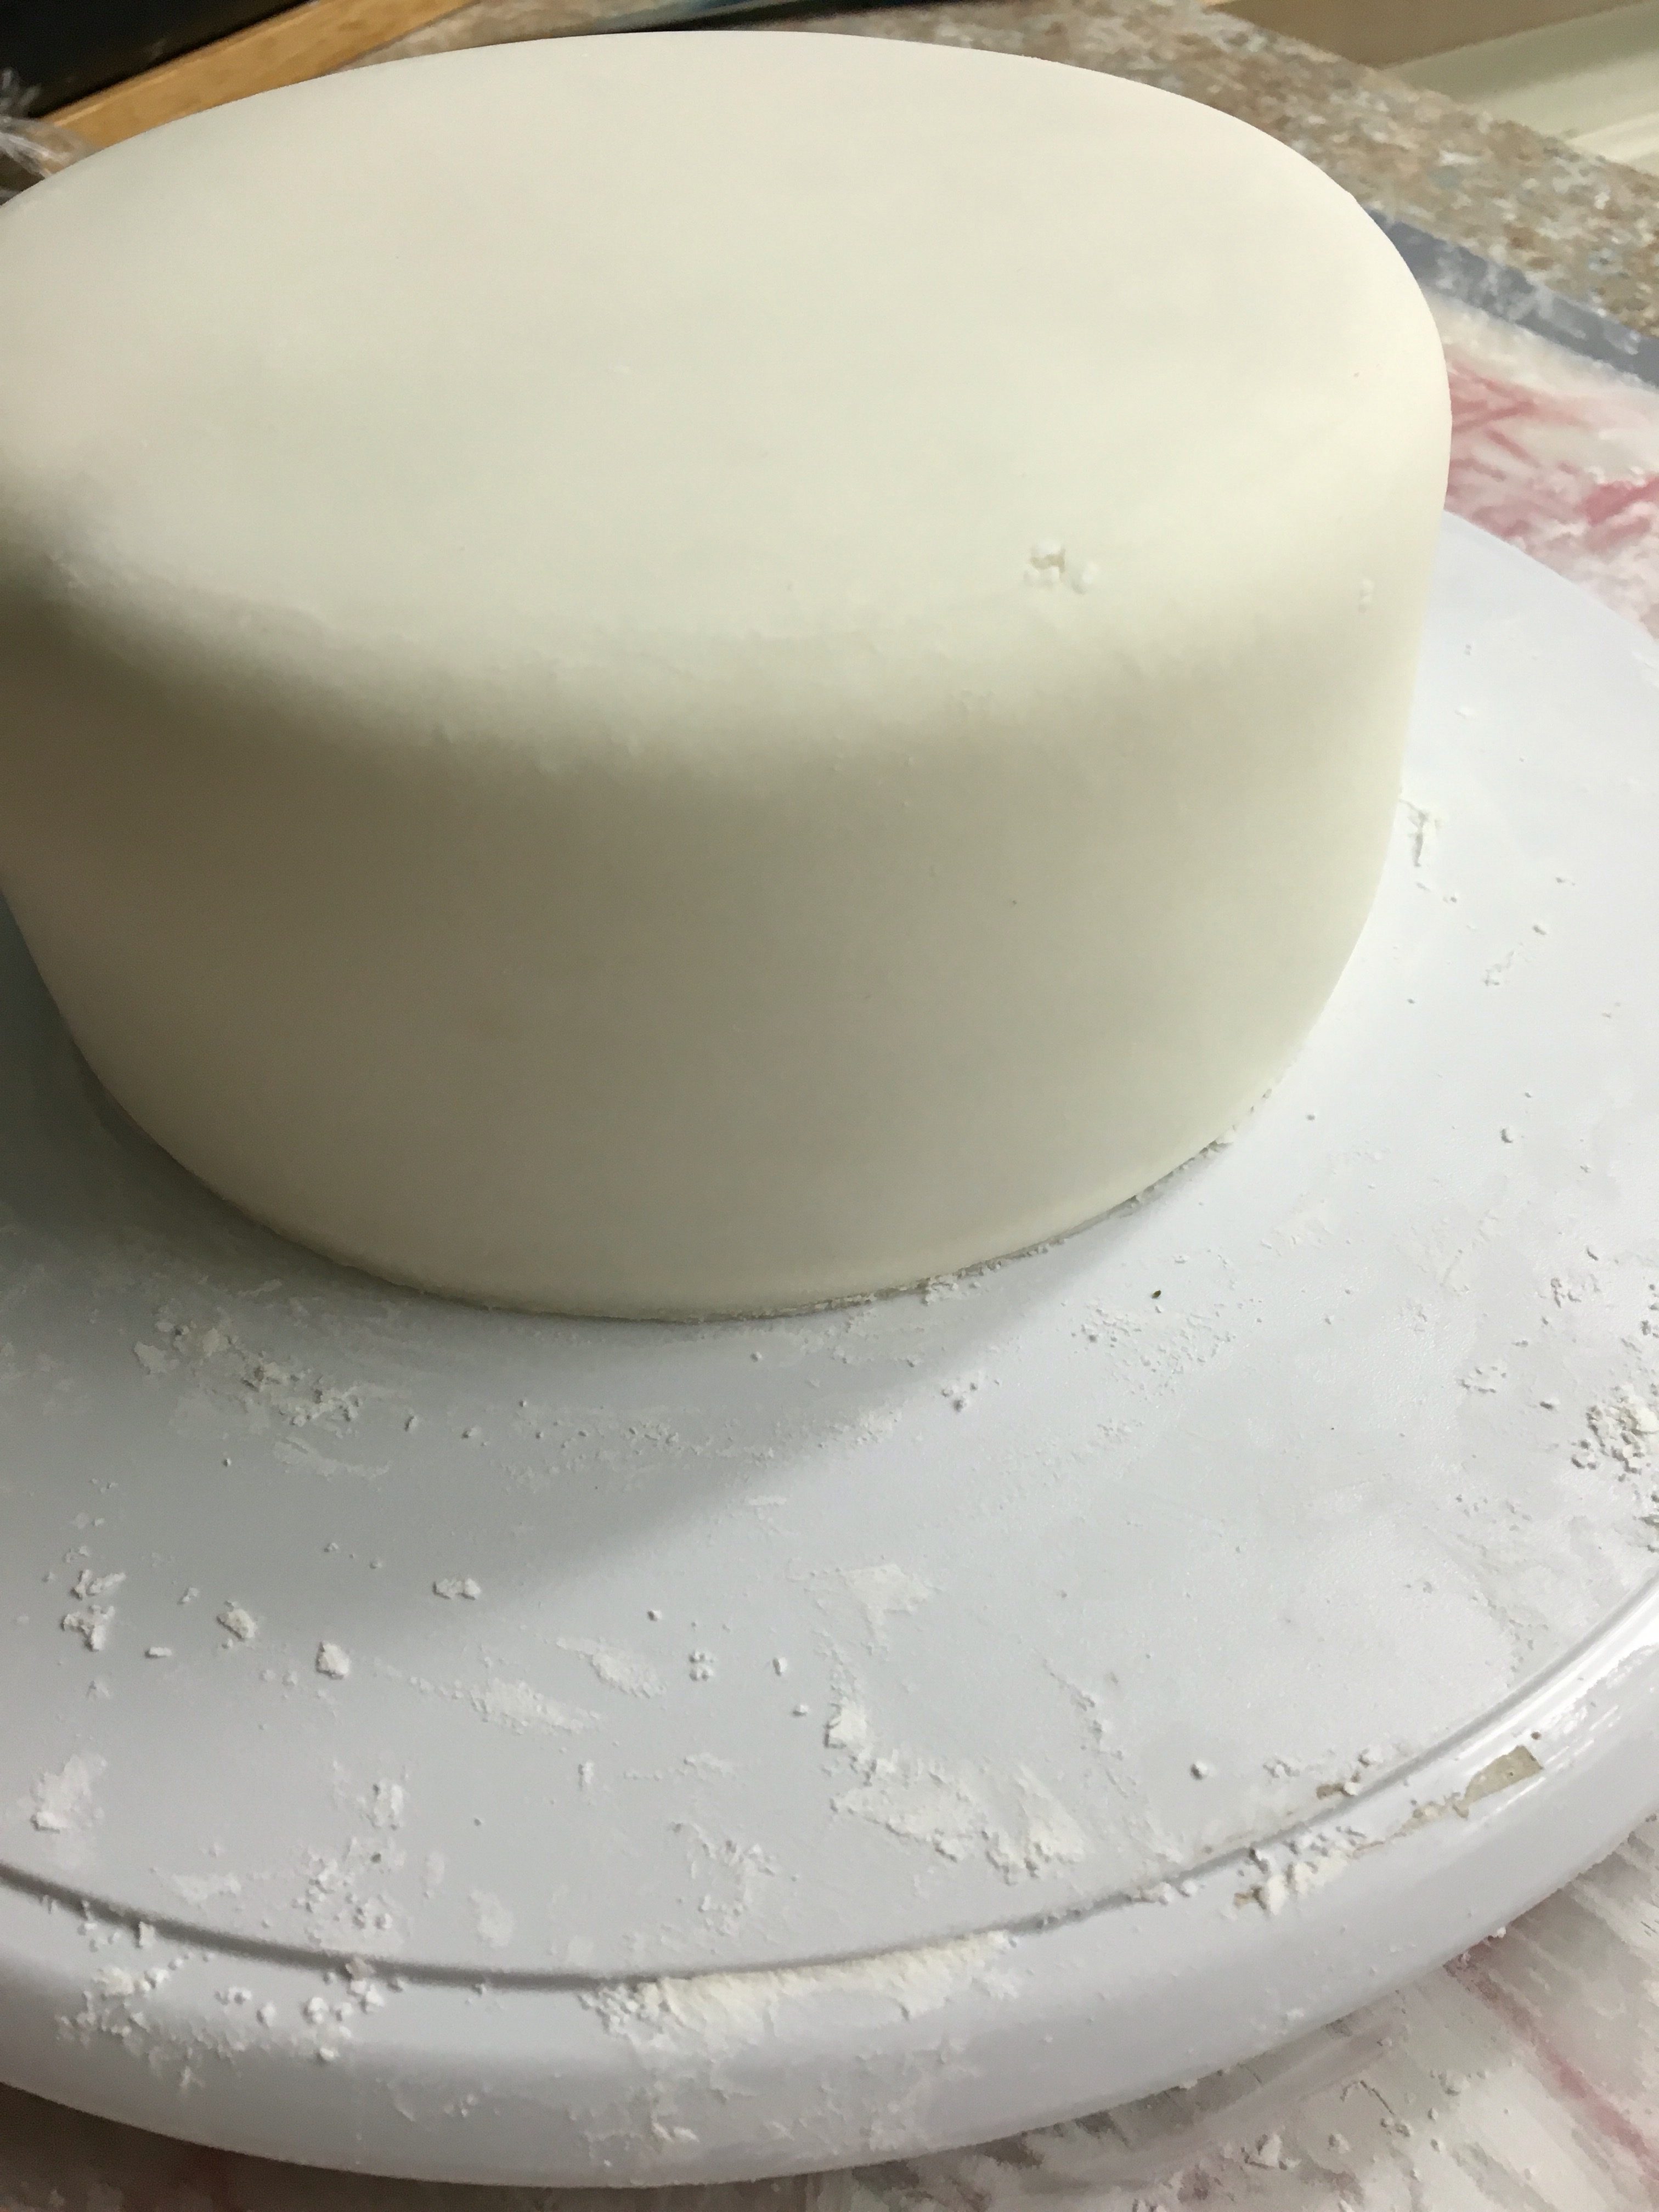
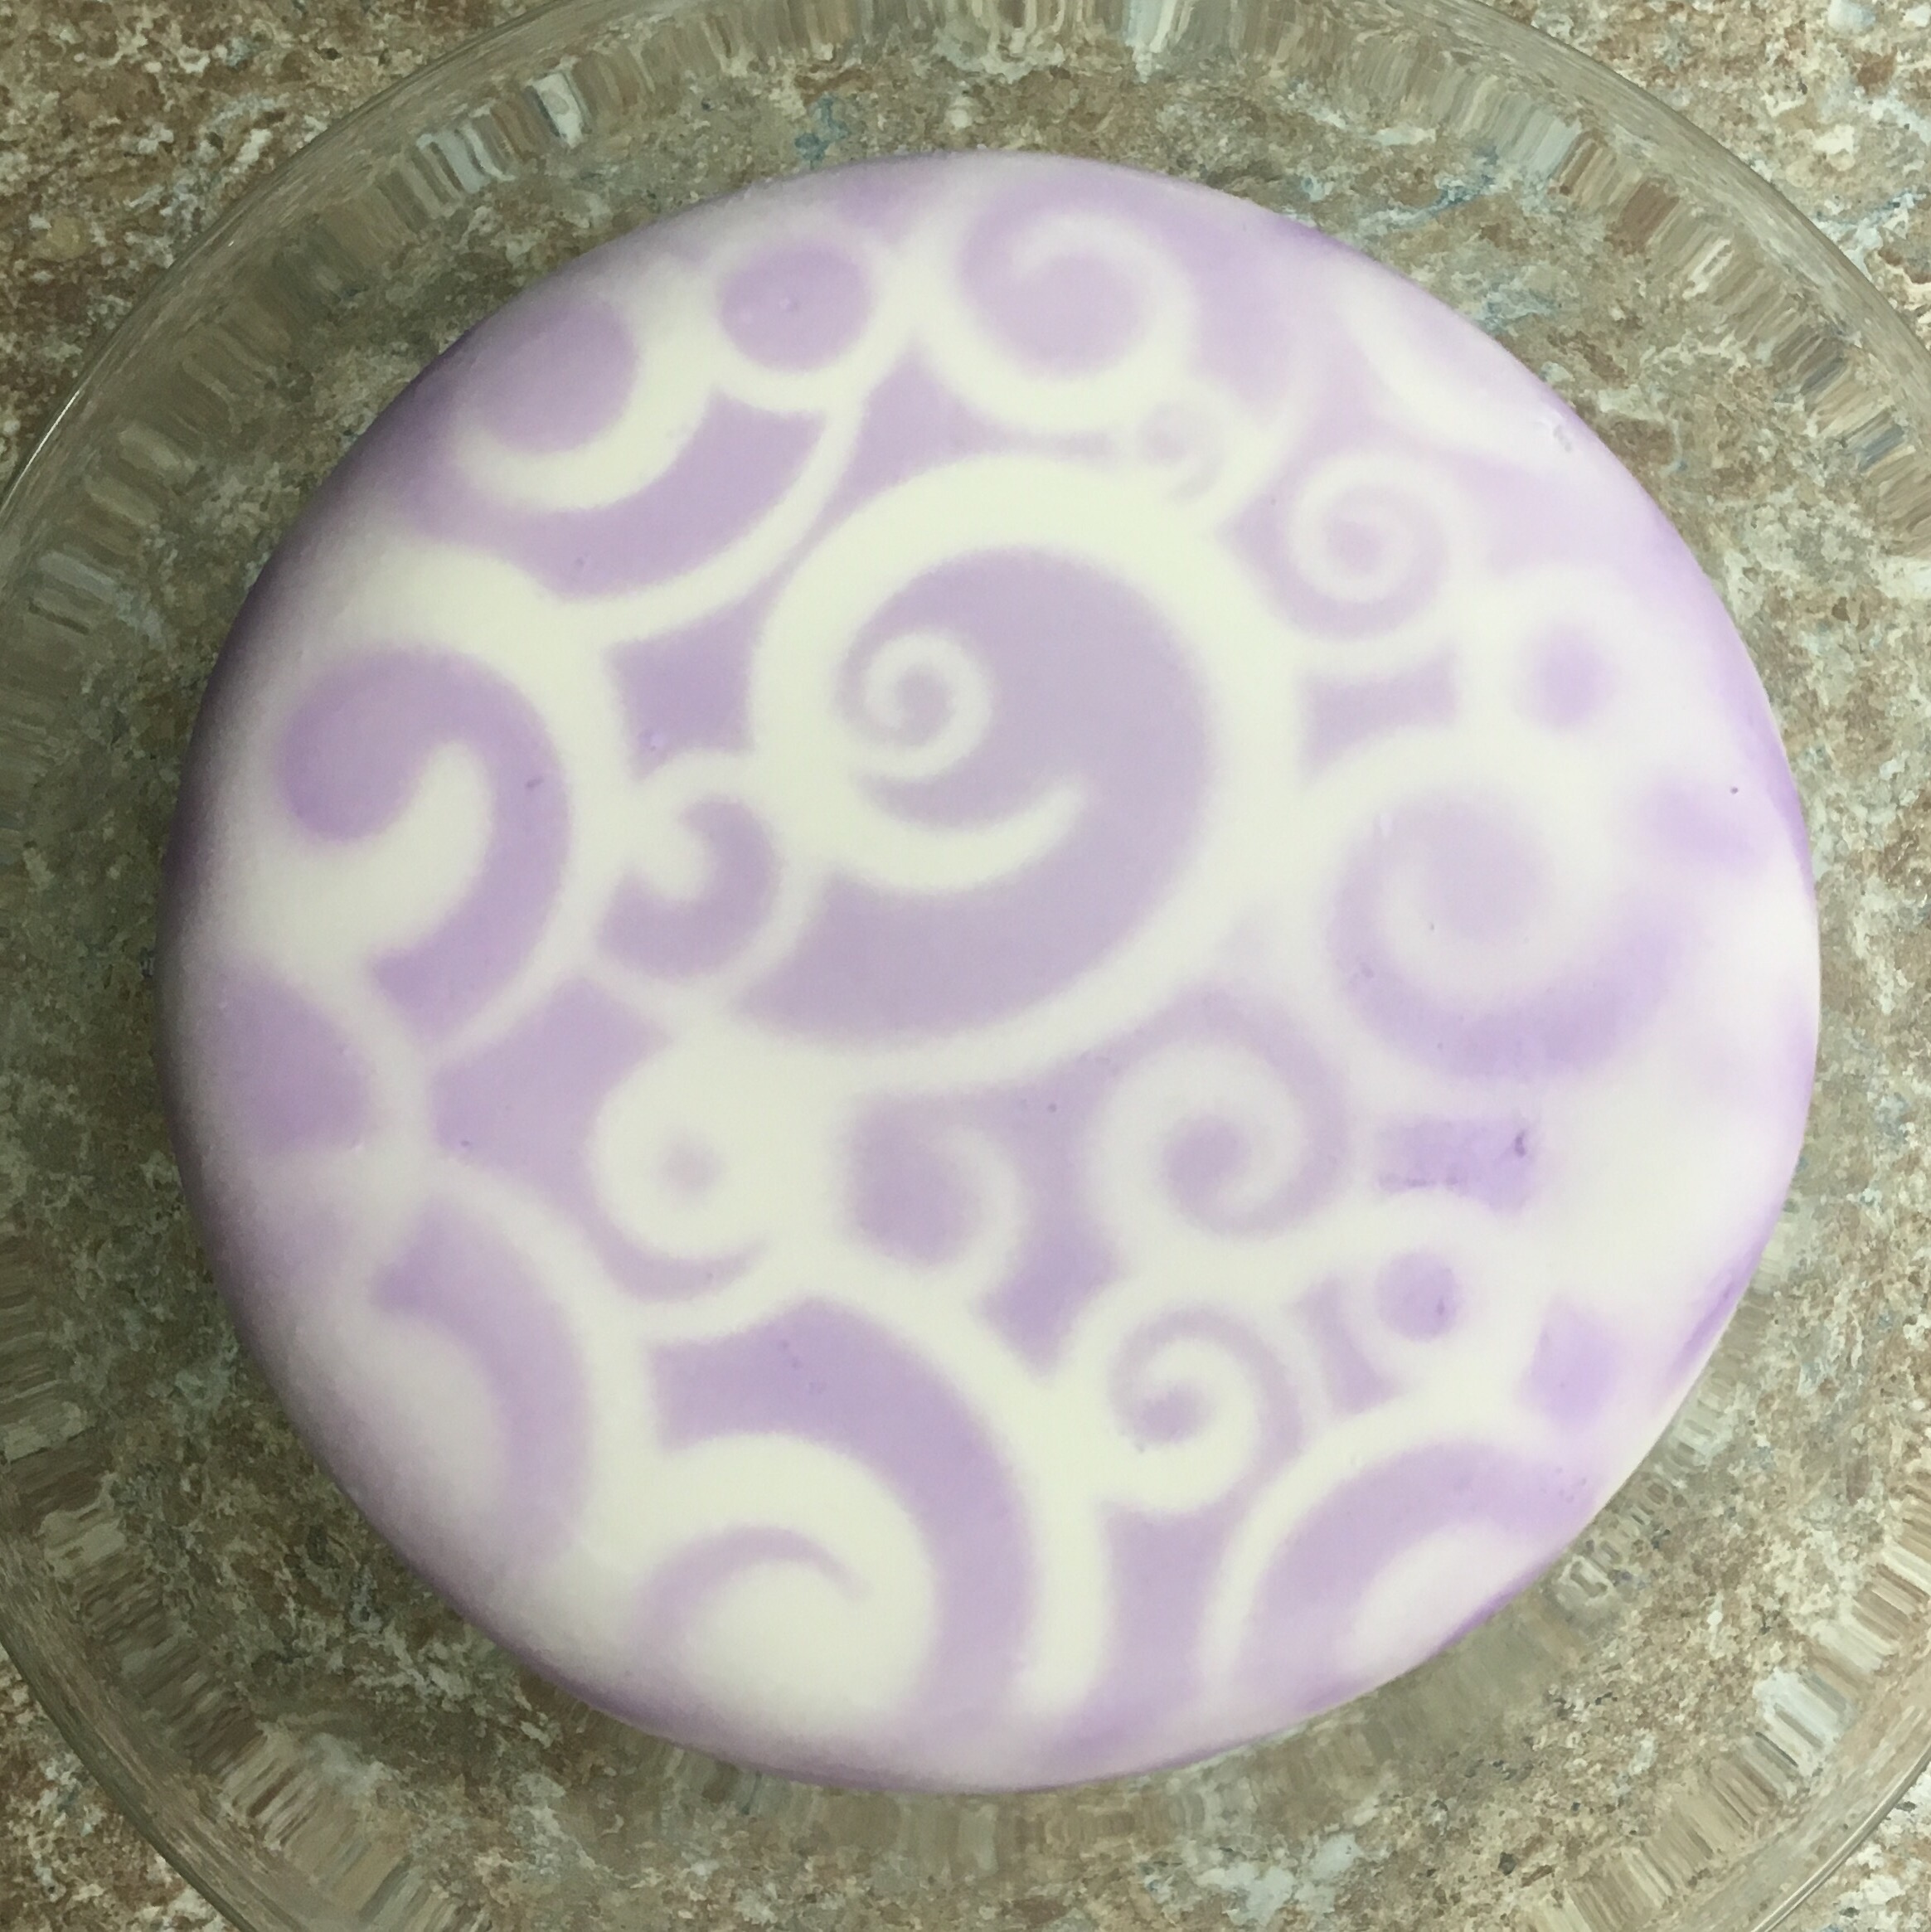
When I was ready to decorate, I put the 2 layers together with a layer of buttercream, then iced the outside of the whole thing in a thin layer of buttcream. I covered it in fondant, which was March’s monthly challenge. (My Easy Buttercream recipe.)

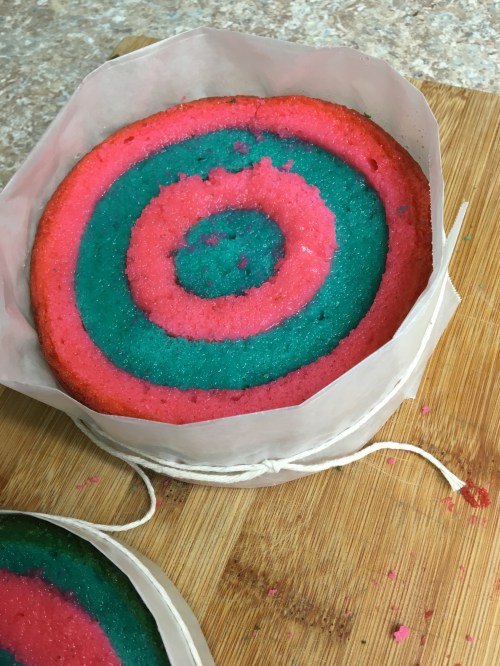
I was really nervous about what the cake would look like when I cut into it. With a technique like this, you just have to hope it’s lined up well and cross your fingers waiting for the cut!

I was super happy with how it turned out! The layers didn’t stay together very well because I didn’t do the simple syrup, but it tasted good and everyone was impressed with the checkers and fondant.


I don’t often make cakes, especially fancy ones. I don’t have a lot of confidence in this area, but this cake definitely helped with that!

2 Comments

Filed under Cakes

Tea Party Baby Shower Cookies

This soon-to-be mama had a tea party themed baby shower in pink and purple for her little princess.

I made teacups and flowers…

I also made more of the doggies that I made for her wedding. Her poor pup has since passed, but will always and forever be her first baby. He was honored in so many ways at this shower, and I’m thankful I was able to help with one of them. 💕


Flowers as simple as this still seem to make such a cute bold statement!

I’ve been meaning to share this for some time. I got this AMAZING cookie stamp a while back. It gets imprinted on the cookies prior to baking so it’s actually my NAME on the back of each cookie! Such a simple touch that makes such a huge impression.  This baby is due to arrive in the next couple of weeks. Can’t wait to meet her!

Leave a comment

Filed under Cookies

2016 Monthly Challenge: Fondant

It’s that time again!

I made a quasi-resolution to challenge myself every month to try a new technique or recipe that I’ve been scared to do before.

In January I made funnel cakes. On January 31st. In February I made granola bars. On February 29th. I’m happy to report that my March challenge was completed on March 30, with one day to spare! Small improvements people.

For March I made fondant.

In case you don’t know, fondant a paste used to cover cakes to give them that smooth perfect look. It’s also used as decorations, cupcake toppers, and sometimes on cookies. It’s edible, but typically not very tasty.

Homemade fondant is made out of marshmallows. Way tastier than store bought stuff!

I have never even worked with fondant before, so everything about this was new to me. I watched a couple how-to videos before getting started. This video by Lisa of The Bearfoot Baker helped me prepare my cake. I also used Lisa’s fondant recipe. I watched this YouTube video to get the technique down for covering my cake.

Fondant

Ingredients:

1 lb mini marshmallows

2 tbsp water

2 lb powdered sugar

**Lisa’s recipe called for vegetable shortening. I had some but it was bad (oops) so I just did without. It still worked fine, but it probably would have been a little easier. 

Directions:

1. In a microwave safe bowl, melt marshmallows and water, stopping to stir every 35 seconds. (It took me 3 rounds of 35 seconds.)

2. Dump most of the powdered sugar on a mat for kneading, creating a well.

3. Pour the melty mallows into the powdered sugar well. My well was not big enough and it spilled over and stuck to my mat. Make a big well.

4. I stirred with a spatula at first because the mallows were HOT. After a minute or so I was able to use my hands. No vegetable shortening means a big sticky mess. Knead sugar into marshmallows.

  …after a bit it finally started to come together. Still sticky gross hands.

5. Keep kneading until all of the powdered sugar is incorporated and there are no little powdered sugar balls.

This is how it looked once all of the powdered sugar was incorporated. My hands were still messy but not too bad!  6. Roll out the fondant as smooth and flat as possible, turning 1/4 turn after every couple rolls (to keep it from sticking). The diameter needs to be wide enough to cover your cake. H+W+H. I had a 6″ cake that was 3″ tall so I needed it at least 12″ wide. This recipe make probably 2x as much fondant as I needed.

7. Lift the fondant up and over the top of your cake. I had to get my husband’s help with this part.

**Shhh no peeking at the cake. That will come later!**

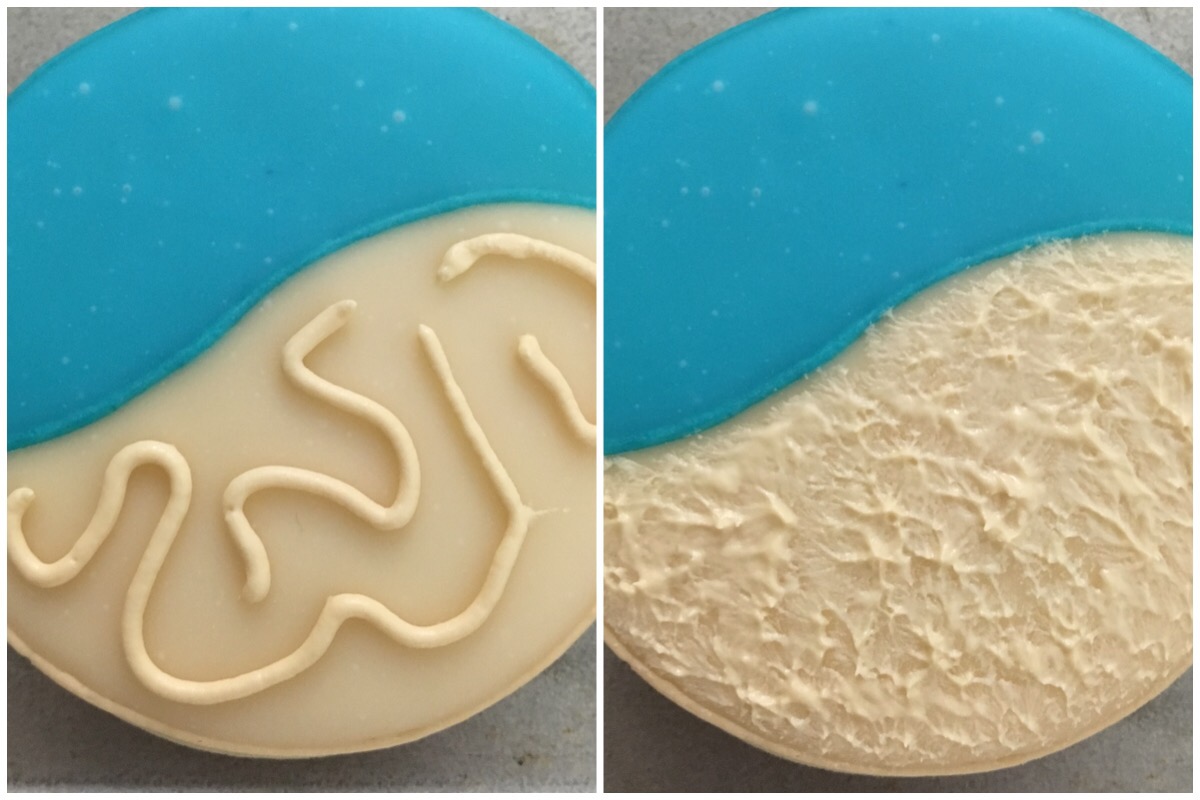
  8. Immediately smooth out the top to make sure there are no air bubbles…
  …then use your hands to start molding the fondant down the sides of the cake, starting at the top. 9. Then use the smoother to smooth out the sides as much as possible all the way down.

10. Use a knife to cut as close to the cake as you can around the bottom, and remove the excess. (Store airtight. I wrapped in cling wrap then put in a ziploc bag.)

 11. Voila! Not as hard as I thought it would be! It’s DEFINITELY not perfect, but I am proud of it! 
I used a stencil and a can of Wilton Color Spray to decorate the top.


 Can’t wait to share what’s on the inside!! 😛

Leave a comment

Filed under Cakes

2016 Monthly Challenge: Granola Bars

So this one time I made a fakey New Years resolution to push myself to try 1 new thing a month on this blog.

Month 1 – I made Funnel Cakes on January 31st. Barely squeaked by on that one.

Then it got worse.

February. Wanna guess what day I made these Granola bars? You guessed it, the last day of the month. BUT. It’s a leap year. So it’s even that much worse. I made these on February 29th. Commence eye roll. I’m ridiculous.

Then. THEN. I waited 3 weeks to type it up to tell you all about it.

Anyway.

Granola Bars.

As usual, I didn’t follow directions very well. I used the cool infographic on this blog post to make homemade granola bars. If I would have actually read the blog post I would have learned you have to do 1/2 rolled oats and 1/2 quick oats, otherwise the granola bars are too soft and crumbly and don’t even stay together well enough to cut. Oh well. They were for my kiddo and he LOVED them. I bought quick oats so that I can make these again and hopefully they will be more “bar” like. Don’t be like me. Use 1/2 and 1/2. 🙂

This is a SUPER adaptable recipe. You can substitute in any kind of nuts (or leave them out if you are a nut-free home), any kinds of fruits, even chocolate chips or other small goodies. Maybe it’s my crazy postpartum nursing mom brain, but I totally see lactation potential here. Just sayin’.

The following is the version that I made and my kiddo loved.

Peanut Butter and Jelly Granola Bars

Ingredients:

5 cups oats (I used all rolled. It would be better to use 1/2 rolled and 1/2 quick)

1/2 tsp baking soda

2/3 cup peanut butter

1/2 cup honey

2 tbsp almond milk

1 1/2 cups raspberry jam

Directions:

1. Preheat oven to 350*.

2. Mix together oats and baking soda in a large bowl. Set aside.

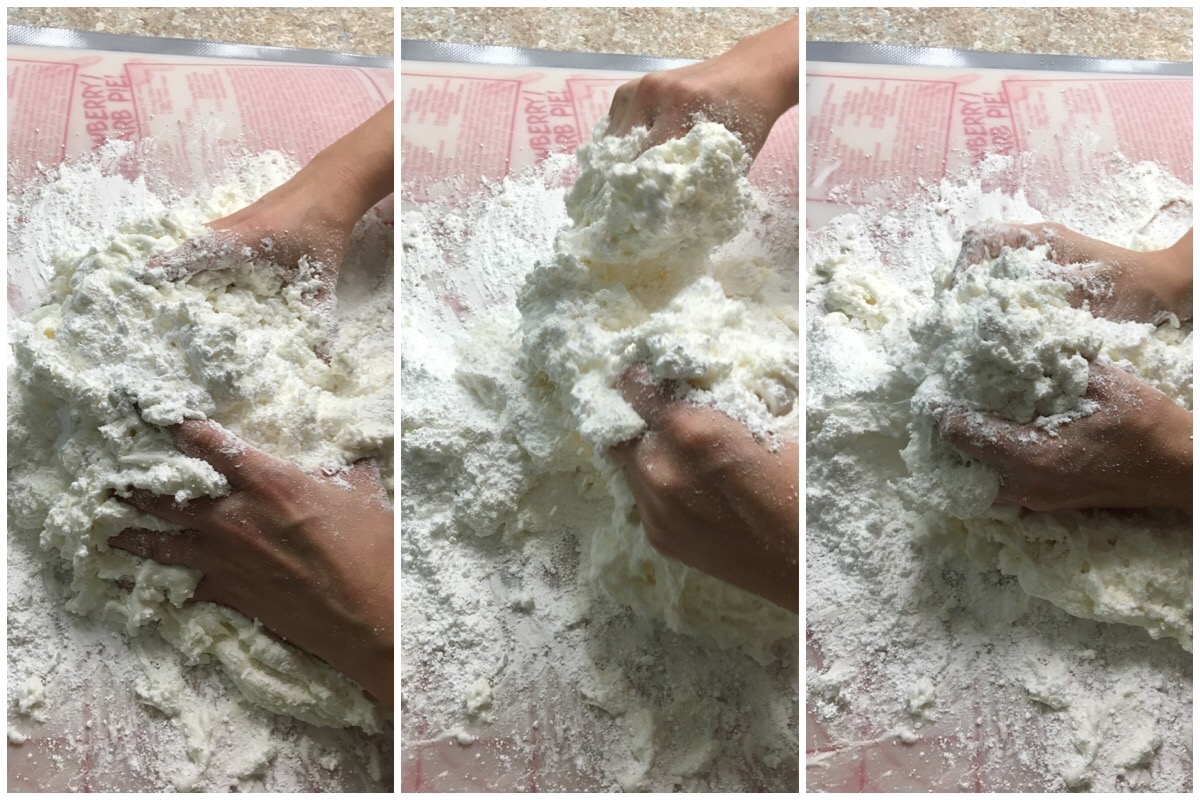
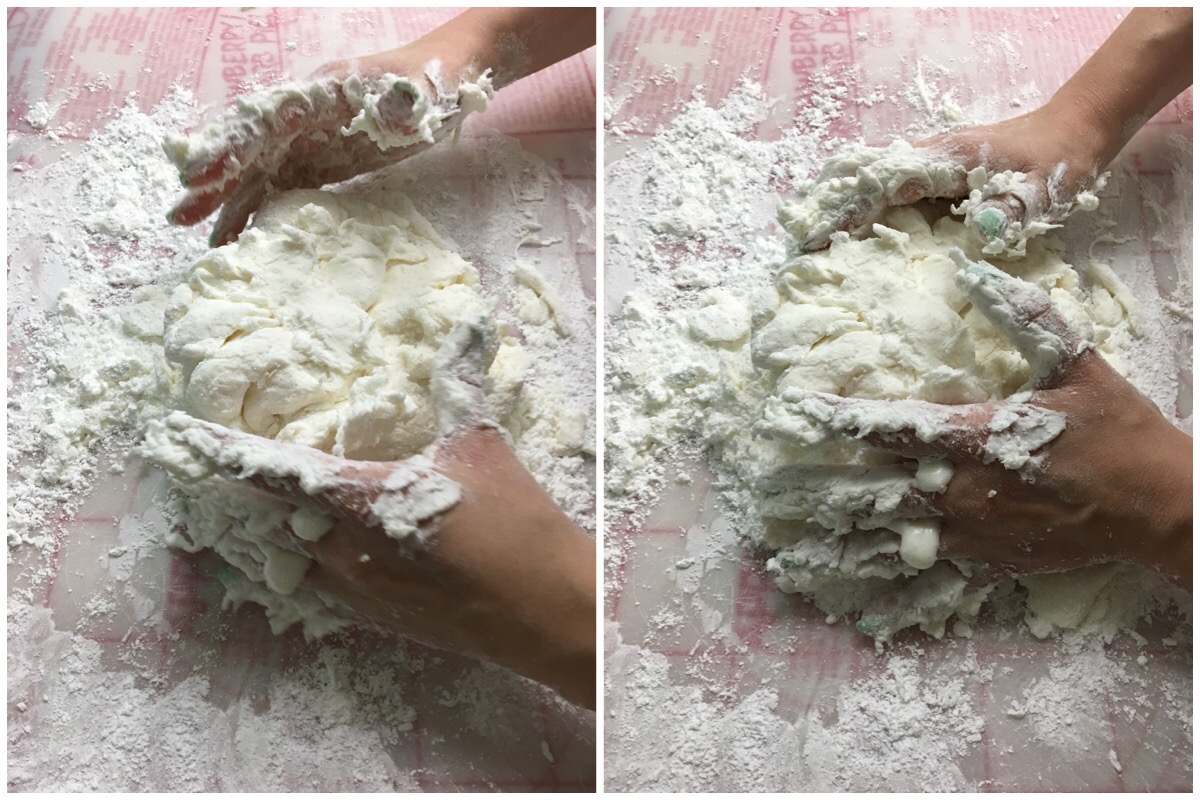
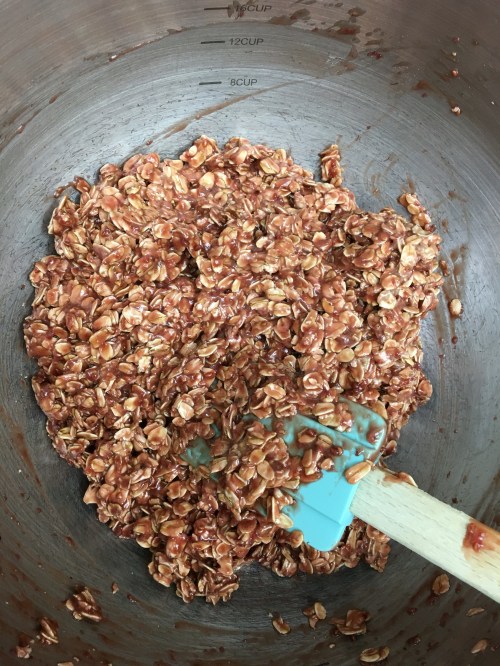
3. Mix together the rest of the ingredients. It will be a wet sloshy sticky mess.

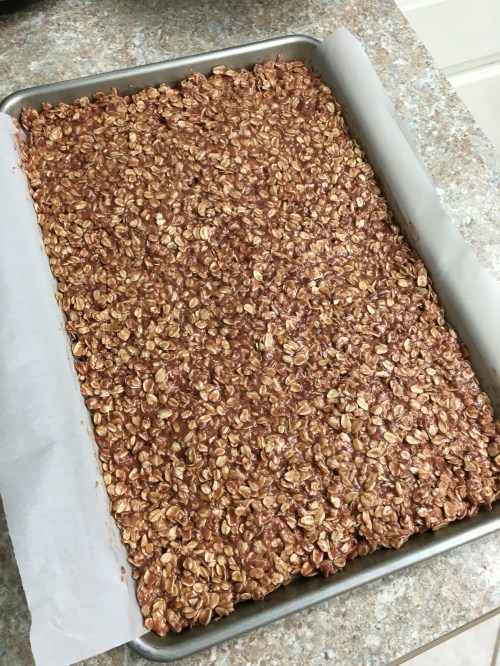
4. Line a baking sheet with parchment paper.

5. Combine all ingredients and pour into prepared pan.


6. Spread as evenly and flat as possible.

7. Bake for 20 minutes then let cool completely in pan. I actually left mine overnight.

img_5280

8. Lift out of pan with parchment paper and cut. (Mine was so crumbly it wasn’t even solid enough to lift out. I had to cut it in the pan.)

I thought I took pictures of them cut buuuuuut guess I didn’t. Oh well.

Next time! 😀

The recipe made a lot. If you have multiple kiddos it may not last long, but for us it was a lot. I froze some for later.


1 Comment

Filed under Misc

Monster Truck Cookies

Syler was having a monster truck party this year for his 5th birthday. (4th, 3rd, 2nd, 1st birthdays)

I thought I had a truck cutter that I could modify, but I didn’t. I have a tractor, train, van, car, and 57 chevy… the car ended up working the best. Here is how I pieced it together:

 I filled them in bright colors, just like real monster trucks – red, blue, and green. Added a cage on the window and big black tires…

Then I decided to try a new technique. I piped an outline on top of the dried cookie, then filled it just like I did for the first layer.  

I had some problems with bubbles and craters, but overall I think it turned out really cool! I especially like the flames. 


 I hope Syler liked his cookies! They were fun to make – his mama always keeps me on my toes with the cookie ideas! 😉

img_5193

Leave a comment

Filed under Cookies

Beach Cookies

  Crab Feed cookies! I try to do something different every year. Here are some past years’ cookies:

Crab Claw Cookies – 2014

Sea Creature Cookies – 2013

Under the Sea Cookies – 2012

This year I fell in love with some beach cookies I saw on Pinterest. I combined a few different ideas to make these. I love how they turned out!

I used my outline buttercream and squeezed some random squiggles on the beach. 

Then using a flat tipped paint brush (new or food only of course), dabbed the frosting all around to create a textured surface. 

   
For the waves a used a “brush embroidery” technique I’ve been wanting to try. Typically this is done with royal icing so I wasn’t sure it would work with my buttercream, but it worked great! 

Piped a small right zigzag across the edge of the beach, then using another flat tipped paint brush, brushed away half of the line of frosting. This created a perfect lapping wave look!


Once the beach was dry, I piped a tiny little crab on each one. They might look pinchy but I think they are just too cute!!
   
These might be my favorite crab feed cookies to date!


Leave a comment

Filed under Cookies