Monthly Archives: August 2013

Soft & Chewy Peanut Butter M&M Cookies

As much as I fell in love with my Perfect M&M Cookies, it’s possible that I love these more.

20130824-120238.jpg

A coworker said my Perfect M&M Cookie was “okay.” I definitely appreciate honest feedback, but I wanted to know from him what would have made it amazing. Turns out the problem wasn’t my cookie, it just wasn’t his type of cookie. His type of cookie is peanut butter. So I told him all about my Peanut Butter Surprise Cookies and of course he wanted me to make them soon.

About a week later, he asked me to make him a whole batch of cookies to take with him to a little friend reunion party thing he was going to. He also told me that he was going to claim them as his own. I knew no one would believe him so I didn’t mind. πŸ˜‰

I knew I wanted to do a peanut butter cookie base, but I wanted to try something different than the Reese’s inside. Ultimately I decided to do M&M’s because 1- he had a criticism for my last M&M cookie, and 2- I liked the fact that the candy would be mixed throughout the cookie and not just in the center. Of course, I had to go with peanut butter M&M’s this time. (I know you’re probably wondering why I didn’t just use Reese’s Pieces… the answer is because I’m not a fan. Besides, peanut butter M&M’s are bigger.)

20130824-120206.jpg

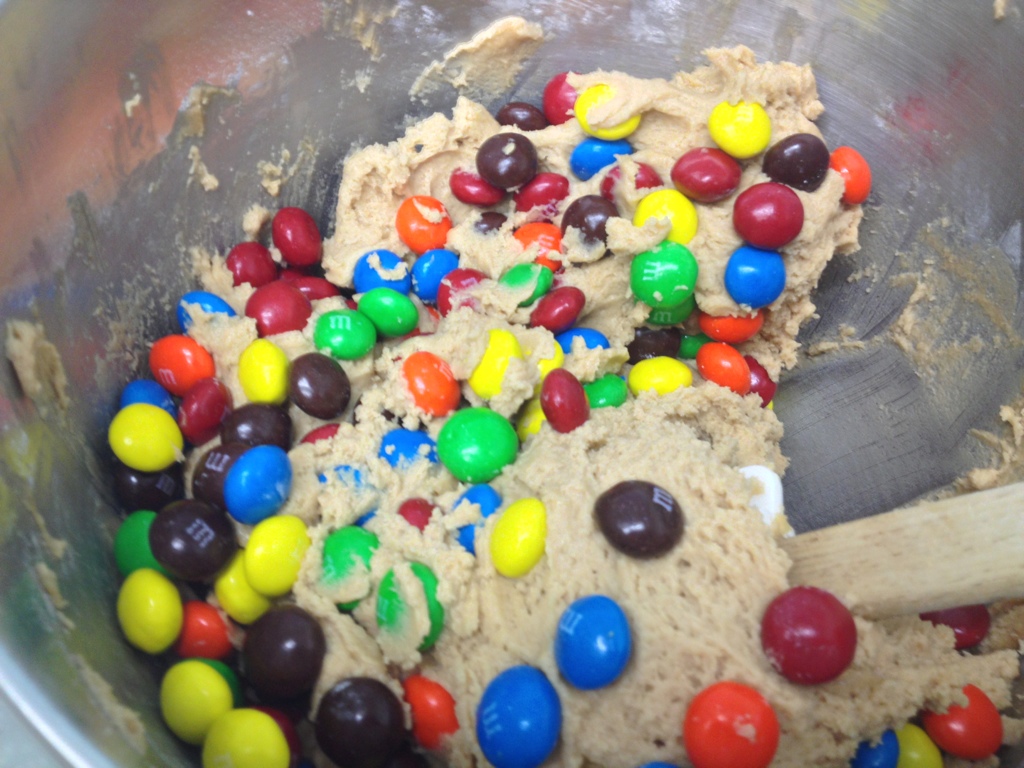
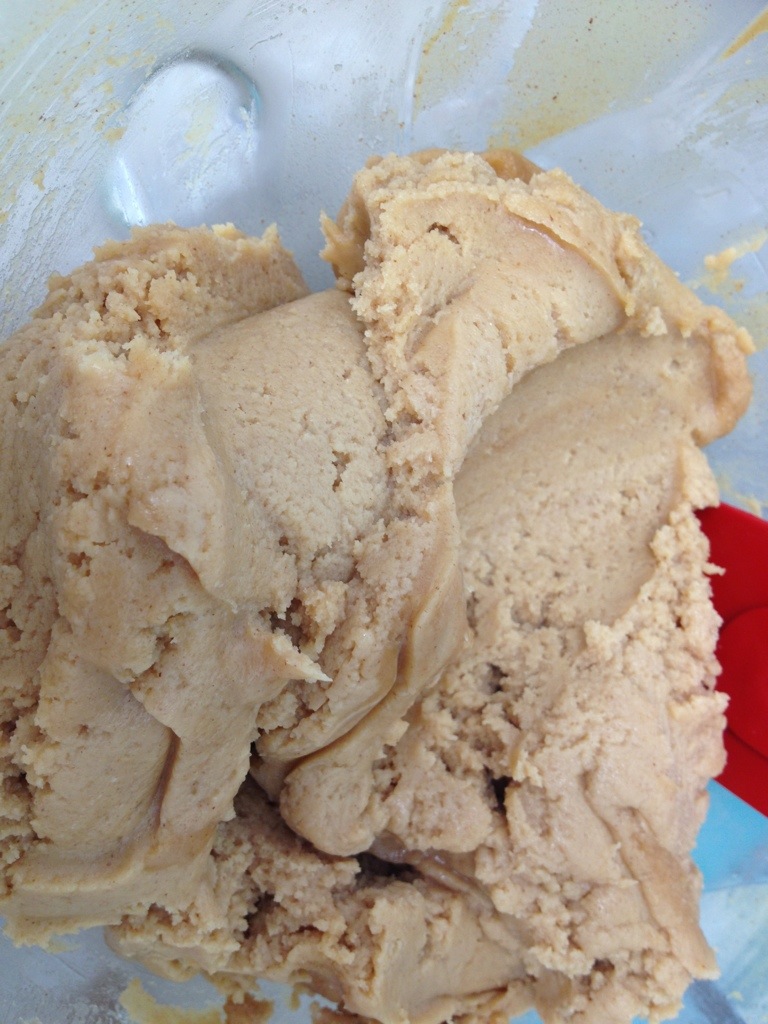
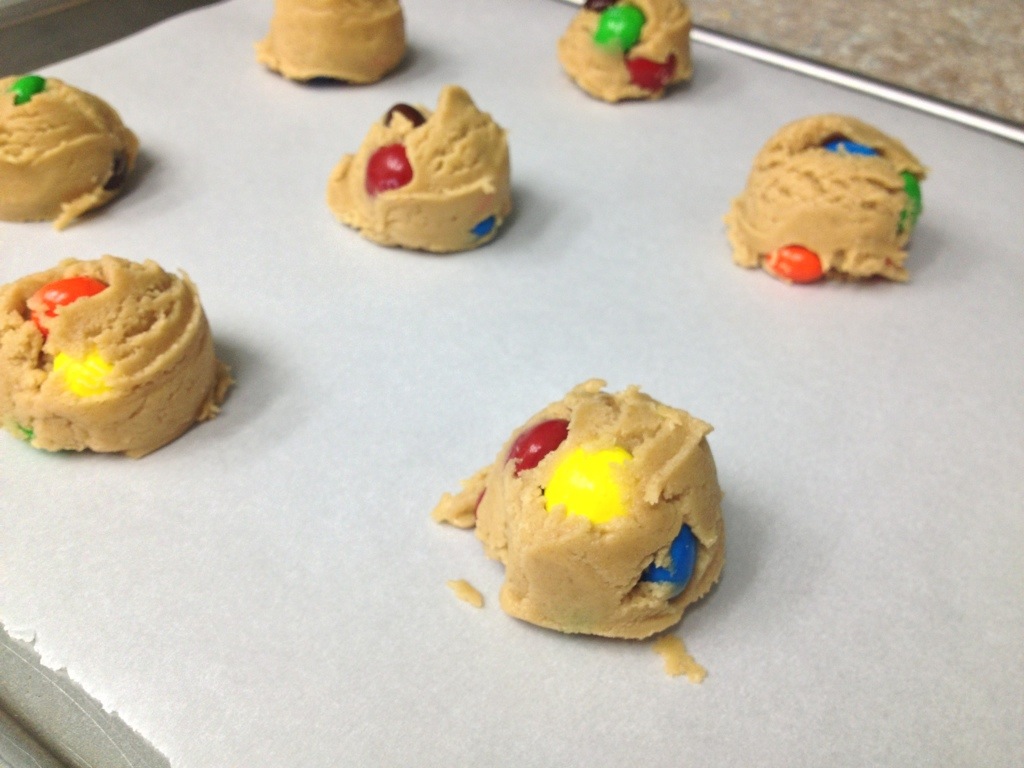
I followed the cookie dough recipe from my Peanut Butter Surprise Cookies, except I stirred in about 1 1/2 cups of peanut butter M&M’s at the end. I used a cookie scoop to make sure I had uniform sized cookies, and baked at 300* for 15 minutes.

20130824-120220.jpg

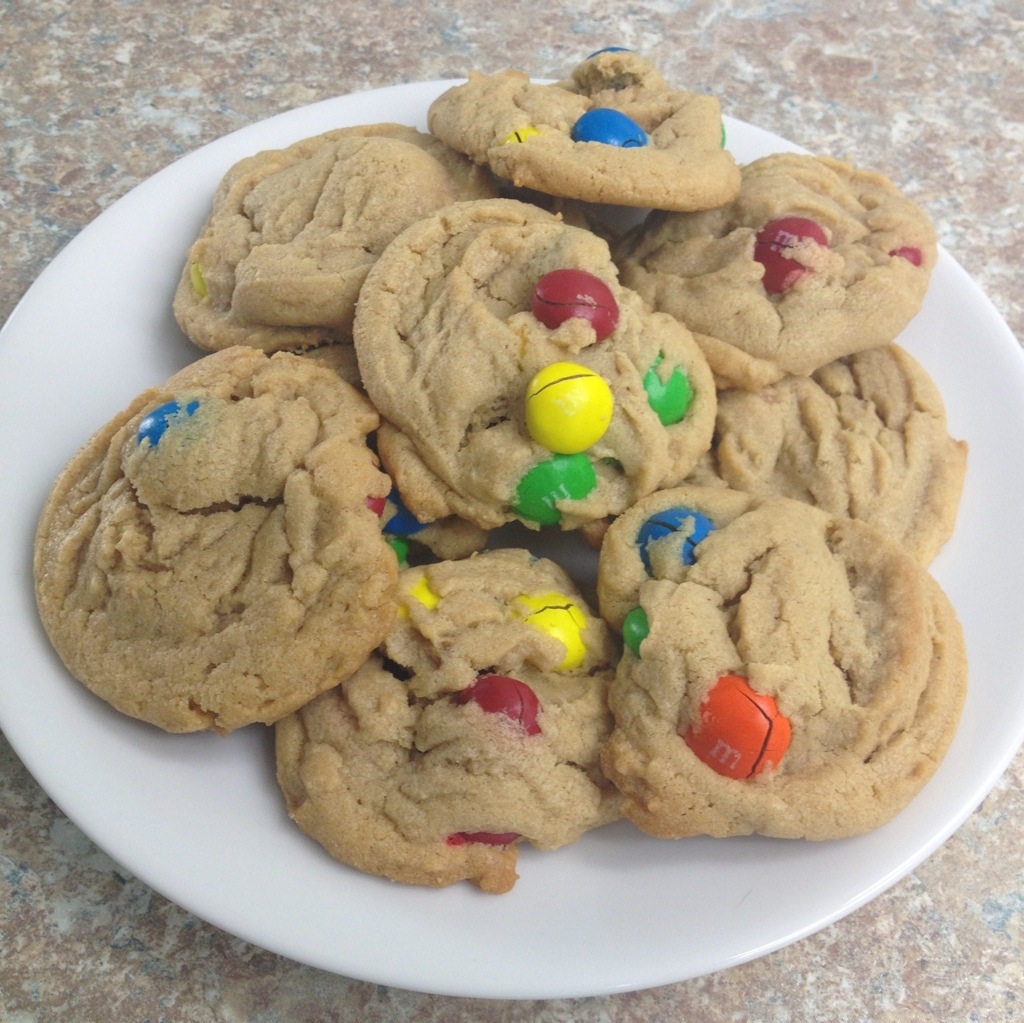
For these cookies, baking at a lower temperature for longer makes them so perfectly soft and chewy. They look a little puffy and under-cooked when they come out of the oven, but as they cool on the cookie sheet they settle and set up.

20130824-120229.jpg

These cookies are best when eaten within 2 days, but can be stored in an airtight container for up to a week or so.

Advertisement

8 Comments

Filed under Cookies

Gender Reveal Funfetti Cupcakes

I’m going to start off by getting politically correct. I only named this post “Gender Reveal” because that’s the term everyone uses, that’s how it’ll be searched, and that’s how people are going to know what I’m talking about. People throw around the terms “sex” and “gender” as if they’re the same thing – but they are not.

The correct term for this party should be “Sex Reveal Party” because that’s what you find out when you’re pregnant – the sex of the baby. Sex is literally the physical body parts. Gender on the other hand, is how the person identifies. For most people, their sex and gender are aligned. In some rare instances, the person truly deep down feels like they should have been born with the opposite body parts because theyΒ feel like the opposite sex on the inside. Since we obviously can’t tell what the baby’s gender will be while it’s still in utero, we should only ever be referring to their sex.

Anyway….

I got the amazing opportunity to be the baker for a friend’s sex reveal party. Mama-to-be and Daddy-to-be did not even know the sex, so the tech actually sent me an email directly to let me know the color for the big surprise!

I just found the best ever Homemade Funfetti Recipe, and Mama-to-be requested funfetti, so it was perfect! (I’m not going to list the ingredients and directions here since I just posted it, but go check it out if you want to make some awesome funfetti!!)

The best thing about funfetti from scratch is that you can have whatever colored sprinkles you want. I added just pink and blue for these special cupcakes.

20130730-194143.jpg

After baking them, I used a melon baller to core out a hole in the top of just 3 of the cupcakes. Then I made my Easy Buttercream Recipe, colored a small amount, and squeeze it into the hole.

20130730-194153.jpg

Since I was topping these with white frosting, and I didn’t want the color to seep into the white and ruin the surprise, I left them to crust over a bit while I went to Michaels. πŸ™‚

20130730-194202.jpg

Then I just piped swirls on the tops and sprinkled the tops with colored sugar.

20130730-194209.jpg

Mama-to-be and Daddy-to-be each got a special cupcake with the color hidden inside.

20130730-194214.jpg

The 3rd cupcake with the color was mixed in with the rest of the cupcakes and randomly distributed to their party guests. One lucky guest got the surprise center cupcake announcing to everyone that they’re having a BOY!!

20130730-194448.jpg

These cupcakes were super fun to make and fun to be able to know before the excited parents to be!

**

I posted the cored-out cupcake picture above (without the color) on my Instagram to tease the Mama-to-be, and just said something like “Making gender reveal cupcakes” …. and I didn’t even think about it but everyone thought it was MY reveal! Haha, nope – sorry guys, mine is going to be a surprise when Baby comes!!!

8 Comments

Filed under Cakes

Reese’s Peanut Butter Ice Cream Cake

My brother joined the navy earlier this year. We are very close – he actually has lived with me for most of the last 3 years.

He came to town on leave to surprise me. He’s been gone for 6 months, and this was the first time in our lives we’ve been away from each other for more than a couple weeks. It was a really good surprise, I cried for like 20 minutes straight. My sneaky husband knew everything and got it all on video. πŸ™‚

While he was here we had a big family BBQ so everyone could see him. I (of course) asked to bring dessert. My brother is after all my best fan tester.

I had been eyeing this cake by Lindsay for a while now, and I knew an ice cream cake would be a perfect summer BBQ dessert that would impress not only my brother, but the entirety of my sweets loving family.

I decided to switch up her recipe a bit. Mostly because (and I know I’m in the minority here) I don’t think caramel and peanut butter belong together. Both are fabulous and both pair perfectly with chocolate, but I like to keep them separate.

Also – this cake is SOOO easy to make. If you can bake a box of brownies, you can make this ice cream cake!

20130813-104022.jpg

Reese’s Peanut Butter Ice Cream Cakeadapted from Life, Love and Sugar

Ingredients:

1 box brownie mix, plus ingredients called for on box (I used fat free brownies)

8 oz brick cream cheese (I used 1/3 less fat)

1/4 cup milk

1/2 cup sugar

1 1/2 cups creamy peanut butter

8 oz Cool Whip, thawed (I used fat free)

Chocolate Syrup

Large bag Reese’s Miniatures, unwrapped and chopped

20130813-104117.jpg

Directions:

1. Bake brownies in greased 13×9 pan, but reduce baking time to only 20 minutes. Let cool completely.

20130813-103845.jpg

2. With stand mixer or electric hand mixer, beat together cream cheese, milk, sugar, and peanut butter until completely combined.

20130813-103925.jpgΒ 20130813-103932.jpg

3. Carefully fold Cool Whip into peanut butter mixture.

20130813-103940.jpg

4. Top cooled brownies with 1 cup of chocolate syrup. Spread all the way to the edges.

20130813-103907.jpgΒ 20130813-103950.jpg

5. Drop chopped Reese’s on top of the chocolate syrup in an even but hearty layer.

20130813-103956.jpg

6. Cover Reese’s in peanut butter mixture and spread smooth.

20130813-104006.jpg

7. Cover entire pan in plastic wrap and freeze at least 4 hours, or overnight.

8. When ready to eat, cut cake into squares and top each square with more chocolate syrup and chopped Reese’s.

20130813-104016.jpg

20130813-104022.jpg

This cake is extremely rich. My brother and my family loved it. Honestly it was a little bit too rich for me to handle, but I’m not a huge chocolate fan anyway so don’t necessarily take my word for it. πŸ˜‰

I used fat free/low fat everything I could for this recipe. I figured why not – there’s enough sugar in it anyway it’s definitely not going to be low on flavor! Feel free to use the full-fat version if you prefer!

20130813-103918.jpg

4 Comments

Filed under Brownies, Cakes, Misc

Perfect M&M Cookies

I found this amazing pin which led to this amazing blog post by Tessa over at Handle the Heat. It’s the first I’ve ever seen her blog, but after poking around a little I will definitely have to spend more time there!

Basically Tessa took the most basic chocolate chip cookie out there (the Nestle Tollhouse Recipe on the package) and made 9 batches of cookies. Each time she changed just 1 different element in the recipe to see what effect it had on the cookies. Very interesting!

After reading through all her notes I decided to create my own modification from the Tollhouse basic recipe with a couple of her variations. I have to say – the result is pretty perfect!!

Perfect M&M Cookies

Ingredients:

3/4 cup granulated sugar

3/4 cup packed brown sugar

2 sticks (1 cup) salted butter

2 tsp vanilla

2 eggs

1 tsp salt

1/2 tsp baking powder

1/2 tsp baking soda

2 1/4 cup flour

2 cups plain M&M’s (or 1 1/2 cups M&M minis)

Directions:

1. Put sugars into large bowl and top with cut up butter. Add vanilla and beat until smooth.

2. Add eggs one at a time and beat well after each. Scrape bowl and beater, then turn mixer back on low.

3. Add salt, then baking soda and powder. Slowly add flour until all incorporated.

4. Mix in M&M’s by hand.

5. Refrigerate for at least a couple hours, but better if overnight. This part is torture, but trust me – the flavors meld together and become much richer when it’s given time to rest.

20130730-194513.jpg

6. Scoop balls about 1 1/2 tbsp , then flatten with palms. Bake at 350* spaced well apart on a parchment lined cookie sheet for 9-10 minutes.

20130730-194524.jpg

**The first batch I only baked 2, and checked on them after 8 minutes, then 9 minutes, and again at 10 minutes. I really really didn’t want to over bake them. At 10 minutes they edges were brown, and the center was big and puffy.**

20130730-194529.jpg

7. Once done baking, let the cookies cool completely on the cookie sheet. The puffy tops will flatten out and since the centers are slightly under baked, this helps them set up. Once they’re cool, they can be moved.

20130730-200752.jpg

These cookies are slightly crispy on the edges and soft ad perfect in the middle. And how much more fun are M&M’s than boring chocolate chips!? Since I’m not a huge chocolate fan, the ooey-gooey chocolate chips are always so rich I can only handle like one cookie. But since the candy coating surrounds the chocolate, they are just perfect! I wanted to eat the whole pan!

2 Comments

Filed under Cookies

Orange Soda Ice Cream

I stumbled across this recipe on Pinterest. It’s made by Teresa over at Blooming on Bainbridge. I’m pretty much obsessed with orange soda, so I knew I absolutely HAD to make this ice cream. (Remember my Orange Soda Cupcakes I made awhile back?) Teresa’s recipe calls for an ice cream maker, but I made mine without – so anyone can make this!

I followed Teresa’s recipe with just a few minor tweaks…

Orange Soda Ice Cream – barely adapted from Blooming on Bainbridge

Ingredients:

3 cans of orange soda (I used Sunkist because it’s my favorite)

1 (14oz) can of sweetened condensed milk

heaping 1/2 cup sugar

Directions:

1. Pour sweetened condensed milk into a freezer safe mixing bowl (that has an airtight lid).

20130804-133559.jpg

2. Stir in the sugar.

3. Slowly add 1 can of orange soda and mix until completely combined. Repeat with other 2 cans. It gets pretty foamy at this point.

20130804-133606.jpg

**Teresa’s recipe called for an ice cream maker at this point. If you have one, feel free to use that. (Churn until ice cream is solid and store in an airtight container in the freezer.) My ice cream maker churned the mixture for 25 minutes then abruptly stopped working, with no frozen ice cream inside. So I improvised, and it worked…

4. Put the lid on the mixing bowl and stick the whole thing in the freezer for at least 4 hours, preferably overnight.

5. Remove bowl from freezer and let thaw for about 10 minutes.

6. Scoop mixture into blender and blend just enough to make a slushy consistency. Return to bowl and put back in the freezer for at least 4 hours, preferably overnight.

20130804-133549.jpg

Once the mixture is frozen again, it’s the perfect creamy consistency! The flavor is difficult to explain, but if you are a fan of orange soda, you must give this a try!

2 Comments

Filed under Misc

What’s It Gonna Bee? [My Baby Shower]

My mommy is AMAZING. She threw a wonderful baby shower for me a couple weeks ago. When trying to find a good and easy theme, I stumbled upon “What’s It Gonna Bee?” on Pinterest. Usually this is used for gender reveal parties, but since hubby and I aren’t finding out the sex of our little one, we thought the theme was perfect.

Here is the invitation:

20130724-114840.jpg

I made the treats. People were kind of freaking out that I shouldn’t have to make the desserts for my own party, but I feel like it would have been more weird to come to a party for me and there not be Carrie’s Creations cookies!

I fell in love with this photo a while back, and if anyone knows who it belongs to please let me know! I saved the photo from a google search to my phone and the uploaded that to my Pinterest board later… but I have been unable to find it since to give credit to where credit is due.

20130724-115741.jpg

I was unable to find a cutter in this shape, but I did find this cutter made by Cristin’s Cookies.

20130724-115656.jpg

I modified the inspiration picture above to fit Cristin’s cutter shape, and I have to say – I think I like it better!

20130724-114720.jpg

I outlined the whole bee in black, then filled in each section one color at a time.

20130724-114730.jpg

In addition to the cookie favors, I made cupcakes. Lemonade Cupcakes to be exact – some of my favorite, and they fit with the warm weather (hottttt weather actually) and the yellow theme.

Here is my inspiration picture, also found through google searching, and also without proper credit.

20130724-115724.jpg

I had a hard time finding little bees for the tops. I eventually stumbled upon these sugar bees at Layer Cake Shop, and they were perfect! I piped the frosting using a basic round tip to mimic the hive look, without overdoing it on the frosting.

20130724-114703.jpg

20130724-114709.jpg

20130724-114737.jpg Here are a couple of the other details from the party:

(this shirt I made/wore)

20130724-114907.jpg (my fingernails that my bestie did for me)

20130724-114857.jpg

(the table centerpieces I made)

20130724-114833.jpg

(the drink table)

20130724-114820.jpg

(the fruit salad a family friend made – her sex vote is girl btw, haha…)

20130724-114815.jpg

(some of the other foods served, and the little tags I made.. they’re hard to see but each tag has a little bee on it similar to the centerpieces)

20130724-114825.jpg

(and one of the games we played… everyone got to make their guess, and we will just have to wait and see who gets the closest!)

20130724-114801.jpg

It was a great shower and thank you to Mommy, Sandy, and Ann for helping out!!

4 Comments

Filed under Cakes, Cookies