Category Archives: Cookies

16th Birthday Cookies & Cake Balls

Alyssah turned 16 this week! Her mom is an old coworker of mine and decided to trick her for her sweet 16. Alyssah was told that there was just no money for a birthday party this year… but in reality there was a huge surprise party planned!

We went with zebra, hot pink, and turquoise as the “theme.”

This was my first time making zebra cookies. I contemplated a few ways I could do it before settling on outlining each stripe and filling them separately.

1

They came out better than I imagined, and each one was unique because I just free handed the stripes.

4

The rest of the cookies were filled in hot pink and bright turquoise, with alternating mongrams, 16’s, and her name.

3

Don’t they look cute together? I am in love with this set.

6

Last year for Alyssah’s birthday I made these Red Velvet Cake Balls. Her mom asked for cake balls again, so this year I went with yellow cake and chocolate coating.

2

I colored the chocolate coating black (or as black as I could) so that they would match the cookies. Then I drizzled the tops with turquoise and hot pink to match the cookies.

5

Alyssah was so surprised at her party! Her parents told her they were going to her aunt’s house for dinner. All her friends were hiding under the tables and behind furniture so they could pop out as she walked through the door!

5 Comments

Filed under Cakes, Cookies

Little Man Birthday Cookies

Silas turned one over the weekend and his crafty/creative/baking mama threw him a “Little Man” themed birthday.

I made the cookies!

20130219-160554.jpg

4 Comments

Filed under Cookies

Valentines’s Day Cookies

20130214-073300.jpg

20130214-073306.jpg

20130214-073311.jpg

20130214-073317.jpg

20130214-073323.jpg

20130214-073329.jpg

20130214-073448.jpg

13 Comments

Filed under Cookies

New Sugar Cookie Recipe & Method

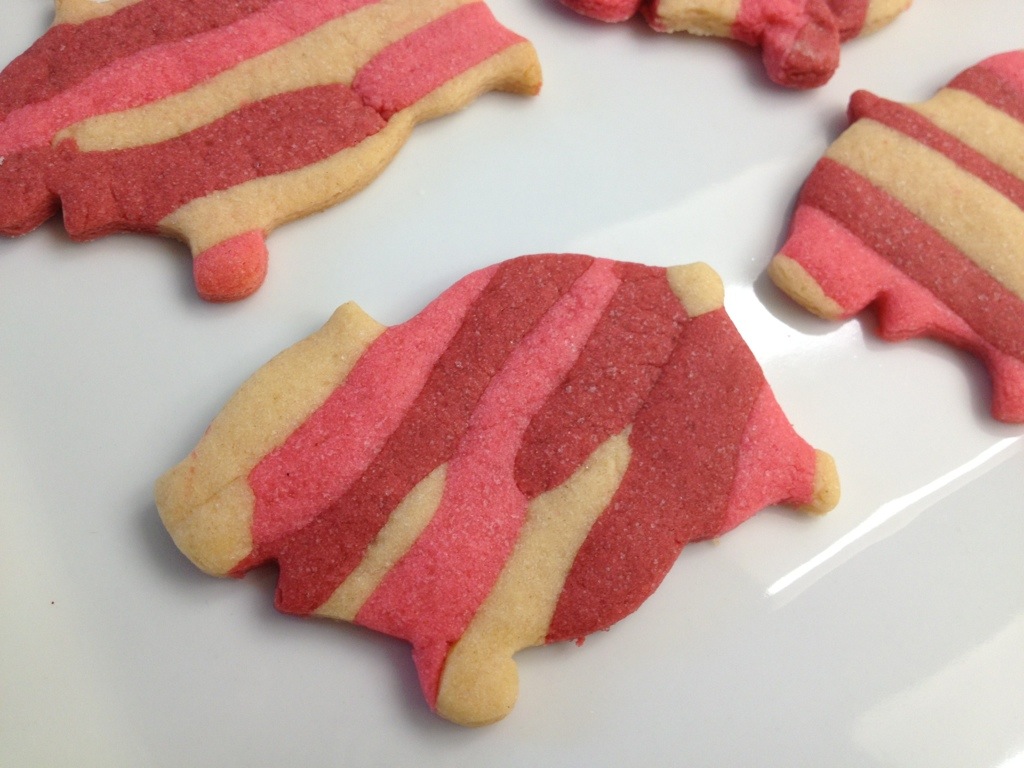
I have mentioned before that I like my cookies to be thin. Like really thin.

Well recently I decided to make my cookies more uniform. See I never exactly measured before. I did the thickness by feel and look. It was always a guess, and sometimes one batch would be slightly thicker or thinner than the next.

My fellow cookiers on Facebook were discussing how thick they roll their cookies. I was shocked to see that most of them roll 1/4″ or even 3/8″. Mine were typically less than 1/8″.

When I baked these cookies, I wanted to see what all the fuss was about the super thick cookies. I rolled them 1/4″ thick using 1/4″ dowels. Lots of good cookie, but the icing to cookies ratio was just too low for my taste. I needed smaller dowels, so I went back for 1/8″.

The 1/8″ dowels made the perfect thickness for me. Not too much cookie, but thick enough to be sturdier than what I was previously working with.

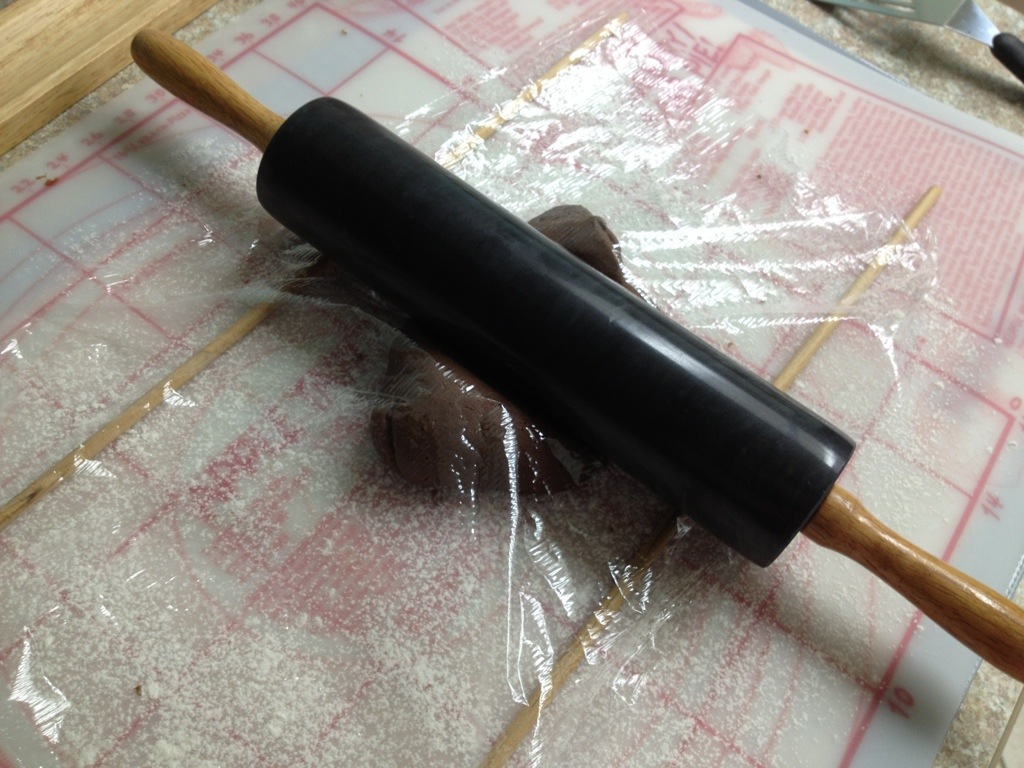
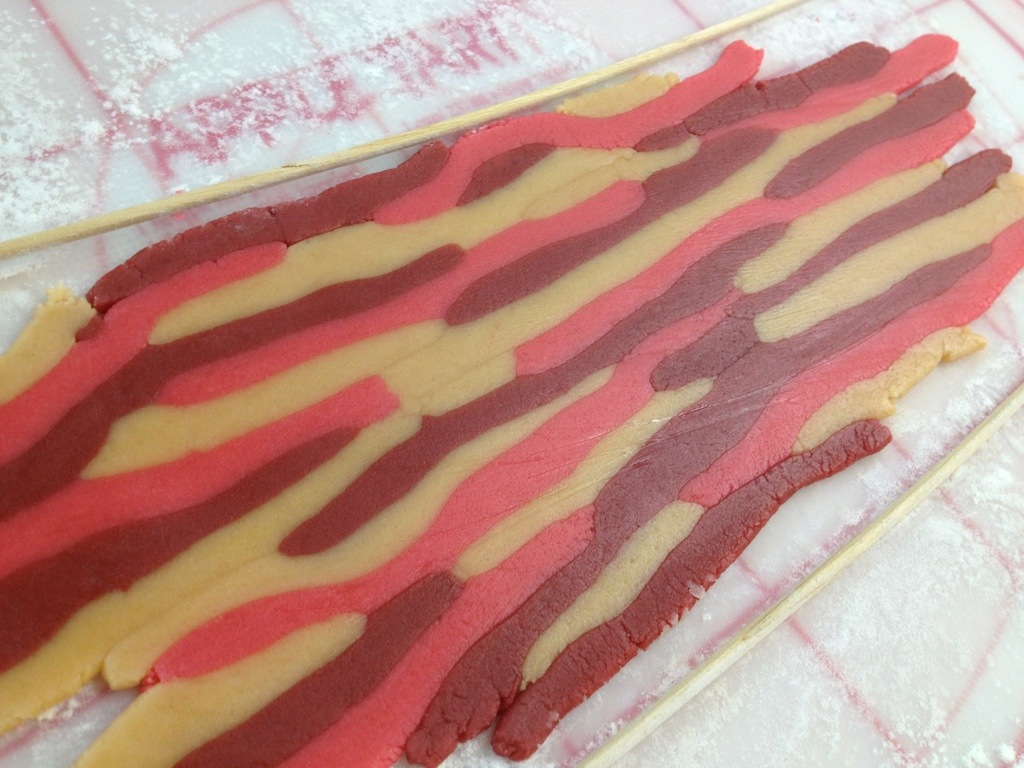
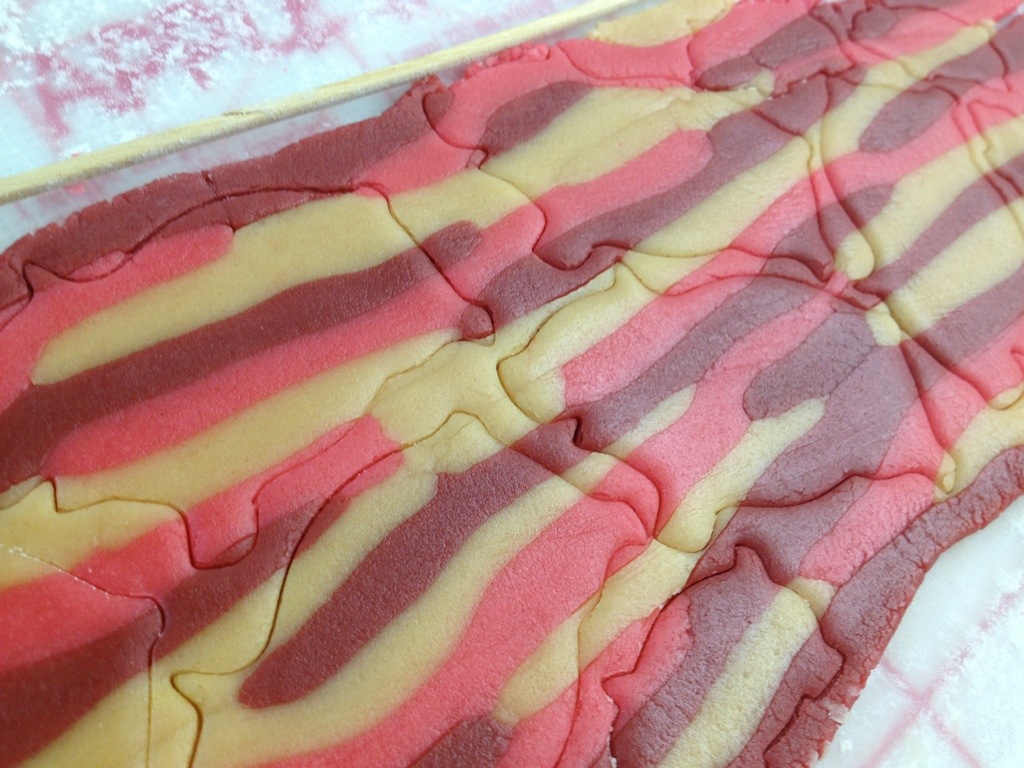
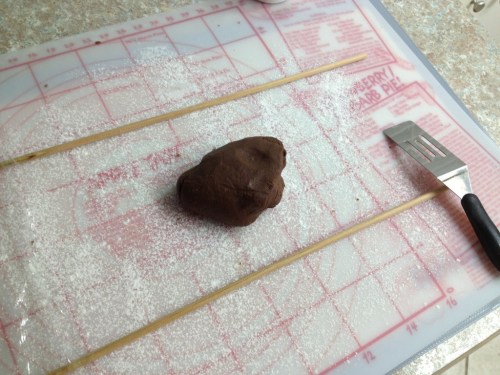
(I took the photos when I was making chocolate cookies, but the method of rolling is the same.) I place the dowels on either side of my dough ball, cover it with a piece of cling wrap, then roll side to side, keeping my rolling pin on the dowels.

20130203-080410.jpg

20130203-080422.jpg

20130203-080435.jpg

20130203-080536.jpg

In addition to my new roll method, I have a new cookie recipe that I have been using. I really loved my old one (from iambaker) but it was a very sticky recipe and I always had to knead a lot of flour into it before I could work with it. This recipe is also delicious, but it saves me that extra time. Also, it can be made and rolled RIGHT AWAY, without having to chill it, which has also saves me time.

***UPDATE***MAY 2013********************************************

I have changed the recipe I use again, so I wanted to throw it in here. It’s very similar to the recipes I used before from iambaker and Lilaloa…. just more of a morph between the two.

Here is a printable link.

********************************************************************

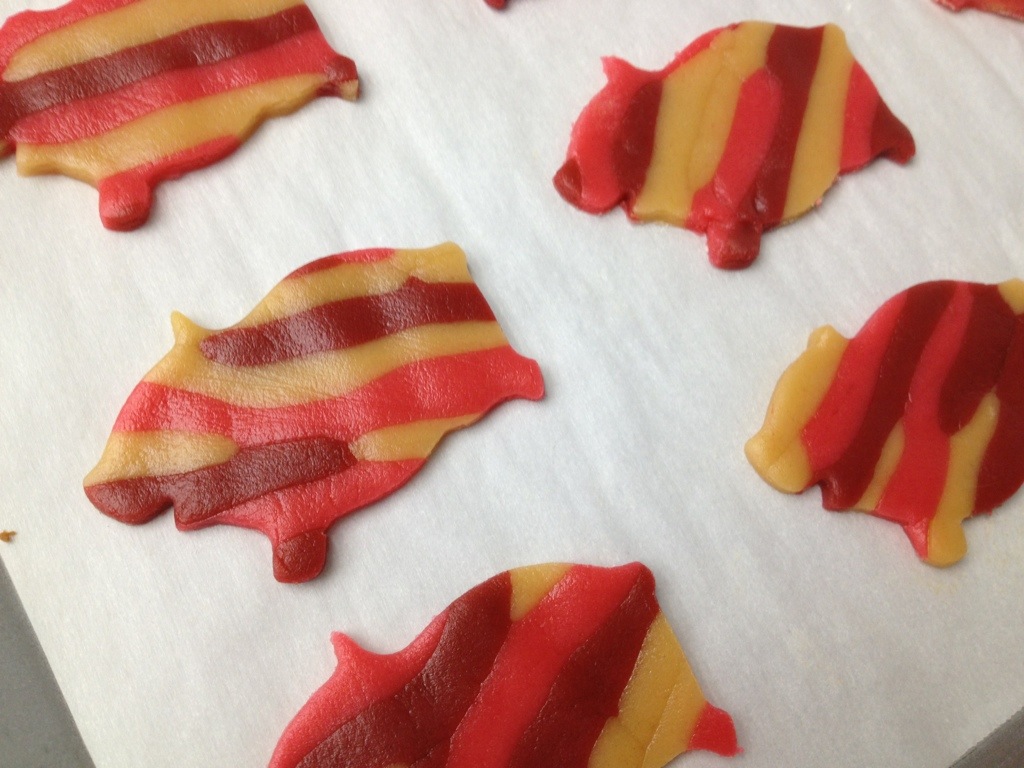
This cookie recipe has practically no spread, which makes it perfect for intricate cut-out designs. It would be a great recipe for my Unicorn Poop Cookies as well because it would hold the desired shape.

Cookie Carrie’s Sugar Cookiesadapted from Lilaloa

Printable Recipe

Ingredients:
2 sticks salted butter (1 cup)
1 1/2 cups granulated sugar
2 large eggs
2 teaspoon vanilla extract
3/4 teaspoon salt
3/4 teaspoon baking powder
4 cups flour
Directions:
1. Cream together butter and sugar.
2. Add eggs and vanilla and beat until combined.
3. Mix in salt and baking powder.
4. Add flour 1 cup at a time. No need to chill, just roll to 1/8″ thickness and cut into desired shapes.
5. Bake at 350* for 8 minutes. Let cool on cookie sheet for a few minutes before transferring to a wire rack to cool.

6 Comments

Filed under Cookies

Sea Creatures Cookies

Last year for my mother-in-law’s church crab feed live auction I made these cookies. This year I wanted to do something a little different, while still sticking to the under the sea theme.

I found this amazing set of cutters on the Wilton website. Included were so many “sea” creatures that I had a hard time narrowing it down to just a few!

I sketched out my ideas on paper first, but once I hit the cookie it was all freehand.

20130205-073002.jpg

I outlined in black to give it that cartoon feel. I just love how it makes the colors pop.

20130205-072904.jpg

20130205-072908.jpg

20130205-072912.jpg

20130205-072917.jpg

20130205-072921.jpg

20130205-072925.jpg

The eyes I used the same technique I used on my Santa cookies. I love how googly-eyed it made them and it turned out perfect for these silly sea creatures.

20130205-072929.jpg

The next day I got an email from my mother-in-law telling me that bidding for my cookies was fierce, but that my husband’s grandpa persevered. I told him next time I will make him his own plate so that he doesn’t have to bid on them. Haha..

20130205-084752.jpg

5 Comments

Filed under Cookies

Love & Marriage Cookies

Sticking with the elegant theme of black and white, I made these Love and Wedding Cookies as the favors for a bridal shower.

20130115-110018.jpg

I bought the Love cutter late last year and have been eager to use it ever since. I had a hard time figuring out the font to work with the shape, but I’m happy with how they turned out. I might tweak it a little next time.

20130115-110024.jpg

The next cookies were packaged together. The mom of the bride-to-be asked for a dress cookie, but since I didn’t have a cutter for that, I came up with this idea. She fell in love with it and so did I!

20130115-110030.jpg

Simple lines and details, but still elegant enough for a wedding (or shower in this case).

20130115-110037.jpg

20130115-110043.jpg

I am also linking up these cookies to Lilaloa‘s Colorless Challenge!

7 Comments

Filed under Cookies

Colorless Lingerie

I have made lingerie cookies a couple times before. Once for Valentine’s Day last year, and again for a bridal shower last summer.

Since then I acquired a new corset cutter, so I had a new design to work with this time. It will take some practice playing with it, but I am pretty happy with the couple that I did.

I also used this opportunity to go for the Colorless Challenge proposed by Georganne of Lilaloa.

It was hard… you have no idea how bad I wanted to throw in some hot pink or bright blue!

20130110-215855.jpg

20130110-215922.jpg

20130110-215927.jpg

20130110-215850.jpg

20130110-215917.jpg

20130110-215911.jpg

10 Comments

Filed under Cookies

Glitter Bacon Pigs

For Christmas my mother in law bought me a pig cookie cutter. I love pigs!

Last year I stopped eating pork. I have never really liked bacon, so it wasn’t a hard decision to make. I was already contemplating it when I saw a horrible episode of Extreme Hoarders that involved pigs. I still can’t really think or talk about it without tearing up.

Anyways, the men in my life love bacon. Obviously. They all own T-shirts exclaiming so.

A while back, one of my favorite bloggers, Jennifer of Not Your Momma’s Cookies, made these really cool (pork free) bacon cookies. I was just talking about them and showing them to my husband on Christmas Day right before I received my pig cutter. With the image fresh in my mind, I knew I had to combine them!

I dyed my cookie dough 3 different colors:

dark redish/brown

pinkish/brown

yellowish/brown

20130106-215702.jpg

Then I made skinny snakes out of the cookie dough and arranged them randomly on my flour dusted work surface. Once I had a bunch of snakes of all colors made, I squished them all up against each other…

20130106-215706.jpg

Then rolled them flat.

See those wooden dowels/skewers? I place one on each side of my dough, cover the whole thing with a piece of cling wrap, and roll it across from side to side. The dowels keep the dough an even thickness all the way across.

20130106-215711.jpg

Then I cut my pigs as close together as possible. Don’t want to waste any of those bacony stripes!

20130106-215718.jpg

…and bake them up like normal.

20130106-215724.jpg

When al the pigs were moved to the cookie sheet for baking, I balled up the scraps and rolled it back out. It’s not as stripey, but still kind of looks bacony!

20130106-215736.jpg

They look pretty cool as is…

20130106-215742.jpg

20130106-215746.jpg

(I also made some mini pigs.)

20130106-215759.jpg

20130106-215806.jpg

..but I couldn’t leave them alone. They needed something… when in doubt, add sprinkles.

When you don’t want to ruin the color and stripes of the cookies, you can’t add sprinkles.

Know what else makes everything better?

Glitter!!!

20130107-222225.jpg

They look wet, but really they’re just shiny and glittery. I used the same glitter on my Unicorn Poop Cookies.

Bacon lover or hater, these bacon pig cookies are for you!

3 Comments

Filed under Cookies

Mustache Cookie Pops

Mustaches are “in.”

Don’t know how something like that became a trend, but they’re everywhere!

AD loves mustaches. So for her birthday we put together some fun mustache pops!

20130102-151511.jpg

I only have 1 mustache cutter, which I used for my Lorax Cookies early last year. I used this cutter, along with a couple others to come up with a few different creative mustache shapes.

My new favorite way to ice cookies is to pour the icing over them over bowl like this:

20130102-151559.jpg

I make sure all the sides are covered, then just tap the excess off. Once it starts to set a bit, I move them to a wax paper lined baking sheet.

20130102-151606.jpg

I used this method to ice the small cookies I made here and here.

Then I just added some details with black and brown buttercream. (This was the fun part!)

20130102-151525.jpg

20130102-151532.jpg

20130102-151539.jpg

Here is the birthday girl with her mustache!

603224_10200372008245823_843958822_n

… and this is Mallory, who you met last year when she made us fun red velvet donuts!

mal

…and the rest of the gang!

OLYMPUS DIGITAL CAMERA

9 Comments

Filed under Cookies

Goodbye 2012, Happy 2013!

Happy New Year friends!

20130101-120026.jpg

2012 was a really good year for this little blog. Thank you everyone who follows and reads and comments! You make me want to keep doing this day after day.

I’ve made a few personal blog goals for the coming year, and I can’t wait to share more treats and continue to learn and try new things.

I made the cookies above for our little New Years house party we went to. I used my new curly number cutters my mom bought me for Christmas:

20130101-120110.jpg

I created this color swatch to work from. I wanted bright fun colors, but something a little different than what I normally do.

20130101-115702.jpg

It was fun trying to get my icing to match colors I chose ahead of time.

20130101-115711.jpg

I iced the small tile cookies by pouring the icing over the cookie, like I did with these I Voted cookies. It might be my new favorite method of icing. It’s easy and I don’t have to outline and flood each one. I did the same with the numbers, but in white.

I thinned out the remaining icing and put just a tiny bit into a squeeze bottle. Then I squeezed it and let the color splatter all over the numbers. (Saw this technique on Sugarbelle’s blog here.) It was fun and came out so much better than I was even hoping!

20130101-115915.jpg

Once the splatter on the numbers dried, I planned on attaching them to a couple base cookies and then icing the bases. But…. I ran out of time. So I used hot glue. Sorry cookies. (Oh and I learned a tip from the cookie gals of Cookie Con. Place some bunched up cling wrap on the platter before stacking the cookies, and they won’t slide around. It worked great!)

20130101-115933.jpg

20130101-115950.jpg

I stacked the tiles all around the base cookies, and they were ready for the party!

20130101-120049.jpg

I’m so ready for 2013, bring it on!

What goals or resolutions did you make for the New Year?!

20130101-120044.jpg

If you haven’t already, like me on Facebook! You can also follow me on Twitter, Instagram, and Pinterest!

4 Comments

Filed under Cookies